Parental Involvement: Medium

  • Story Cubes

    Story Cubes

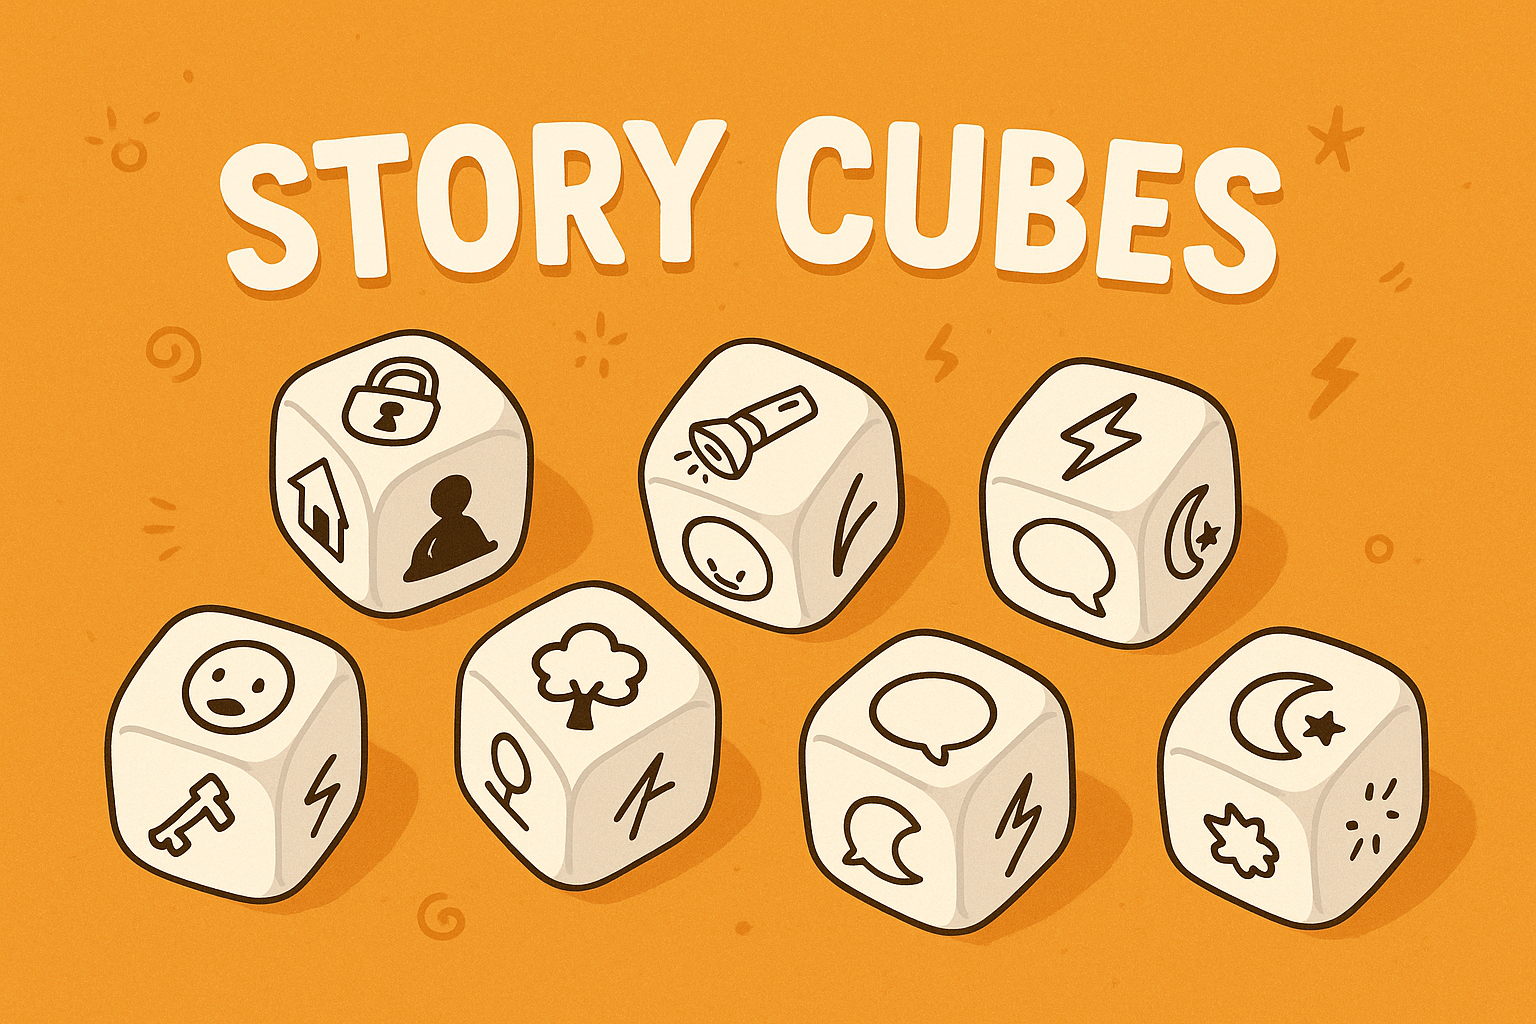
    Story Cubes (or story prompts) are a wonderful way to encourage creativity, build language skills, and develop storytelling confidence.

    Whether you’re using special story dice, homemade picture cards, or simply words written on scraps of paper, the goal is the same — to inspire your child to invent and tell their own story, one prompt at a time.

    This activity works beautifully as a quiet afternoon game, a screen-free bedtime routine, or a creative way to build confidence in speaking and storytelling. It’s also a lovely shared activity for parents and carers to take part in too.


    Materials Needed

    • Story cubes or dice (shop-bought or homemade)
    • Alternatively: small cards or paper slips with words or pictures
    • Optional: notebook for writing stories down

    Tools Needed

    • None

    Steps

    1. Prepare the Prompts
      Use story cubes or make your own (see below) using drawings or written words (e.g. dragon, mountain, storm, treasure).
    2. Roll or Draw
      Roll the cubes or pick several cards to create a set of random prompts.
    3. Start the Story
      Use the first prompt as the opening idea for your story. Build the story step-by-step using each new prompt.
    4. Keep Building
      Take turns adding to the story or let your child take the lead. There’s no right or wrong!
    5. Finish and Share
      Once the story is complete, read it aloud, act it out, or write it down if your child enjoys writing.

    Variations

    • Make Your Own Cubes: Use blank dice or print templates to draw your own pictures.
    • Group Storytelling: In a group, each person adds one sentence or idea to continue the story.
    • Timed Stories: Set a timer and see how many stories you can create in 10 minutes.
    • Illustrate the Story: After telling the story, draw a picture together to bring it to life.

    Story Cube Prompt Ideas

    Here are some ideas you can use to create your own story cubes or prompt cards. Feel free to mix and match depending on your child’s age and interests:

    Characters

    • Dragon
    • Wizard
    • Superhero
    • Princess or Prince
    • Alien
    • Detective
    • Talking animal
    • Giant
    • Robot
    • Monster

    Objects

    • Treasure chest
    • Magic wand
    • Lost key
    • Spaceship
    • Map
    • Secret door
    • Time machine
    • Golden coin
    • Invisibility cloak
    • Strange potion

    Settings

    • Castle
    • Jungle
    • Haunted house
    • Desert island
    • Underwater city
    • Outer space
    • Mountain cave
    • Ancient temple
    • Fairy garden
    • Secret laboratory

    Events or Problems

    • A storm begins
    • Something gets lost
    • Someone is trapped
    • Time runs out
    • They find a clue
    • A riddle must be solved
    • A race starts
    • A mysterious letter arrives
    • The power goes out
    • A new friend appears
  • Sock Puppet Show

    Sock Puppet Show

    A Sock Puppet Show brings storytelling and performance together in a fun and creative way.

    Kids can make their own puppets from old socks, adding eyes, hair, or fabric scraps to create expressive characters. Once their puppets are ready, it’s time to put on a show!

    This is a great rainy-day activity that lets children explore voices, dialogue, and stage presence — all from behind a couch or cardboard theatre.


    Materials

    • Old socks
    • Glue or a needle and thread (with adult help)
    • Buttons, googly eyes, scraps of felt or fabric, yarn for hair
    • Cardboard box (optional, to create a puppet theatre)

    Tools

    • Glue (fabric or PVA)
    • Scissors
    • Needle and thread (optional)

    Steps

    1. Gather old, clean socks and lay out decorations like buttons, yarn, and fabric scraps.
    2. Help children glue or sew on eyes, hair, or clothes to turn the sock into a character.
    3. Let the glue dry before play if needed.
    4. Use a couch or cut a hole in a cardboard box to act as the puppet stage.
    5. Encourage children to make up stories or funny voices and put on a short performance.

    Variations

    • Story Challenge: Give each puppet a character and work together to create a story beginning, middle and end.
    • Interview Time: Pretend the puppets are on a talk show and ask them silly questions.
    • Theme It: Base the puppets around animals, superheroes, or storybook characters.

    Why It’s Great

    • Boosts Imaginative Play – Kids get to create both the characters and the show.
    • Encourages Public Speaking – Performing behind a puppet gives children confidence.
    • Reduces Waste – A brilliant use for old socks and scraps of craft material.
  • Rose Perfume

    Rose Perfume

    Making rose perfume is a lovely, hands-on sensory activity that uses real petals to create a gentle floral scent. It’s simple enough for younger children and provides a creative connection to the natural world — especially if you can gather the petals together in a garden or park.

    Children can explore textures, smells, and colours while learning about plants and making something they can proudly bottle up. The end result is more of a floral water than a true perfume, but the process is what makes it magical.


    Materials

    • Fresh rose petals (a few handfuls — the more fragrant, the better)
    • Warm water (not boiling)
    • A jar or bowl
    • A sieve or muslin cloth
    • A clean small bottle or container (optional, for storage)

    Tools

    • Spoon for stirring
    • Jug (optional, for pouring)

    Steps

    1. Gather rose petals — either from the garden or a bunch of fading roses (ask permission first!).
    2. Place the petals in a jar or bowl and gently pour over warm water until they’re just covered.
    3. Let the mixture sit for at least 20–30 minutes to infuse.
    4. Stir occasionally and enjoy the scent developing.
    5. Strain the liquid through a sieve or cloth into a bottle.
    6. Use the floral water to lightly scent paper, add to play, or simply enjoy the fragrance.

    Variations

    • Use Other Flowers: Lavender, jasmine, or honeysuckle also work well if available.
    • Add Citrus Peels: A tiny bit of lemon or orange peel adds a fresh twist.
    • Decorate the Bottle: Use stickers, ribbons or labels to personalise the perfume container.

    Why It’s Great

    • Sensory Exploration – A gentle way to engage smell, sight and touch.
    • Creative Expression – Children can design, mix and decorate their own “product”.
    • Nature Appreciation – Encourages close observation and appreciation of plants.

    Safety Tips

    • Always supervise closely, especially with younger children handling petals and warm water.
    • Do not ingest the perfume or apply it to skin — it’s for fun and smell only.
    • Only use flowers that are known to be safe and unsprayed — avoid florist or roadside plants unless you’re sure.
  • Tag

    Tag is a classic game that never gets old. With no setup and no special equipment needed, it’s an instant go-to for outdoor fun. One player is “it” and tries to tag the others—once someone’s tagged, they become “it,” and the chase continues!

    There are countless variations too—like freeze tag, shadow tag, or tunnel tag—that keep things fresh and fun. Whether in the backyard, park, or schoolyard, tag gets kids moving, thinking fast, and working on coordination and social play. Plus, it’s fantastic exercise disguised as a game.


    Materials Needed

    • None


    Tools Needed

    • None


    Steps

    1. Choose a Play Area: Pick a safe, open space with plenty of room to run.

    2. Select Who’s “It”: Choose one child to start as the tagger.

    3. Start the Chase: The tagger tries to touch another player, who then becomes the new tagger.

    4. Add Variations (Optional): Try freeze tag (players freeze when tagged) or shadow tag (tag by stepping on someone’s shadow).

    5. Keep It Moving: Play as long as the energy lasts!


    Variations

    Check out this list of fun variations on the classic tag game

  • Bounce on a Trampoline

    There’s nothing quite like the feeling of bouncing on a trampoline. It’s exciting, physically engaging, and packed with benefits for kids’ development. Trampolining helps improve balance, coordination, spatial awareness, and muscle strength—all while delivering big-time fun.

    Kids can jump freely, play “bounce and freeze” games, or create their own silly trampoline routines. For added challenges, try games like “crack the egg,” “bum bounce,” or “copycat jumps.” Whether solo or with siblings (one at a time for safety!), it’s a fantastic way to enjoy the outdoors and get moving.


    Materials Needed

    • Trampoline (with safety net if possible)


    Tools Needed

    • None


    Steps

    1. Set Ground Rules: Make sure kids understand safe jumping—one at a time, no flips unless trained, and stay away from the edge.

    2. Warm Up: A few light bounces to start.

    3. Free Bounce or Play a Game: Try challenges like “freeze mid-jump,” “bounce and catch,” or “count to 100.”

    4. Cool Down: End with gentle bouncing or stretching to wind down.

  • Bat & ball

    Sometimes the simplest games are the most satisfying. A bat and ball can turn any outdoor space into a playground for skill-building, exercise, and laughter. Whether you’re practicing gentle hits with younger kids or setting up a full mini game of rounders or cricket, bat & ball play encourages hand-eye coordination, balance, and movement.

    You can keep it casual—just taking turns hitting and chasing the ball—or create fun challenges like how many times they can hit the ball without dropping it. It’s a perfect go-to activity for the garden, park, or beach.


    Materials Needed

    • Lightweight bat (plastic, foam, or wooden depending on age)

    • Ball (tennis ball, foam ball, or soft rubber ball)


    Tools Needed

    • None


    Steps

    1. Pick a Play Area: Find a safe, open space free of windows or fragile items.

    2. Demonstrate the Basics: Show your child how to hold the bat and gently swing.

    3. Take Turns: One person hits while the other throws or pitches the ball.

    4. Make It a Game: Count consecutive hits, run between points, or play a casual match.

    5. Adjust for Age: Use softer equipment and underhand throws for younger kids.

  • Play a Board Game

    Board games are a fantastic way to bring the whole family together. Whether it’s a fast-paced matching game or a thoughtful strategy challenge, they help kids practice important skills like taking turns, problem-solving, counting, and teamwork—all while having fun.

    You can choose a game that fits your child’s age and mood, from memory games to trivia, dice-based races, or storytelling games. Many require minimal setup and are perfect for indoor play. If you’re feeling extra creative, you could even design your own board game as a bonus activity!


    Materials Needed

    • A board game suited to your child’s age (e.g. Snakes & Ladders, Guess Who, Uno, Connect 4, etc.)


    Tools Needed

    • None (just the game itself)


    Steps

    1. Pick a Game: Choose one that matches the number of players and energy level (some are calm, others get competitive!).

    2. Set Up the Game: Lay out the board, pieces, and instructions.

    3. Go Over the Rules: Read the rules aloud, or have kids help explain if they already know them.

    4. Start Playing: Take turns, keep score if needed, and encourage fair play.

    5. Celebrate the Fun: Win or lose, focus on laughter, learning, and spending time together.

  • Make a secret den

    There’s something magical about having a secret hideout all your own. With just a few household items, kids can create their very own den—a cozy space to curl up with a book, play quietly, or let their imaginations run wild. Drape blankets over chairs, add pillows and soft lighting, and voilà! You’ve got a private fort that feels like a whole new world.

    Whether it becomes a spy headquarters, fairy castle, reading nook, or nap zone, making a secret den is a wonderful way to spark creativity and give kids a comforting space of their own. It’s also great for quiet time after more energetic play.


    Materials Needed

    • Blankets or large sheets

    • Pillows or sofa cushions

    • Fairy lights or battery-powered torches

    • Stuffed animals or favorite toys

    • Books or drawing supplies for inside the den


    Tools Needed

    • Chairs or furniture to anchor the den

    • Clothespins, clips, or rubber bands (optional, to secure blankets)


    Steps

    1. Pick a Location: Choose a safe space with enough room—under a table, between chairs, or against the couch.

    2. Build the Frame: Use chairs, furniture, or even a drying rack as the den’s structure.

    3. Drape Blankets: Hang blankets or sheets over the frame to create walls and a roof.

    4. Make It Cozy: Line the floor with cushions, pillows, or sleeping bags.

    5. Add Details: Place books, toys, fairy lights, or decorations inside to make it feel special.

    6. Keep It a Secret (optional!): Add a “no grown-ups allowed” sign or password for fun.

  • Animal Impressions


    Bring the wild kingdom indoors (or out!) with this energetic and imaginative game. Animal Impressions encourages children to pick or be assigned an animal, then act out how it moves and sounds. They can take turns guessing each other’s animals, race across the room, or even interact in character—just imagine a gorilla meeting a flamingo!

    This game promotes physical play, creativity, and social interaction while also burning off extra energy. For extra fun, kids can create simple animal face masks beforehand using paper plates or cardboard.

    Whether you’re looking for a quick burst of silliness or a full-on pretend play session, this one’s guaranteed to get laughs.

  • Fifteens: A Sweet Northern Irish Treat

    Fifteens: A Sweet Northern Irish Treat

    Fifteens are a classic no-bake traybake from Northern Ireland, named after their super simple recipe: 15 marshmallows, 15 digestive biscuits, and 15 glacé cherries. Mixed together with condensed milk and rolled in coconut, they’re a fun and tasty way for kids to practice measuring, counting, and stirring.

    This is a great intro-to-cooking activity for younger children—there’s no heat involved, and kids love squishing the sticky mixture together. It’s a sensory delight, a cultural tradition, and a sweet treat all in one.

    Materials Needed

    • 15 digestive biscuits (or graham crackers)

    • 15 glacé cherries (halved)

    • 15 mini marshmallows

    • ~½ tin of sweetened condensed milk (adjust as needed)

    • Desiccated coconut (for rolling)

    Tools Needed

    • Mixing bowl

    • Rolling pin (or something to crush the biscuits)

    • Spoon or spatula

    • Greaseproof paper/cling film/plastic wrap

    • Refrigerator

    Steps

    1. Crush the Biscuits: Place biscuits in a ziplock bag and crush them using a rolling pin or your hands.

    2. Chop the Cherries: Halve or quarter the glacé cherries for easier mixing.

    3. Mix Everything: In a large bowl, combine crushed biscuits, marshmallows, and cherries. Add enough condensed milk to bind everything together into a sticky dough.

    4. Shape the Roll: Lay out greaseproof paper, sprinkle it with desiccated coconut, and shape the mixture into a log. Roll it up tightly in the coconut and wrap in the cling film.

    5. Chill: Refrigerate for at least 4 hours (or overnight) until firm.

    6. Slice & Serve: Cut into—yep—15 slices, and enjoy!

  • Mystery Drawing

    Mystery Drawing

    Looking for a hilarious group drawing activity that sparks creativity and teamwork? Try Mystery Drawing! This game invites each player to draw one part of a creature, person, or animal—without seeing what anyone else has drawn. The result? A totally unexpected and often hilarious mash-up!

    All you need is a piece of paper and something to draw with. It’s a great way to break the ice, encourage imagination, and create art without any pressure to “get it right.” This is perfect for rainy days, parties, or quiet creative time with family or friends.

    Materials Needed

    • Blank paper (printer or notebook paper works great)

    • Pencils, pens, or crayons

    Tools Needed

    • None

    Steps

    1. Fold the Paper: Fold the sheet horizontally into equal sections (3–4 works best).

    2. Draw the First Part: One person draws a head (human, animal, or imaginary creature) in the top section.

    3. Fold & Pass: Fold the paper back to hide the drawing and pass it to the next player.

    4. Continue Drawing: Each person draws the next part (neck/torso, legs, feet, etc.), only seeing a hint of where to continue.

    5. Final Reveal: Once all sections are filled, unfold the paper and reveal the silly surprise creation!

  • Host a Comedy Show

    Kids Tell the Best Jokes!

    Get ready to laugh out loud! Hosting a kid-friendly comedy show is a fun and empowering way to help children practice public speaking, develop confidence, and explore the art of timing and storytelling. Whether they’re naturally silly or a little shy, preparing and performing a short set of jokes is a low-pressure way to build communication skills and stage presence.

    Start by picking a few favorite jokes from a book or kid-friendly joke site. Then rehearse together, practicing volume, delivery, and expression. Finally, gather an audience (even just family members or stuffed animals!) and let the show begin!

    Bonus idea: film the performance or add silly costumes and a microphone for extra fun!

    Materials Needed

    • A list of jokes (from a book, printout, or website)

    • Notebook and pen (for writing the joke set)

    • Optional props: toy microphone, costume accessories, hat, sunglasses, bowtie, etc.

    • Optional: small stage area or “comedy club” setup with chairs for an audience

    Tools Needed

    • None required

    • Optional: phone/tablet to record the performance

    Steps

    1. Pick the Jokes: Choose 5–7 kid-appropriate jokes from a book or website.

    2. Practice Delivery: Help your child rehearse speaking clearly, using pauses for effect, and adding facial expressions or gestures.

    3. Set the Stage: Designate a “performance area” and invite family or toys as the audience.

    4. Put on the Show: Encourage applause and laughter—it helps build confidence!

    5. Optional Fun: Record the show to play back later or share with family and friends.

  • DIY Scrapbook

    DIY Scrapbook

    Looking for a hands-on activity that combines creativity with nostalgia? Scrapbooking is the perfect way to preserve cherished family memories while giving kids a chance to express themselves through art and design.

    Work together to build a scrapbook filled with photos, drawings, ticket stubs, notes, and other mementos. Kids can use colorful paper, fun stickers, and glittery pens to decorate each page while recalling the memories that go with each item. It’s a wonderful opportunity to reflect on past experiences, build storytelling skills, and create something meaningful together.

    Plus, once it’s done, you’ll have a beautiful keepsake to enjoy for years to come.

    Materials Needed

    • A blank scrapbook or notebook

    • Family photos

    • Glue sticks or glue dots

    • Safety scissors

    • Colored and decorative paper

    • Stickers, washi tape, and embellishments (buttons, ribbons, 3D stickers, etc.)

    • Pens, markers, or gel pens

    • Optional: ticket stubs, pressed flowers, postcards, or other memorabilia

    Tools Needed

    • None required (basic craft supplies only)

    Steps

    1. Choose a Theme: Vacations, birthdays, holidays, or “just because”—decide what kind of memories to capture.

    2. Gather Materials: Collect photos and keepsakes, and lay out your craft supplies.

    3. Design the Pages: Let your child choose how to arrange photos and decorations for each page.

    4. Add Captions and Stories: Write short descriptions or quotes to go along with each memory.

    5. Decorate: Use stickers, doodles, and paper cut-outs to make each page pop.

    6. Review & Reflect: Flip through the scrapbook together, remembering the stories behind each memory.

  • Backyard Bug Safari

    Materials Needed:

    • Magnifying glass
    • Bug observation container
    • Notebook and pencil
    • Bug identification guide

    Instructions:

    1. Search garden areas, under rocks, and near plants for insects
    2. Carefully observe bugs using the magnifying glass
    3. Draw pictures and take notes about what you find
    4. Try to identify the insects using the guide
    5. Release all creatures where you found them

    Learning Outcomes:

    • Understanding of local ecosystems
    • Observation and documentation skills
    • Respect for nature and living creatures
  • Indoor Obstacle Course

    Indoor Obstacle Course

    Materials Needed:

    • Pillows
    • Blankets
    • Chairs
    • Rope or string
    • Cardboard boxes

    Instructions:

    1. Clear a safe space in your home
    2. Set up crawling sections under chairs
    3. Create jumping stations with pillows
    4. Make balance beams with rope
    5. Design tunnels with boxes

    Safety Tips:

    • Ensure all items are stable
    • Remove any sharp objects
    • Provide soft landing areas
  • DIY Musical Instruments

    DIY Musical Instruments

    Materials Needed:

    • Empty plastic containers
    • Dried beans or rice
    • Rubber bands
    • Empty paper towel rolls
    • Decorative materials

    Instructions:

    1. Make shakers using containers filled with beans
    2. Create guitars with boxes and rubber bands
    3. Build rain sticks with paper towel rolls
    4. Decorate your instruments
    5. Have a family concert!
  • Nature Color Hunt

    Nature Color Hunt

    Materials Needed:

    • Color chart or paint samples
    • Collection bag
    • Camera (optional)
    • Notebook

    Instructions:

    1. Create a list of colors to find
    2. Search the outdoor area for matching items
    3. Document findings with photos or drawings
    4. Discuss the different shades found in nature
  • Shadow Puppet Theater

    Materials Needed:

    • White sheet or paper
    • Cardboard box
    • Flashlight or lamp
    • Black paper
    • Scissors
    • Sticks or straws

    Instructions:

    1. Cut a window in the cardboard box
    2. Attach white sheet to cover the window
    3. Create puppet shapes from black paper
    4. Attach puppets to sticks
    5. Set up light source and perform!
  • Balloon Rocket Race

    Ready, set, launch! The Balloon Rocket Race is an exciting hands-on activity that doubles as a fun game and a simple science experiment. Kids will use balloons to power rockets along a string, learning about air pressure, force, and motion along the way.

    This activity is perfect for siblings or friends to compete and see whose balloon travels the fastest—or longest! It’s quick to set up, low cost, and full of energy. Plus, it sparks curiosity about how things move and what makes them go faster or farther.

    Materials Needed

    • Balloons (1 per player)

    • String (about 6–10 feet per race track)

    • Straws (1 per balloon)

    • Tape (scotch or masking)

    • Chairs, doorknobs, or furniture to tie the string ends to

    Tools Needed

    • Scissors (for cutting string)

    Steps

    1. Thread the Straw: Cut a length of string and thread it through a straw.

    2. Secure the String: Tie one end to a chair or doorknob and pull it tight to another fixed point.

    3. Prepare the Rocket: Inflate a balloon (don’t tie it) and tape it to the straw so the opening faces backward.

    4. Countdown and Release: Let go of the balloon and watch it fly along the string!

    5. Race and Repeat: Set up multiple tracks or race one at a time. Try changing balloon sizes or shapes to test different results.

  • Invisible Drawing

    Invisible Drawing

    Invisible Drawing is a calm, no-fuss game that requires no equipment and can be played almost anywhere — on the sofa, at bedtime, or while waiting for food to arrive.

    One person gently uses their finger to trace a shape, letter or simple picture onto someone else’s hand or back. The other player tries to guess what it was.

    It’s a sensory guessing game that builds attention, communication and fine motor skills — all while sharing a moment of close, calm connection.


    Materials

    • None

    Tools

    • None

    Steps

    1. Sit comfortably, with one person facing away or holding out their hand.
    2. The first player uses their finger to slowly draw a shape, letter, number or object.
    3. The other player tries to guess what was drawn — they can ask for it to be repeated if needed.
    4. Take turns drawing and guessing. Keep it light and fun — no need to “win”.

    Variations

    • Theme Rounds: Choose a category like animals, numbers or letters.
    • Body Swaps: Try drawing on hands, arms, backs or even knees for a giggle.
    • Guess & Act: After guessing correctly, act out the shape or word for extra fun.

    Why It’s Great

    • No Materials Needed – Perfect for quiet moments at home or on the go.
    • Boosts Focus & Memory – Encourages concentration and recall.
    • Supports Bonding – Gentle touch and turn-taking promote trust and connection.