Parental Involvement: Low

  • Hangman

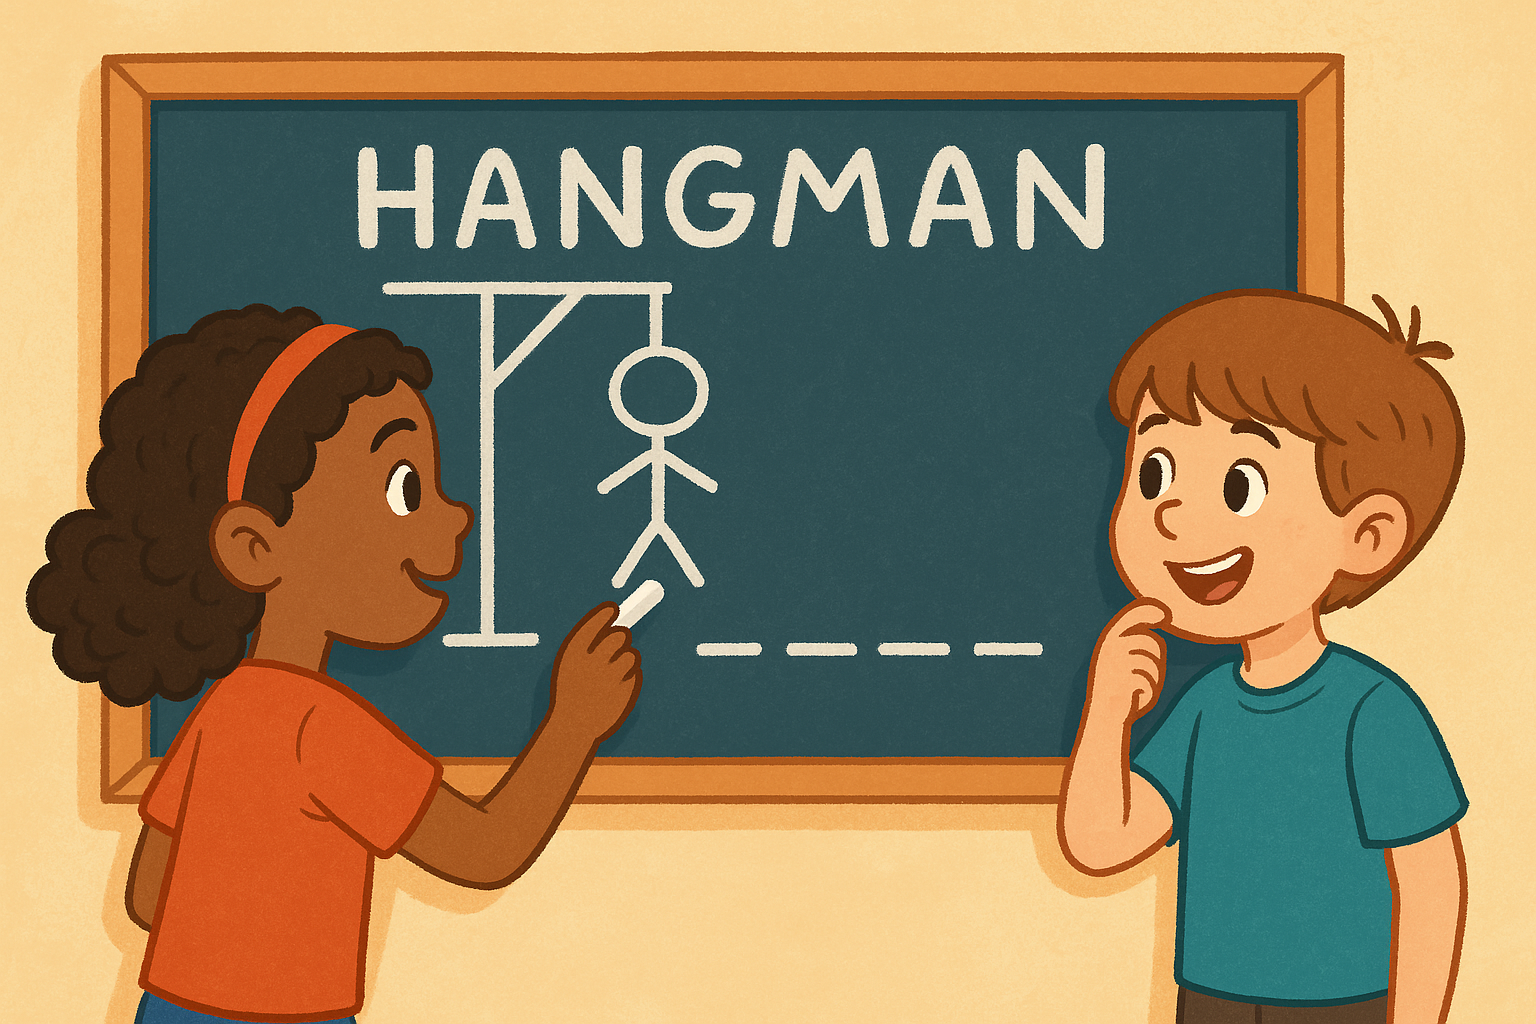
    Hangman

    Hangman is a simple, well-loved word guessing game that’s great for practising spelling, expanding vocabulary, and developing problem-solving skills. With just paper and a pencil, children can work on language skills while enjoying the challenge of solving the mystery word.

    The game is easy to adapt for different reading levels, and it can be played almost anywhere — at home, in restaurants, or even while waiting in the car.


    Materials Needed

    • Paper or small whiteboard
    • Pen, pencil, or marker

    Tools Needed

    • None

    Steps

    1. Choose a Word
      One person thinks of a word and draws blank spaces for each letter on the paper.
    2. Start Guessing
      The other player guesses letters one at a time.
    3. Fill In or Add a Part
      If the guessed letter is correct, write it in all the right spaces. If not, draw one part of the hangman figure (or an agreed alternative—see below).
    4. Keep Playing
      The game continues until the word is complete or the drawing is finished.
    5. Switch Roles
      Swap over so everyone gets a turn choosing and guessing words.

    Variations

    • Kid-Friendly Drawing: Instead of a hangman, draw something gentler — e.g. a rocket ship, flower petals, or a funny monster, adding one part for each wrong guess.
    • Word Themes: Pick a theme together (animals, food, holidays) to make guessing a bit easier.
    • Team Play: Work together as a family to solve trickier words.
    • Timed Rounds: Set a timer to add a little extra excitement for older kids.
  • Dance party

    Dance party

    A dance party is one of the easiest ways to get kids moving, laughing, and burning off energy indoors.

    Just pick some favourite music, clear a bit of space, and get dancing. Whether it’s silly moves, favourite action songs, or a freestyle boogie, it’s a brilliant way to lift the mood and build connection.

    Perfect for rainy days, birthday mornings or simply a break from the ordinary, dance parties can be short and sweet or an afternoon-long celebration.


    Materials

    • Music player or phone with speakers
    • Optional: fairy lights, scarves, or toy instruments

    Tools

    • None

    Steps

    1. Create a playlist of favourite kids’ songs or upbeat music.
    2. Clear a safe space to move around.
    3. Let the music play and dance however feels good!
    4. Encourage silly moves, group actions, or dance-offs if playing in a group.
    5. Join in — kids love when grown-ups dance too!

    Variations

    • Dance Freeze: Pause the music randomly and everyone has to freeze in place.
    • Glow Party: Use glow sticks or lights and dance in the dark for a disco effect.
    • Costume Dance: Dress up as favourite characters or use scarves and hats for extra flair.

    Why It’s Great

    • Boosts Mood and Energy – Great for shaking off a grumpy or sluggish moment.
    • Encourages Physical Movement – Especially helpful when outdoor play isn’t possible.
    • Fosters Self-Expression – Kids can show off moves and express their own style.
  • Pavement Chalk

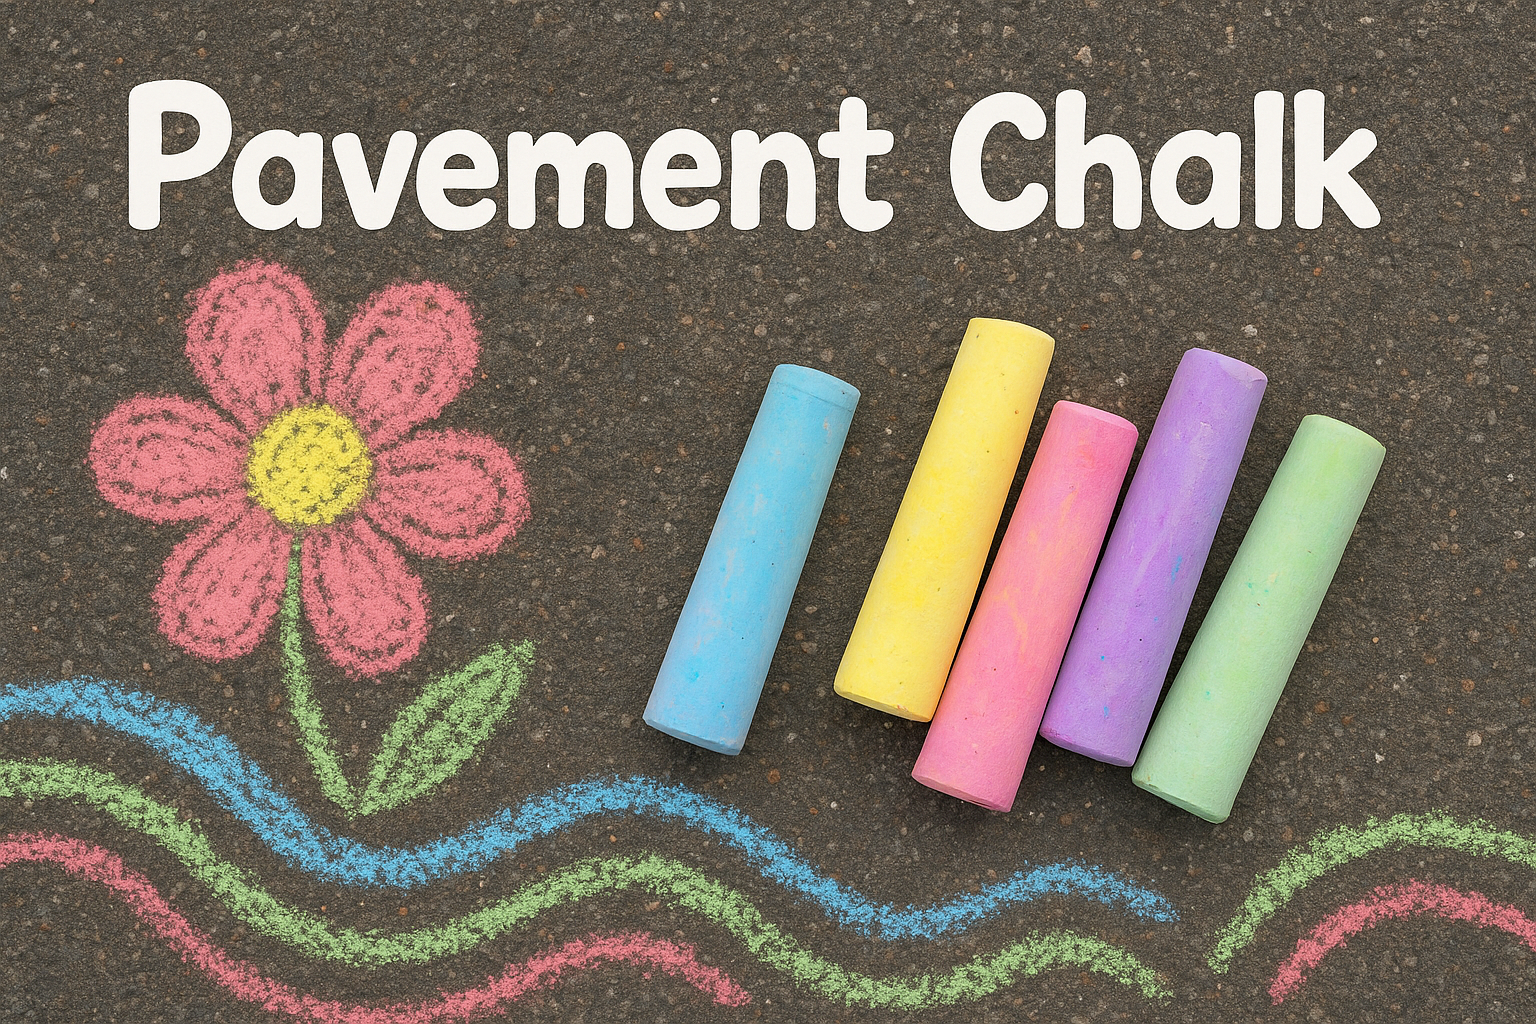
    Pavement Chalk

    Pavement chalk is a wonderfully open-ended activity that lets children transform outdoor spaces into colourful works of art. Whether they’re drawing hopscotch, sketching rainbows, or making a pretend road for toy cars, chalk offers endless opportunities for creative expression and play.

    This low-mess activity is great for driveways, patios, and pavements, and it all washes away with the next bit of rain—so no clean-up required!


    Materials Needed

    • Chunky outdoor chalk (assorted colours)
    • Optional: water and a sponge or brush for chalk painting

    Tools Needed

    • None

    Steps

    1. Choose Your Drawing Spot
      Find a dry, flat surface like a pavement, patio, or driveway.
    2. Start Drawing
      Let your child doodle freely or give them ideas like a rainbow, town map, or hopscotch grid.
    3. Try Chalk Painting
      Add a little water to the chalk for a paint-like effect using a sponge or brush.
    4. Play with the Art
      Turn drawings into part of a game—like roads for toy cars or mazes to follow.
    5. Leave a Message
      Write positive messages or doodles for neighbours to enjoy too!

    Variations

    • Chalk Obstacle Course: Draw a path with arrows, jumps, and silly instructions (e.g. spin, hop, roar).
    • Shadow Tracing: Trace the shadows of toys, trees, or people and colour them in.
    • Learning Fun: Practise letters, numbers, or simple sums in a playful way.
    • Photo Backdrop: Create a chalk scene for kids to lie in and take fun overhead photos.
  • Building Blocks

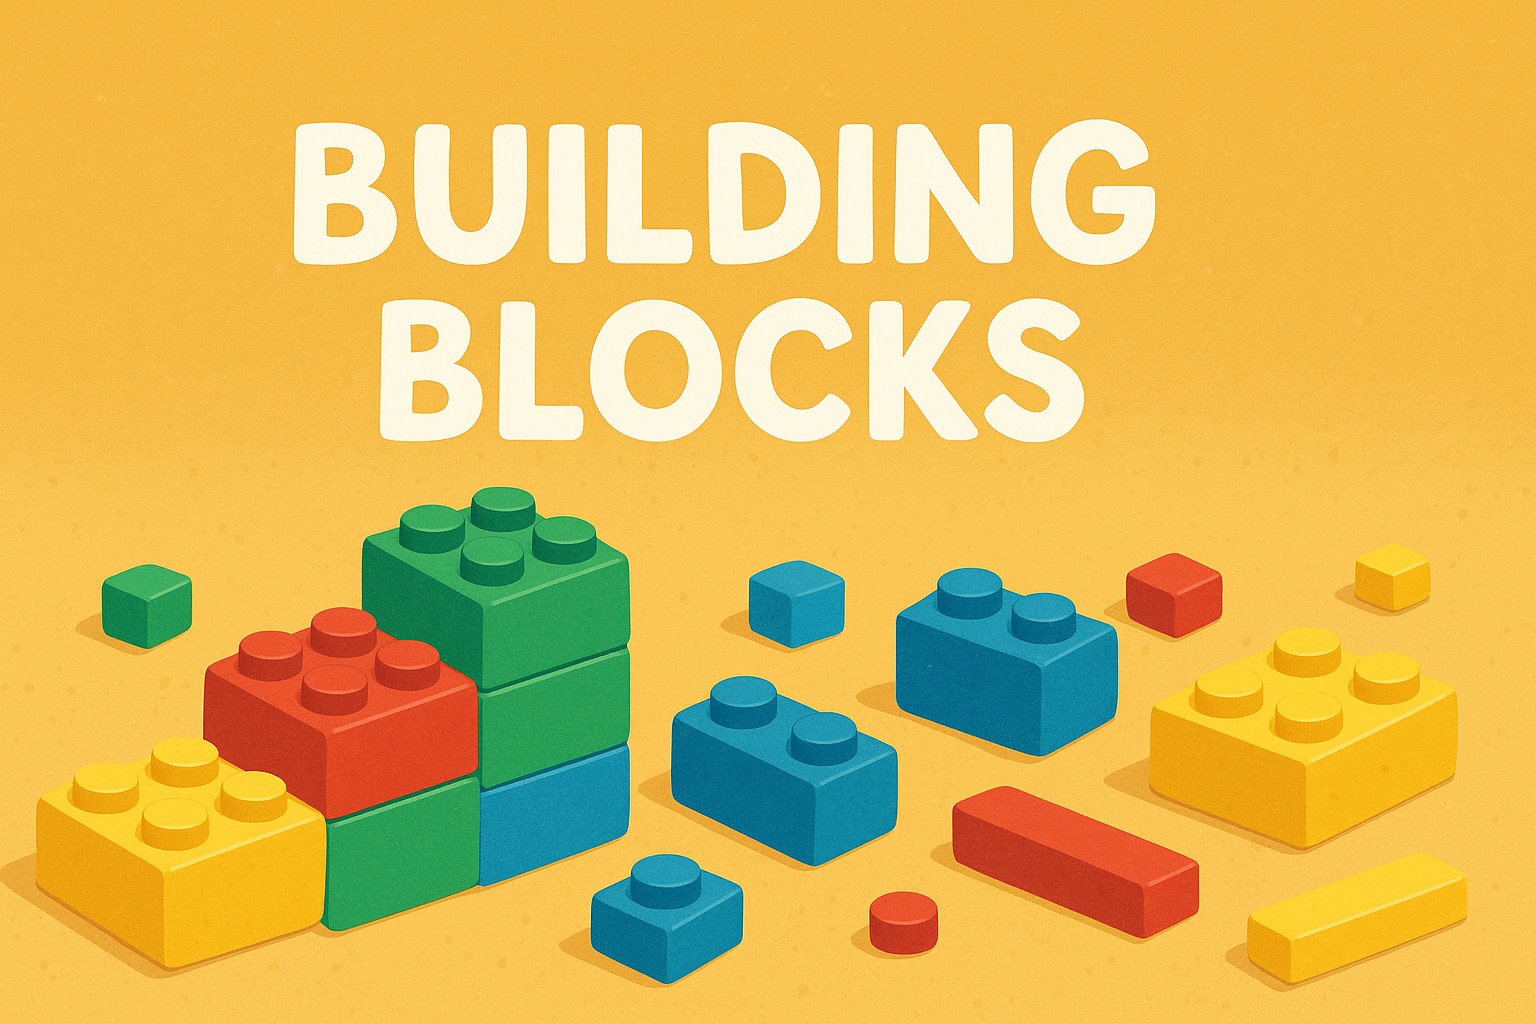
    Building Blocks

    Building blocks are a staple of childhood play for good reason—they encourage creativity, planning, fine motor skills, and a healthy dose of imagination. From towers and bridges to castles and creatures, kids can create whole worlds with just a few well-placed blocks.

    Whether your child prefers wooden blocks, plastic bricks like LEGO or DUPLO, or even recycled boxes and containers, the possibilities are endless. It’s a calming yet mentally stimulating activity that works just as well solo as it does with siblings or parents.


    Materials Needed

    • Building blocks (e.g. LEGO, DUPLO, wooden blocks, magnetic tiles)
    • Optional: toy people or animals to include in builds

    Tools Needed

    • None

    Steps

    1. Choose Your Blocks
      Gather a set of blocks suited to your child’s age and interest.
    2. Pick a Challenge (or Build Freely)
      Set a theme like “build the tallest tower” or “make a zoo”, or just let them build freely.
    3. Join the Play
      Ask about their creations, offer ideas, or just marvel at the results.
    4. Take Photos
      Snap a picture of completed builds, especially if they’ll need to be packed away.

    Variations

    • Timed Builds: Set a timer and challenge kids to build something in five minutes.
    • Story Building: Build a scene, then tell a story about what’s happening in it.
    • Shadow Building: Shine a torch on a creation and trace the shadow it makes.
    • Recycled Blocks: Use cardboard tubes, boxes, and cups for a DIY block set.
  • Water Bucket Relay

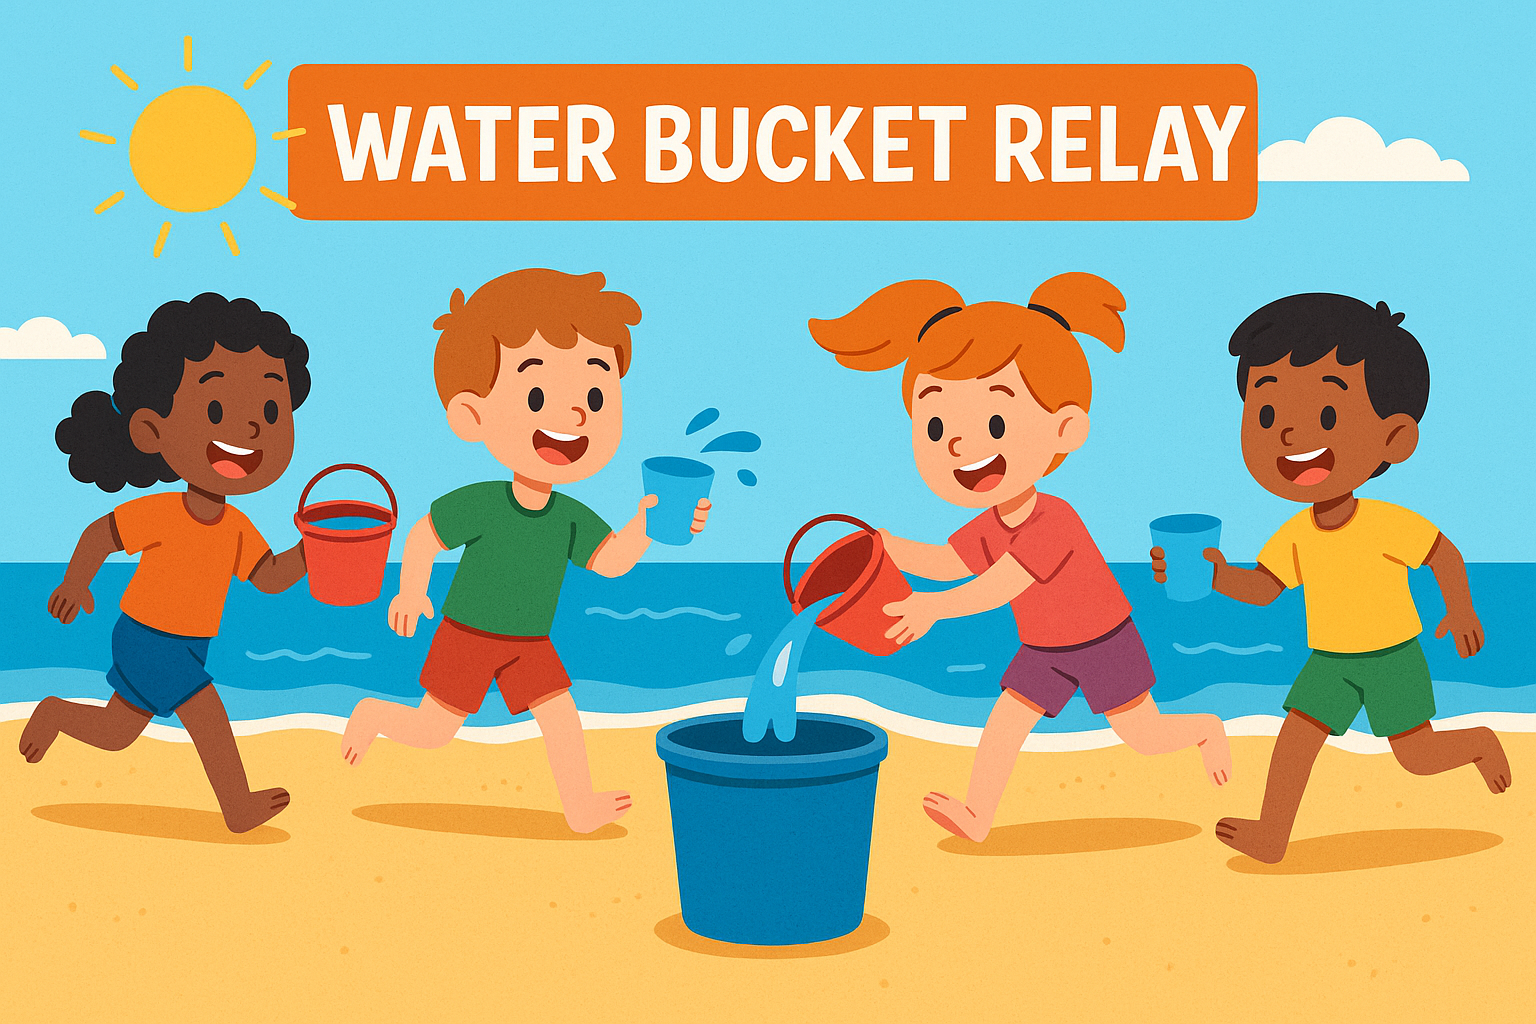
    Water Bucket Relay

    Water Bucket Relay is a brilliant way to burn off energy at the beach!

    All you need are a few cups, buckets or containers, and access to the sea or a paddling area. The goal is simple: scoop up water and race to fill a larger container or marked spot back on the sand.

    Whether playing one-on-one or in teams, kids love the excitement and silliness of running back and forth with water sloshing everywhere. It’s a perfect mix of active play, teamwork, and beachy fun.


    Materials

    • Small buckets or cups (one per player)
    • Larger container or marked spot in the sand (e.g. draw a circle)

    Tools

    • None

    Steps

    1. Set up a start line near the water and place the target (container or marked spot) further back on the sand.
    2. Give each child a small bucket or cup.
    3. On “Go!”, players race to the water, fill their container, and run back to dump it at the target.
    4. Continue until one player or team fills their target area.

    Variations

    • Team Relay: Form two or more teams and race in relay style.
    • Obstacle Course: Add zigzags or sand mounds to run around for extra challenge.
    • Sponge Version: Use sponges instead of cups for a slower, funnier twist.

    Why It’s Great

    • High-Energy Fun – Keeps kids moving and laughing on warm beach days.
    • Easy to Set Up – Uses simple materials you likely already have with you.
    • Builds Teamwork – Great for group play and learning how to work together.

    Safety Tips

    • Always supervise children near water, even shallow areas.
    • Make sure the play zone is clear of sharp shells or hazards.
    • Encourage fair play and take water breaks to stay hydrated.
  • Ring a Ring o’ Roses

    Ring a Ring o’ Roses

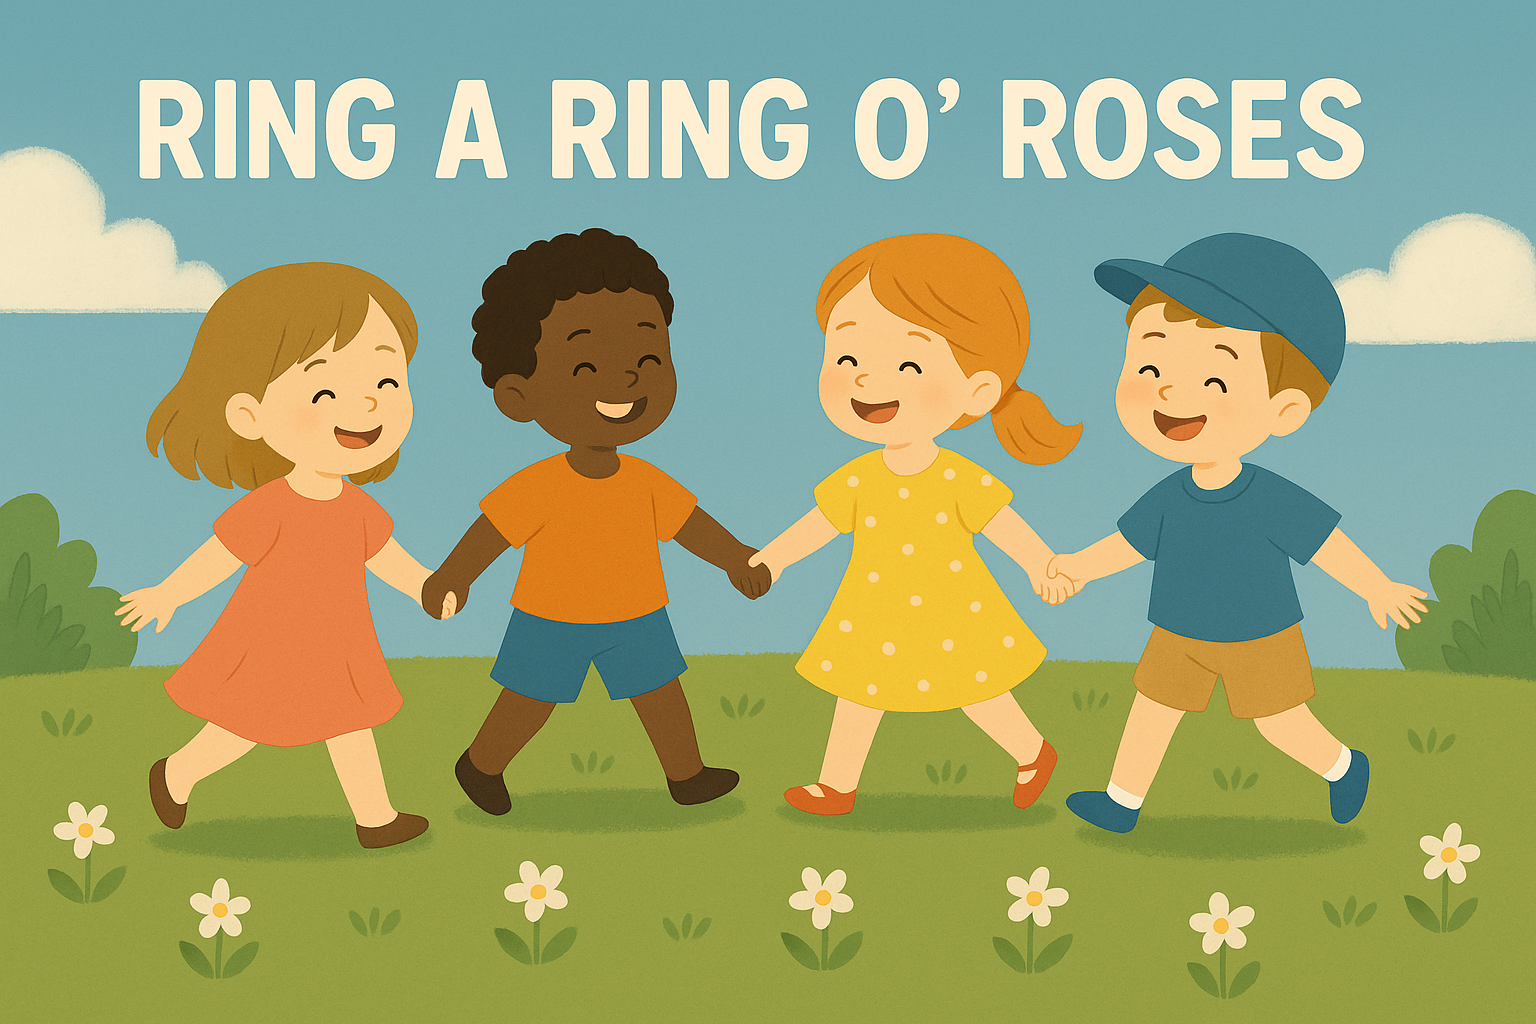
    Ring a Ring o’ Roses is a traditional circle game that combines music, movement, and social play.

    Children join hands and walk or skip in a circle while singing the familiar rhyme—then collapse into giggles when everyone “falls down” at the end!

    It’s simple, sweet, and perfect for younger children who enjoy group play without competition. This classic game supports coordination, rhythm, and cooperative movement, and it works just as well indoors as it does in the garden or playground.


    Materials Needed

    • None


    Tools Needed

    • None


    Steps

    1. Form a Circle: Children hold hands and stand in a ring.

    2. Sing Together: Start singing the traditional rhyme:

    Ring a ring o’ roses,

    A pocket full of posies,

    A-tishoo! A-tishoo!

    We all fall down!

    3. Move in a Circle: As you sing, walk or skip gently around the circle.

    4. Fall Down: On the final line, everyone falls gently to the ground!

    5. Repeat: Get up, giggle, and start again with extra verses or different movements.


    Variations

    Silly Falls: Instead of falling down, try freezing, jumping, or making a funny pose.

    Animal Theme: Move like different animals as you go around the circle (e.g. hopping like bunnies).

    Instrumental Version: Use hand bells or shakers to accompany the rhyme.

    Toddler Friendly: Slow down the pace and sing just the first verse for very young children.

  • Leaf Rubbing Art

    Leaf Rubbing Art

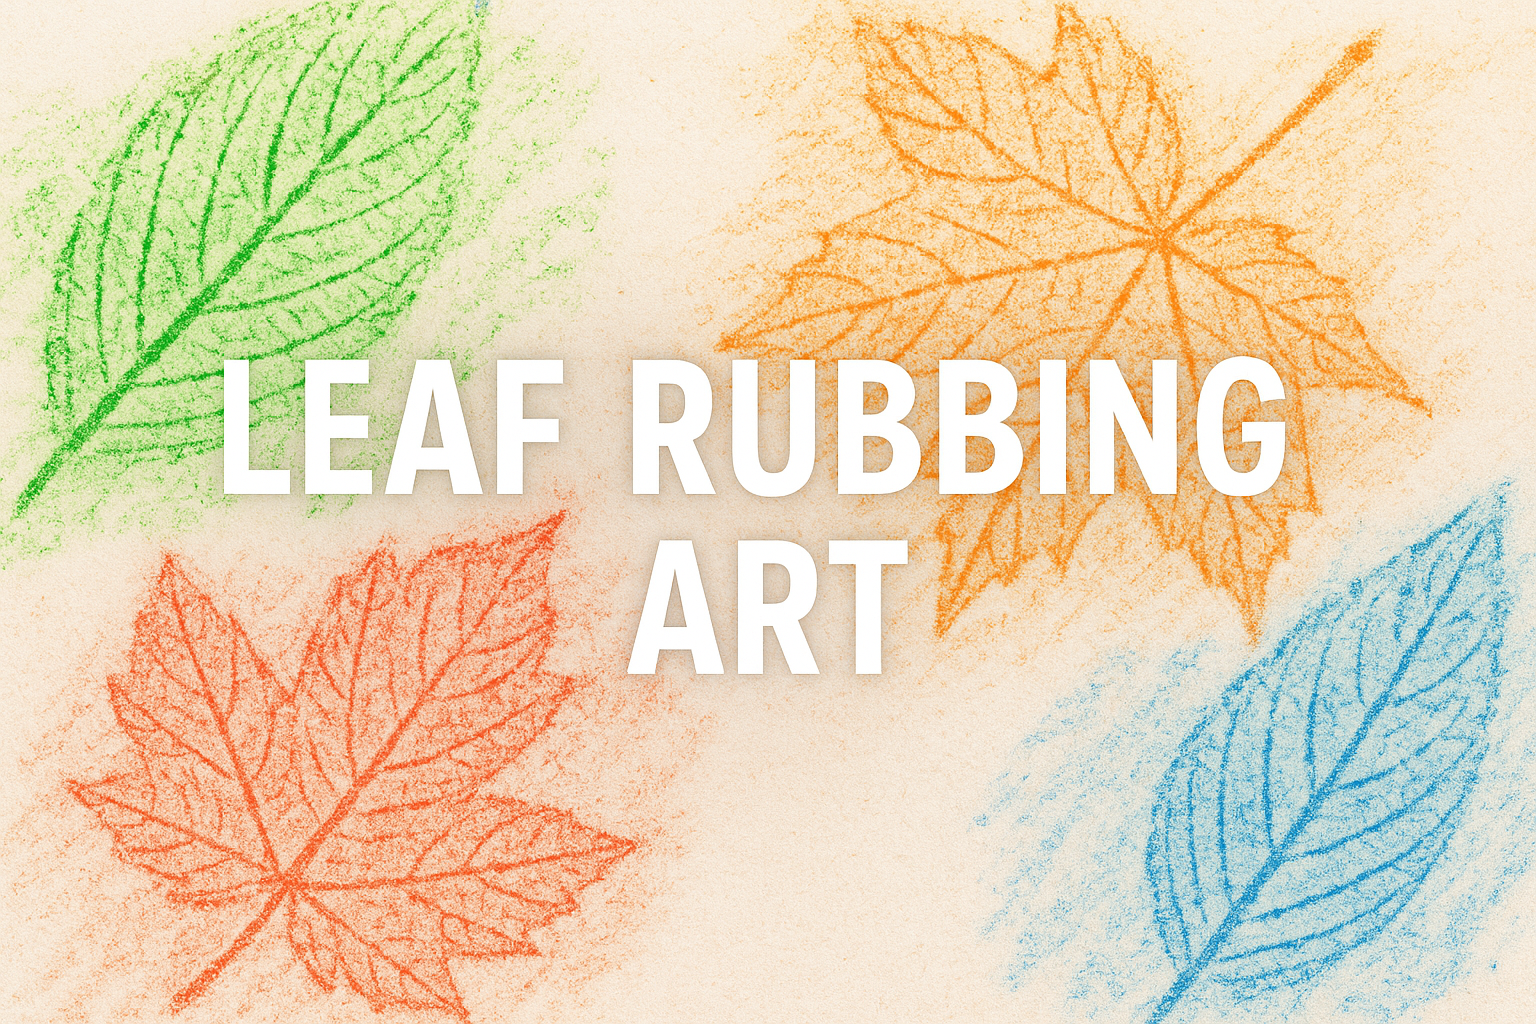
    Leaf rubbing art is a simple and satisfying way for children to explore the natural textures found outdoors. By placing a leaf under paper and rubbing over it with crayons or pencils, kids can reveal beautiful, detailed patterns and learn about leaf shapes and structures.

    This activity is perfect for all seasons, especially autumn, when leaves come in all shapes, sizes, and colours. It also supports fine motor skills, sensory awareness, and creative expression—and all you need are a few basic supplies.


    Materials Needed

    • Assorted leaves (fresh or dry, ideally flat)
    • White paper
    • Crayons or coloured pencils (peeled crayons work best)

    Tools Needed

    • None

    Steps

    1. Collect Leaves
      Go on a nature walk or explore the garden to find leaves in different shapes and sizes.
    2. Set Up
      Place a leaf underside-up on a hard surface. Lay a piece of paper over the top.
    3. Rub Gently
      Using the side of a crayon or pencil, rub gently over the paper. The leaf’s texture will appear as a raised pattern.
    4. Experiment
      Try overlapping rubbings, using different colours, or making a patterned collage.
    5. Display the Art
      Hang your creations on the wall, turn them into greeting cards, or use them for a nature journal.

    Variations

    • Rainbow Leaves: Use multiple crayon colours on one leaf for a vibrant effect.
    • Seasonal Collage: Arrange different leaf rubbings into a seasonal scene or tree shape.
    • Leaf ID Activity: Label your rubbings with the tree or plant name, using a guidebook or app.
    • Mixed Texture Art: Combine leaf rubbings with bark or flower rubbings for a full nature texture collage.
  • Nature Bingo

    Nature Bingo

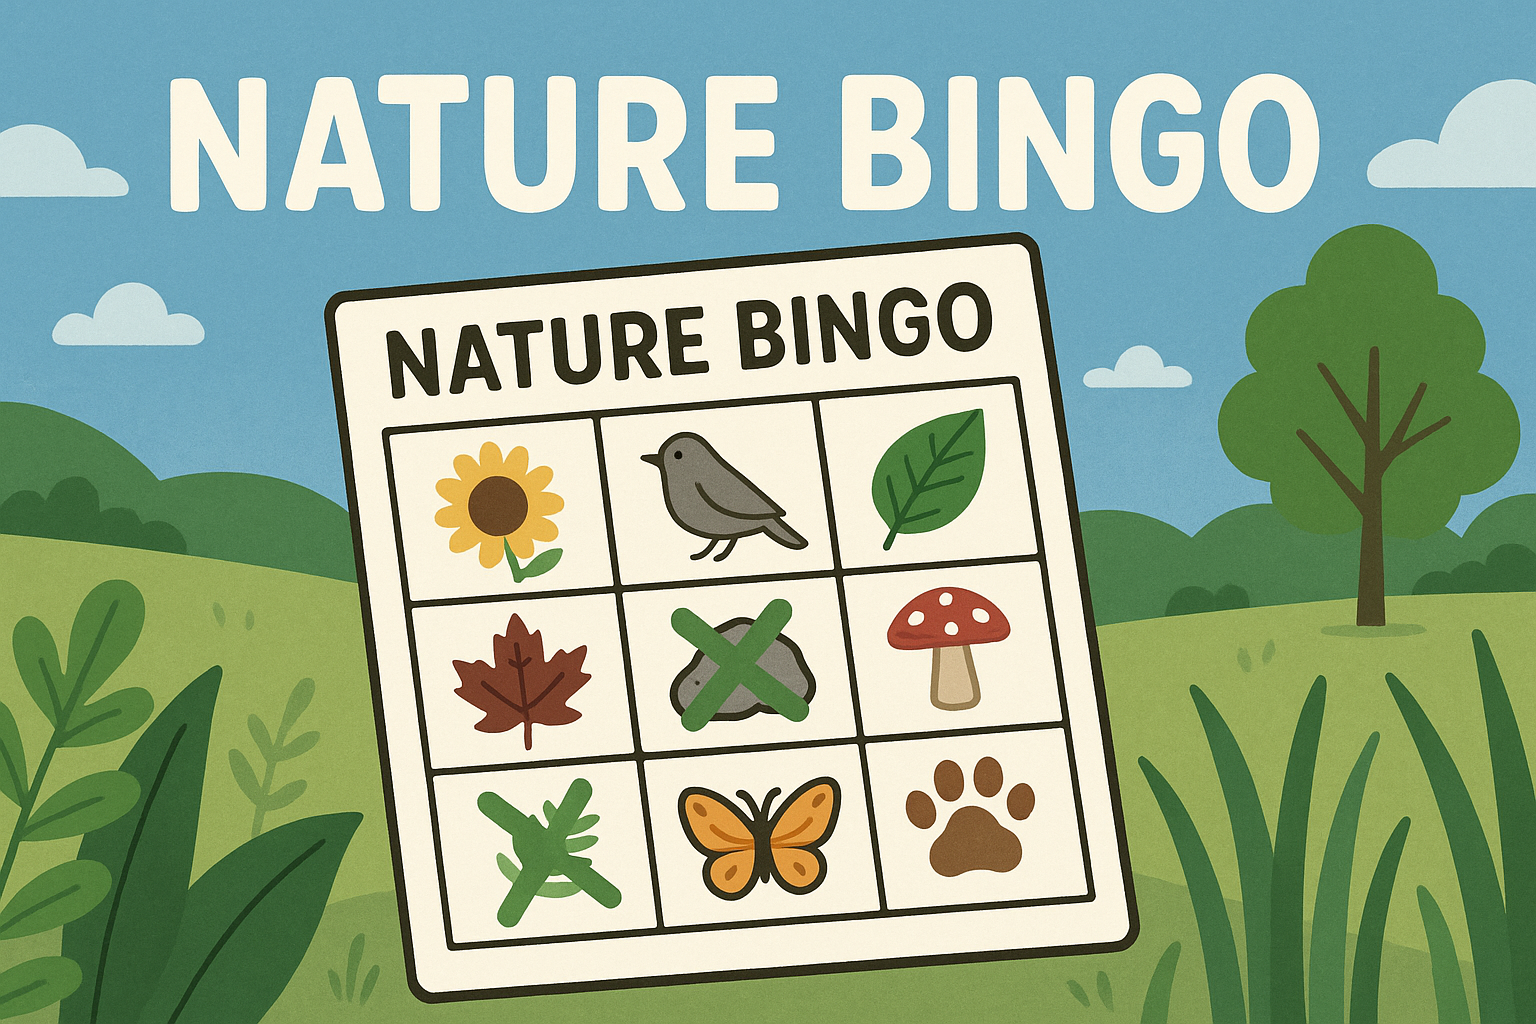
    Nature Bingo is a fun and flexible way to get children excited about exploring the outdoors. Instead of numbers, each bingo square features something to spot in nature—like a feather, a butterfly, a pinecone, or a dandelion.

    Whether you’re walking in the woods, visiting the park, or playing in the back garden, this activity encourages kids to look closely at their environment. It builds focus, observation skills, and a love of nature—all wrapped up in a simple game.


    Materials Needed

    • Printable bingo sheet (or draw your own)
    • Crayons, pencils, or stickers to mark off squares
    • Clipboard or firm surface (optional)

    Tools Needed

    • None

    Steps

    1. Prepare the Bingo Cards
      Print or create bingo cards with 9–16 nature items or features to find.
    2. Set the Area
      Decide whether you’re playing in a garden, park, woods, or on a walk.
    3. Go Exploring
      Children walk around trying to spot items on their bingo card and mark them off as they go.
    4. Call Bingo!
      When someone finds all items in a row (or the whole card), they shout “Bingo!”
    5. Celebrate the Win
      Offer a small reward or let them lead the next round.

    Variations

    • Theme Cards: Create bingo sheets based on seasons (spring flowers, autumn leaves) or locations (woodland, seaside).
    • Photo Challenge: Use a camera or phone to take pictures instead of marking off the squares.
    • Timed Bingo: See how many items children can find in 10 minutes for a fast-paced version.
    • Sound Bingo: Include things to hear—like birdsong, rustling leaves, or buzzing insects.
  • Make Daisy Chains

    Make Daisy Chains

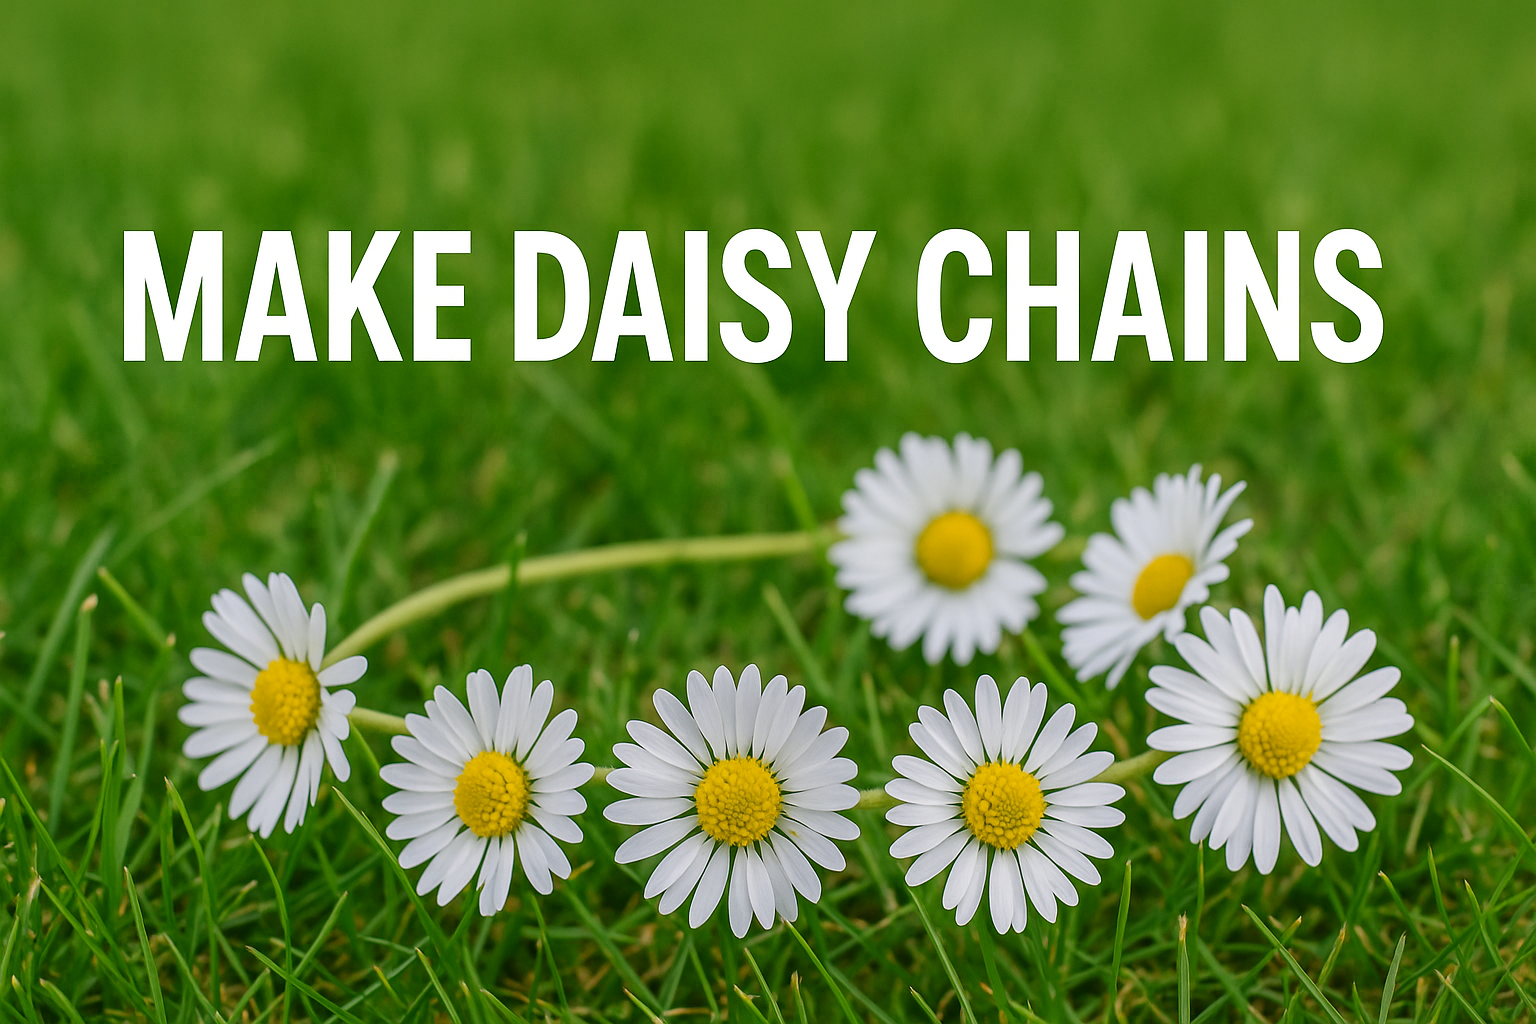
    Making daisy chains is a peaceful, traditional outdoor activity that children have enjoyed for generations. All you need is a patch of daisies, a bit of patience, and some nimble fingers to create necklaces, bracelets, and even crowns from freshly picked flowers.

    This calming craft supports fine motor skills, hand-eye coordination, and encourages children to appreciate the small wonders of nature. It’s perfect for parks, gardens, or anywhere daisies grow in abundance.


    Materials Needed

    • Freshly picked daisies with long stems

    Tools Needed

    • None (optional: small scissors for tricky stems)

    Steps

    1. Pick the Daisies
      Choose daisies with stems at least 7–10cm long. Be gentle to avoid snapping them.
    2. Make a Slit
      Use your fingernail or a small tool to gently make a slit near the top of the stem.
    3. Thread the Next Daisy
      Slide the stem of the next daisy through the slit. Repeat this step to grow your chain.
    4. Keep Going
      Continue threading daisies until your chain is the length you want.
    5. Finish It Off
      Loop the final stem back through the first daisy’s slit to close the circle, or tie off with a spare stem.

    Variations

    • Mixed Flower Chains: Use buttercups or clover to add variety to your chain.
    • Daisy Crowns: Make longer chains and wrap them into a circle to wear as a headpiece.
    • Nature Bracelets: Wrap around your wrist and tie gently with grass or thread.
    • Floral Art: Use leftover flowers to create flat floral mandalas on the ground.
  • Bark Rubbings

    Bark Rubbings

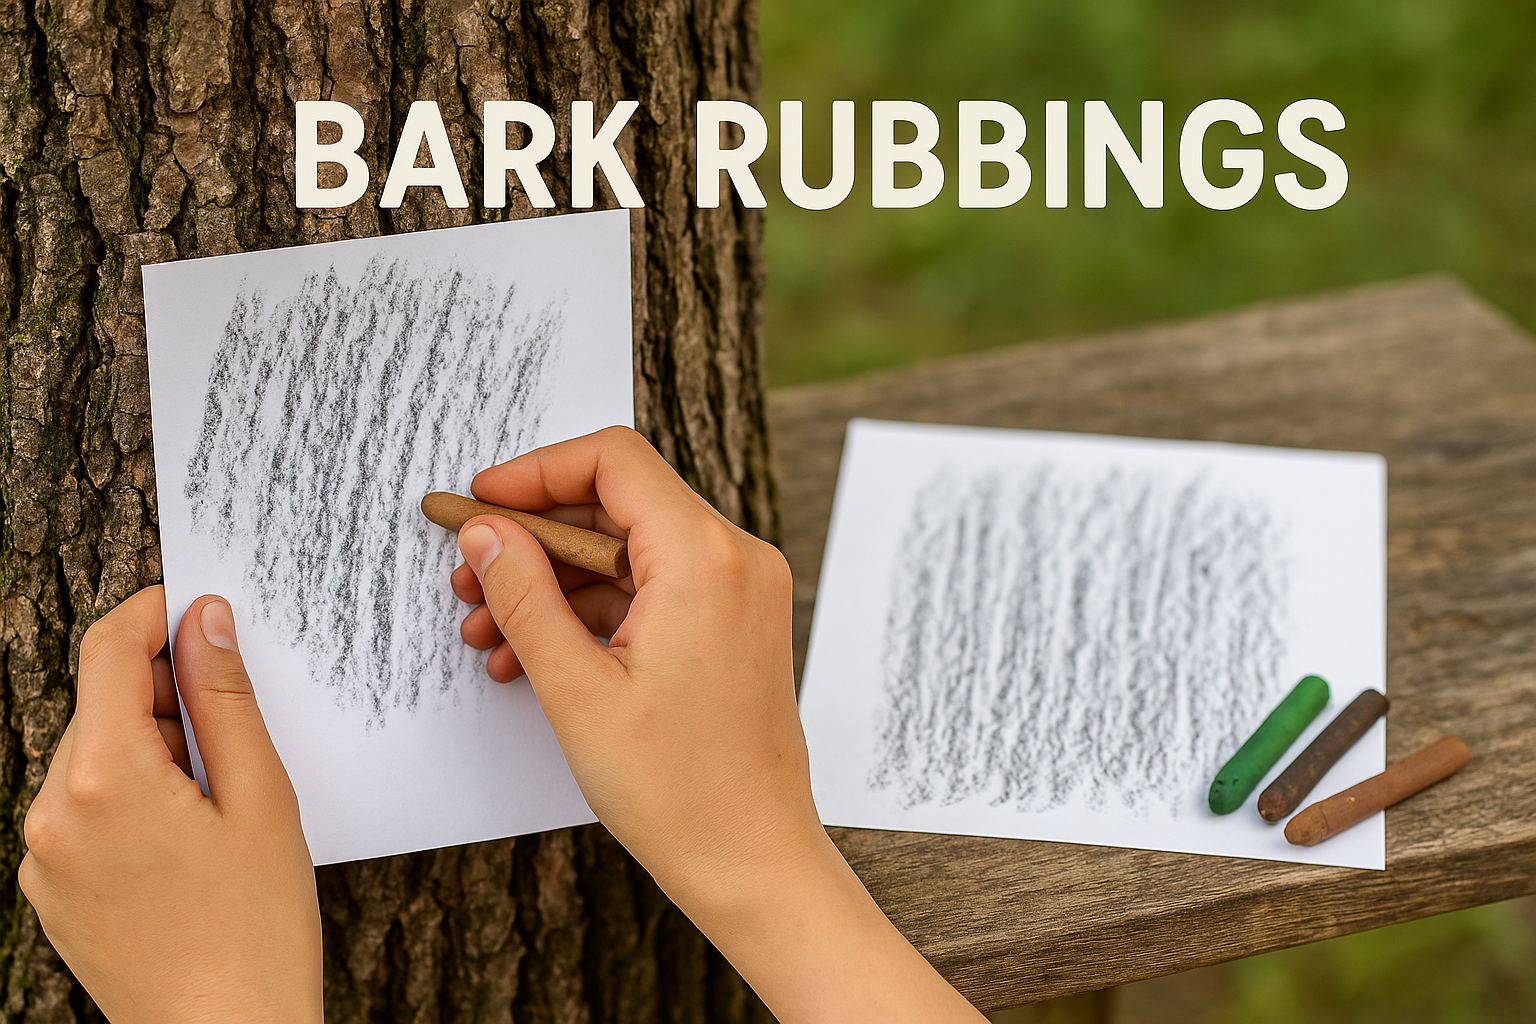
    Bark rubbings are a wonderful way to explore the natural textures of trees while encouraging artistic expression. By gently rubbing crayons over paper placed on tree trunks, children can reveal the intricate patterns of bark in surprising detail.

    This calming, low-mess activity supports observation skills, fine motor development, and creative thinking. It also encourages a deeper appreciation for trees and the variety of textures found in the natural world.


    Materials Needed

    • Paper (A4 or smaller, depending on tree size)
    • Crayons or chalk (peeled works best)
    • Clipboard or book (optional, for support)

    Tools Needed

    • None

    Steps

    1. Choose a Tree
      Find a tree with interesting bark. Avoid trees with peeling or fragile bark.
    2. Position the Paper
      Hold the paper flat against the bark, using a clipboard or book behind if needed.
    3. Rub Gently
      Use the side of a crayon to gently rub across the paper. The bark’s texture will start to appear.
    4. Try Different Trees
      Compare textures from multiple trees—no two rubbings will be alike!
    5. Display or Save
      Turn rubbings into tree-themed art or start a nature texture collection.

    Variations

    • Tree ID Activity: Try identifying the trees based on your rubbings using a field guide.
    • Texture Hunt: Extend the idea to leaves, stone, or wood fencing.
    • Seasonal Art: Combine rubbings with cut-out leaves or drawings for a themed nature collage.
    • Create a Bark Rubbing Booklet: Collect rubbings from different locations and bind them into a booklet.
  • Musical Statues

    Musical Statues

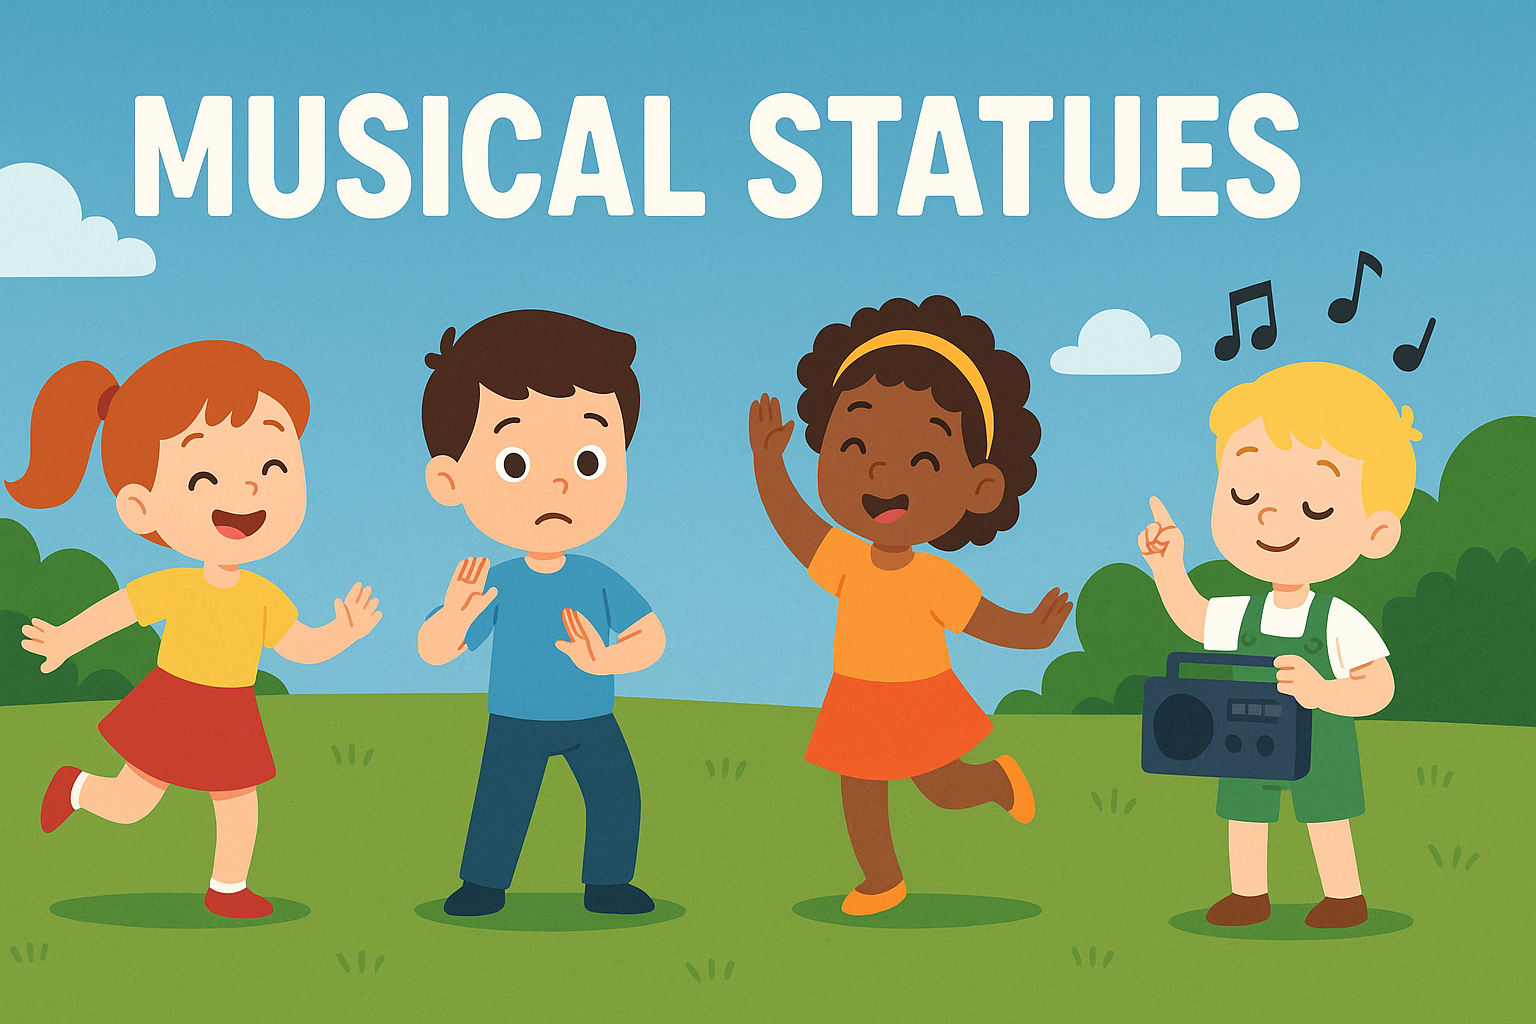
    Musical Statues is a classic movement game that gets kids grooving, laughing, and listening.

    As the music plays, children dance freely around the room—but when the music stops, they must freeze like statues! Anyone who moves is out, or just play for fun and see who can hold the silliest pose.

    This activity supports listening skills, rhythm, and self-control while burning off plenty of energy. It’s perfect for parties, indoor play, or even a spontaneous kitchen disco. No special equipment needed—just music and a little space!


    Materials Needed

    • Music player (phone, speaker, radio, etc.)

    • Open space for dancing


    Tools Needed

    • None


    Steps

    1. Choose Music: Pick upbeat songs your child loves—pop, dance, or silly tunes work best.

    2. Start Dancing: Everyone dances around the space while the music plays.

    3. Freeze!: Pause the music at random intervals. Players must freeze instantly and hold their pose.

    4. Spot Movers (optional): For a more competitive version, eliminate anyone who moves. Otherwise, just keep dancing and freezing for fun.

    5. Keep the Game Going: Add silly themes like “freeze like an animal” or “pose like a superhero” for extra laughs.


    Variations

    Theme Poses: Freeze in themed poses like animals, letters, or famous characters.

    Slow-Mo Round: Everyone must dance in slow motion before freezing.

    Mini Challenges: If someone moves, give them a fun task like a dance-off or silly face challenge.

    Outdoor Version: Play in the garden or park with portable music.

  • Write a Letter

    Write a Letter

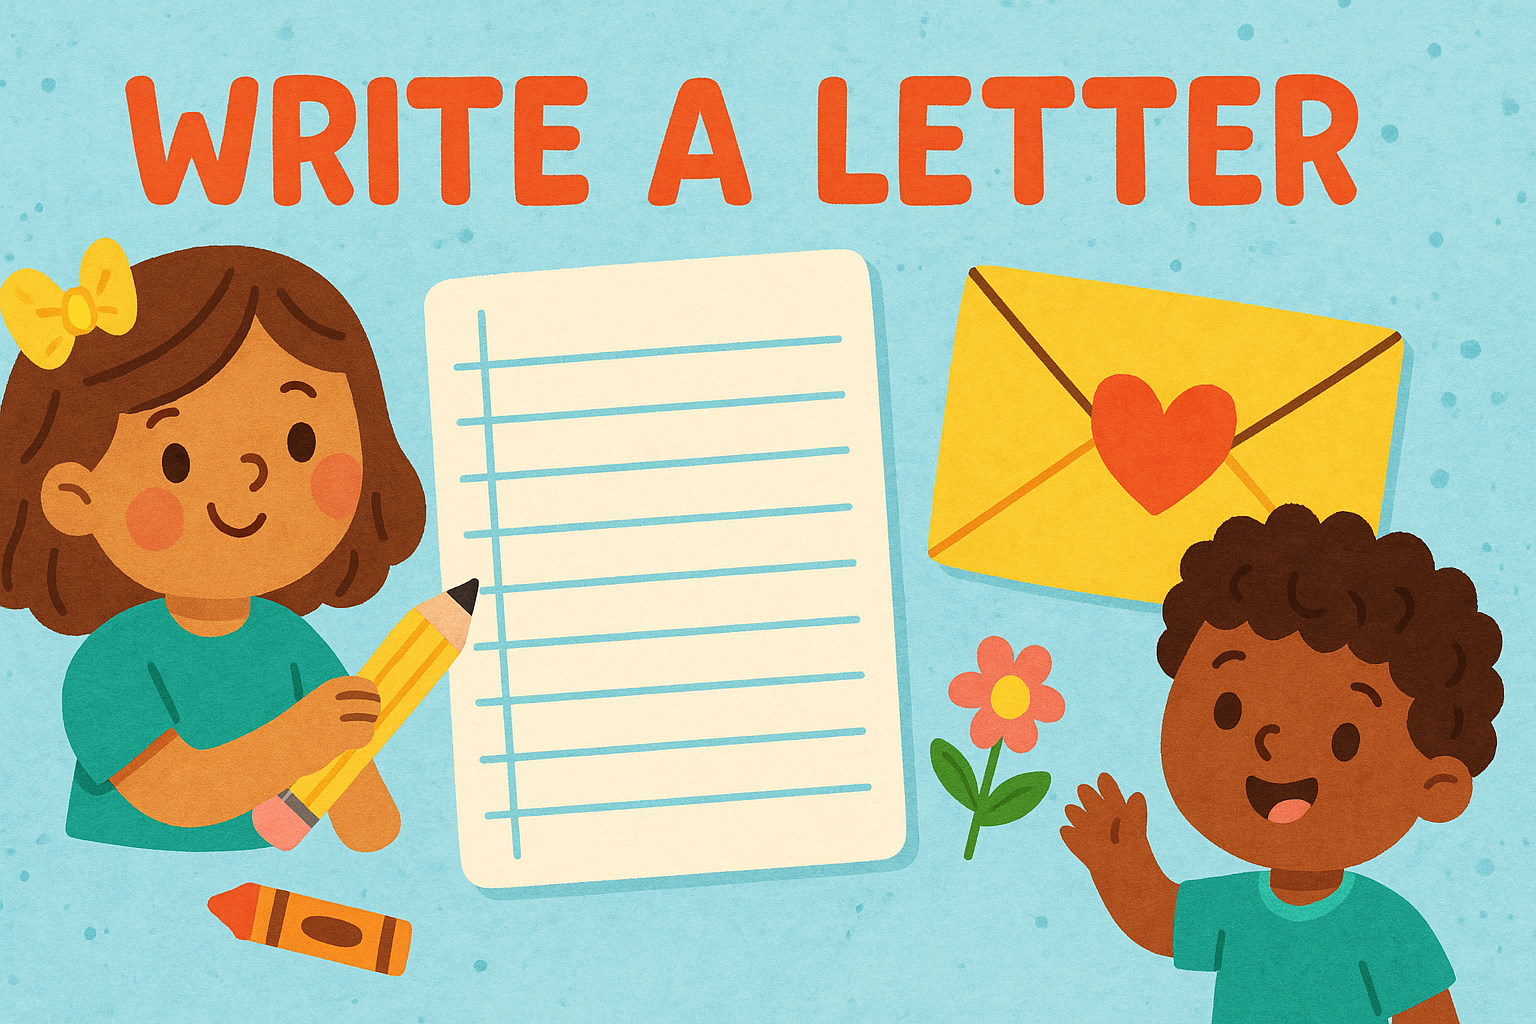
    In a world of texts and instant messages, sitting down to write a letter feels wonderfully thoughtful—and it’s just as exciting to send one as it is to receive one. For children, writing letters helps develop early literacy, emotional expression, and fine motor skills in a fun, purposeful way.

    Whether they’re writing to a grandparent, a cousin, or even leaving a surprise note for a neighbour or sibling, letter-writing can be as simple or creative as they like. It’s also a lovely screen-free way to build connections and slow things down.


    Materials Needed

    • Paper or a notecard
    • Pencil, pen, or crayons
    • Envelope and stamp (if posting)
    • Optional: stickers, drawings, or small photos

    Tools Needed

    • None

    Steps

    1. Choose a Recipient
      Let your child decide who the letter is for—a friend, a relative, or even their future self.
    2. Write the Letter
      Support them in sounding out words or writing what they’d like to say. It could include what they’ve been doing, how they’re feeling, or questions they want to ask.
    3. Add Something Extra
      Encourage them to include a drawing, a joke, or even a small surprise like a pressed flower or sticker.
    4. Address and Post
      Help with the envelope and posting process—or leave the letter somewhere special if it’s staying in the house.
    5. Wait for a Reply (Optional)
      Check the postbox and talk about how it feels to send and receive something personal.

    Variations

    • Pen Pal Letters: Start a regular swap with a friend or relative to build connection over time.
    • Letters to Yourself: Write a letter to be opened in the future—a great reflective activity for older kids.
    • Kindness Notes: Write anonymous letters of kindness to leave in books, postboxes, or neighbour’s porches.
    • Holiday Themes: Send birthday, seasonal, or thank-you letters using festive colours or stickers.
  • Musical Chairs

    Musical Chairs is a fast-paced game that combines music, movement, and quick reactions.

    Players walk or dance around a circle of chairs while music plays—when it stops, everyone scrambles to sit down. There’s always one fewer chair than players, so the slowest sitter is out!

    It’s ideal for groups, burns off energy, and teaches listening skills and good sportsmanship. This game works beautifully at birthday parties, school events, or as a quick high-energy activity on a dull day. All you need is a bit of space and some chairs!


    Materials Needed

    • A music player (phone, speaker, etc.)

    • A chair for every player—minus one!


    Tools Needed

    • None


    Steps

    1. Set Up the Chairs: Arrange chairs in a circle or back-to-back in a line, with one fewer chair than the number of players.

    2. Start the Music: Begin playing music while players walk or dance around the chairs.

    3. Stop the Music: Pause the music randomly. Everyone must quickly sit down.

    4. Remove a Chair: The person left standing is out, and one more chair is removed.

    5. Repeat Until One Winner Remains: Keep playing until only one player (and one chair) is left.


    Variations

    Non-Elimination Version: Keep everyone in the game by having players complete silly challenges instead of sitting out.

    Themed Music: Use seasonal or party-themed playlists for extra fun.

    Cushion Swap: Use cushions on the floor instead of chairs for a softer version.

    Freeze Option: Combine with Musical Statues—players must freeze if they don’t get a chair!

  • Build a sandcastle

    Build a sandcastle

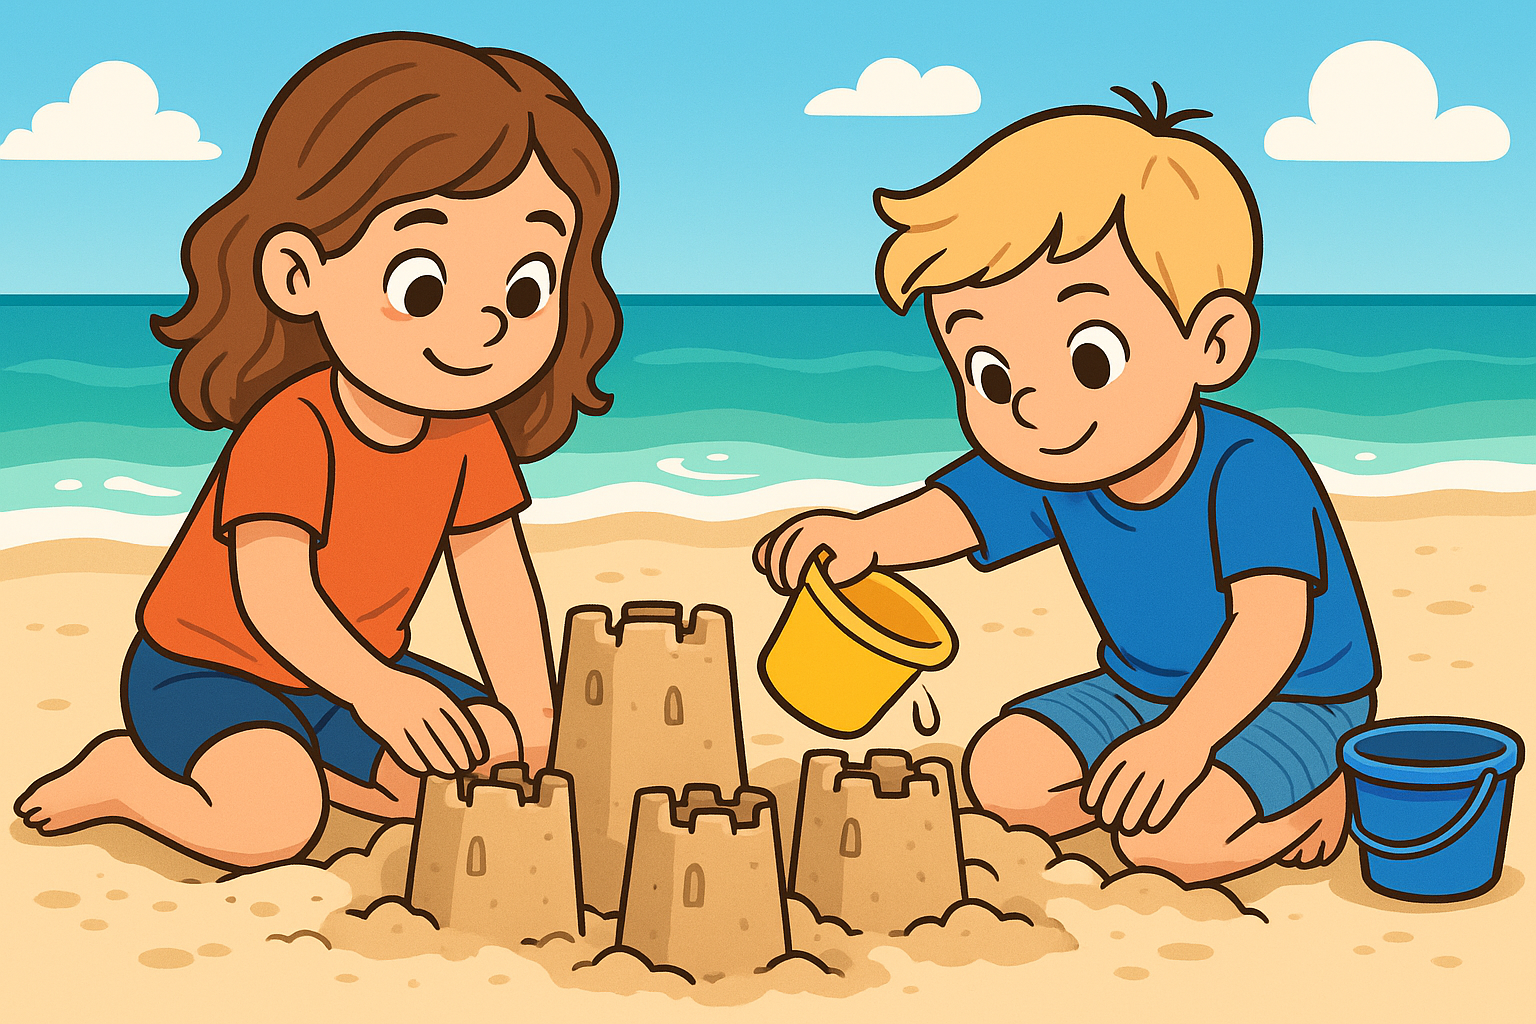
    Few things capture the magic of a beach day quite like building a sandcastle. This timeless activity encourages creativity, teamwork, and fine motor skills as kids dig, mold, and decorate their sandy creations.

    Start simple with a bucket-and-shovel castle, or go big with moats, bridges, and multi-towered forts!

    Variation

    For extra excitement, you can add a Sandcastle Challenge—set a timer, build the tallest tower, the most detailed design, or even create themed castles (like pirate forts or mermaid palaces).

    No two sandcastles are ever the same, making each creation a fun, fleeting work of art.


    Materials Needed

    • Sand

    • Water

    • Optional: shells, sticks, seaweed, small pebbles for decoration


    Tools Needed

    • Buckets

    • Shovels

    • Small spades, cups, molds (optional)


    Steps

    1. Pick a Spot: Find a place near the water but not too close to the incoming tide.

    2. Gather Materials: Fill buckets with damp sand (not too dry, not too wet) for better building.

    3. Start Building: Flip filled buckets for towers, mold shapes by hand, or carve details with small tools.

    4. Decorate: Use shells, sticks, and other beach finds to add flair.

    5. Add a Challenge (optional): Set goals—tallest tower, most creative design, or fastest build in 10 minutes!

  • License plate game

    The License Plate Game is a brilliant way to keep kids entertained during road trips. The goal is simple: spot as many different license plates from different regions as you can. You can make it a friendly competition, create a checklist, or even turn it into a mini geography lesson!

    Kids sharpen observation skills, practice reading and memory, and learn a little about different states, provinces, or countries along the way. It’s easy to play with no setup and keeps everyone (even adults!) more engaged with the journey.


    Materials Needed

    • None

    (Optional: notebook and pen for tracking sightings)


    Tools Needed

    • None


    Steps

    1. Explain the Rules: Look out the window and try to spot as many different license plates as possible.

    2. Track the Plates: Write down or call out the different regions you find.

    3. Compete or Collaborate: Play individually or as a team to fill a checklist.

    4. Add Challenges (optional): Award bonus points for rare or faraway plates!

  • Animal sound game

    Animal Sound Game is a simple, energetic activity where kids take turns making animal noises while others guess which animal it is. It’s a fantastic way to encourage creativity, build listening skills, and let kids get a little silly in the best possible way!

    This game is easy to adapt for different ages—keep it simple for little ones with farm animals, or challenge older kids with exotic or unusual creatures. It’s perfect for family game night, classroom warm-ups, or a quick boredom buster at home.


    Materials Needed

    • None

    (Optional: a list of animals if needed for inspiration)


    Tools Needed

    • None


    Steps

    1. Pick an Animal: A player secretly thinks of an animal.

    2. Make the Sound: Without naming the animal, they make its noise.

    3. Guess the Animal: The others try to guess which animal it is.

    4. Take Turns: Rotate so everyone gets a chance to make and guess sounds.

    5. Optional: Add a time limit for extra challenge or use a random animal generator!

  • The Alphabet Game

    The Alphabet Game is a fast-paced, brain-boosting challenge where players race through the alphabet by spotting, naming, or thinking of words that start with each letter—from A all the way to Z! It’s perfect for building vocabulary, phonics awareness, and quick thinking skills, all while having a blast.

    You can tailor the rules depending on the age group—search for letters on signs, list themed words (like animals or foods), or even add a competitive edge by timing how fast players can complete the alphabet. No materials needed, just sharp eyes and quick minds!


    Materials Needed

    • None

    (Optional: paper and pen if you want to keep score)


    Tools Needed

    • None


    Steps

    1. Pick a Version: Choose whether to spot letters (great for trips), name words alphabetically, or pick a themed category (e.g., animals A–Z).

    2. Start with A: The first player names or finds something starting with “A,” then moves to “B,” and so on.

    3. Keep It Moving: Take turns or play solo, racing through the alphabet as quickly as possible.

    4. Add Challenges (optional): Set a timer, add silly penalties for getting stuck, or theme it (foods, countries, superheroes).

  • 20 Questions

    20 Questions is a simple, brain-boosting game that gets kids thinking strategically and communicating clearly. One player thinks of a person, place, or thing, and the others must guess what it is by asking yes-or-no questions. They only get 20 tries—so each question needs to count!

    This game builds critical thinking, listening, and deduction skills while encouraging kids to be creative with their questioning strategies. It’s perfect for car rides, dinner tables, rainy afternoons, or any time you need a fun, low-prep brain teaser.


    Materials Needed

    • None


    Tools Needed

    • None


    Steps

    1. Choose a Mystery Item: One player secretly thinks of an object, animal, place, or person.

    2. Start the Questions: Other players take turns asking yes-or-no questions to narrow down the possibilities.

    3. Track the Questions: Keep a mental (or written) count—players only get 20!

    4. Make a Final Guess: If no one figures it out by question 20, reveal the answer.

    5. Switch Roles: Let someone else pick the next mystery item.

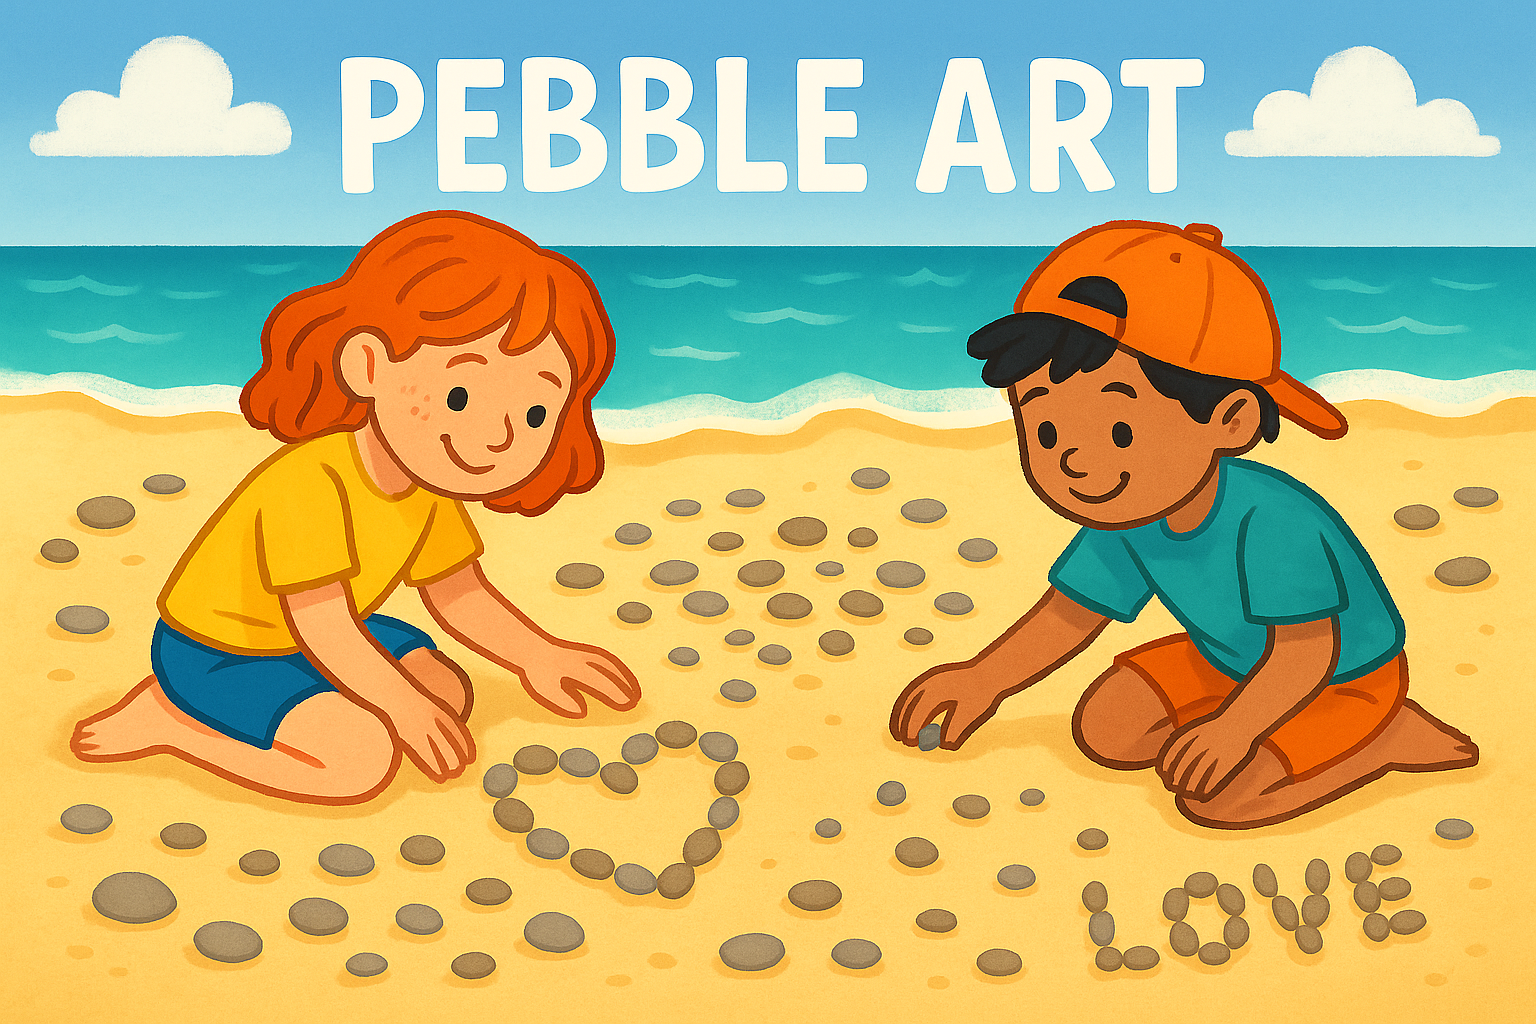
  • Pebble Art

    Pebble Art

    Pebble Art is a calm and creative beach activity that turns natural materials into beautiful pictures and patterns. Children gather pebbles of different colours, sizes and shapes, and arrange them into designs on the sand — whether it’s a smiley face, a rainbow, an animal, or even their name.

    It’s a relaxing and mindful way to explore shape, colour, and composition, while enjoying some quiet time at the seaside. Best of all, no mess and no tools needed — just imagination and a handful of pebbles.


    Materials

    • Flat area of sand
    • A collection of pebbles in different colours, sizes and shapes

    Tools

    • None

    Steps

    1. Search the beach for pebbles in different colours and sizes. Try collecting them in a small pile first.
    2. Choose a clear patch of sand and decide what you’d like to create — a shape, object, letter, or freeform pattern.
    3. Arrange the pebbles on the sand to make your design. You can outline first, then fill in, or just go freestyle.
    4. Take a photo of your creation to remember it, then leave it behind for others to discover!

    Variations

    • Word Art: Use pebbles to spell out names or short messages in the sand.
    • Nature Mandalas: Create symmetrical, circular designs using pebbles and other natural items like shells or seaweed.
    • Colour Challenge: Try to make a picture using only pebbles of a certain colour or tone.

    Why It’s Great

    • Promotes Mindfulness – A gentle and focused creative activity ideal for quiet moments.
    • Builds Artistic Confidence – Children explore visual design without the pressure of permanence.
    • Eco-Friendly – Uses natural, reusable materials with no mess or waste.

    Safety Tips

    • Choose smooth, clean pebbles and supervise young children to ensure nothing goes in mouths.
    • Be aware of sharp stones or broken shells when gathering materials.
    • Encourage children to return pebbles to nature if not left in their design.
  • Sand Art Mandalas

    Sand Art Mandalas

    Sand Art Mandalas are a peaceful and creative way to enjoy the beach and its natural materials.

    Children collect pebbles, shells, seaweed, feathers and driftwood, then use them to create circular mandala-style patterns in the sand. These symmetrical designs not only look beautiful but also encourage focus, patience and appreciation of nature’s textures and colours.

    The process is as important as the result — it’s a lovely mindful activity to do solo or collaboratively. Leave the finished piece as a gentle gift to the beach or take a photo to remember it by.


    Materials

    • Shells, pebbles, stones, feathers, seaweed, driftwood — whatever natural items can be safely collected
    • Stick or finger to mark out design in the sand

    Tools

    • None

    Steps

    1. Start by choosing a clear, flat area of damp sand for your design.
    2. Use a stick or your finger to trace a large circle — this will form the outer boundary of your mandala.
    3. Collect natural materials and organise them into piles for easy access.
    4. Begin building the mandala from the centre outwards, placing items in repeated patterns to form symmetrical rings.
    5. Take a photo if you want to remember it — then let the tide eventually wash it away.

    Variations

    • Collaborative Creation: Work together to build a larger mandala as a group.
    • Theme Mandalas: Choose a colour or texture theme (e.g. all-white shells, or soft materials only).
    • Pattern Practice: Use the opportunity to talk about symmetry, pattern, and repetition.

    Why It’s Great

    • Promotes Mindfulness – A slow, soothing activity that invites focus and calm.
    • Encourages Creativity – Children explore visual design using natural materials.
    • Connects with Nature – Builds appreciation for beach textures, shapes and colours.

    Safety Tips

    • Ensure children avoid sharp shells or anything that could cause cuts or scrapes.
    • Wash hands after handling natural materials, especially before eating.
    • Remind children to respect wildlife — only use items that are loose and not part of living creatures’ homes.