

DIY Puffy Paint is a fun and tactile craft activity that turns ordinary art time into something extra exciting. Using just shaving cream, white glue, and food coloring, kids can whip up their own puffy paint and use it to create colorful, textured pictures that dry into soft, raised art.
Perfect for preschoolers and primary-aged kids, this activity supports sensory exploration, creativity, and fine motor development. It’s great for themed projects (like clouds, ice cream, animals) or just free-painting for fun!
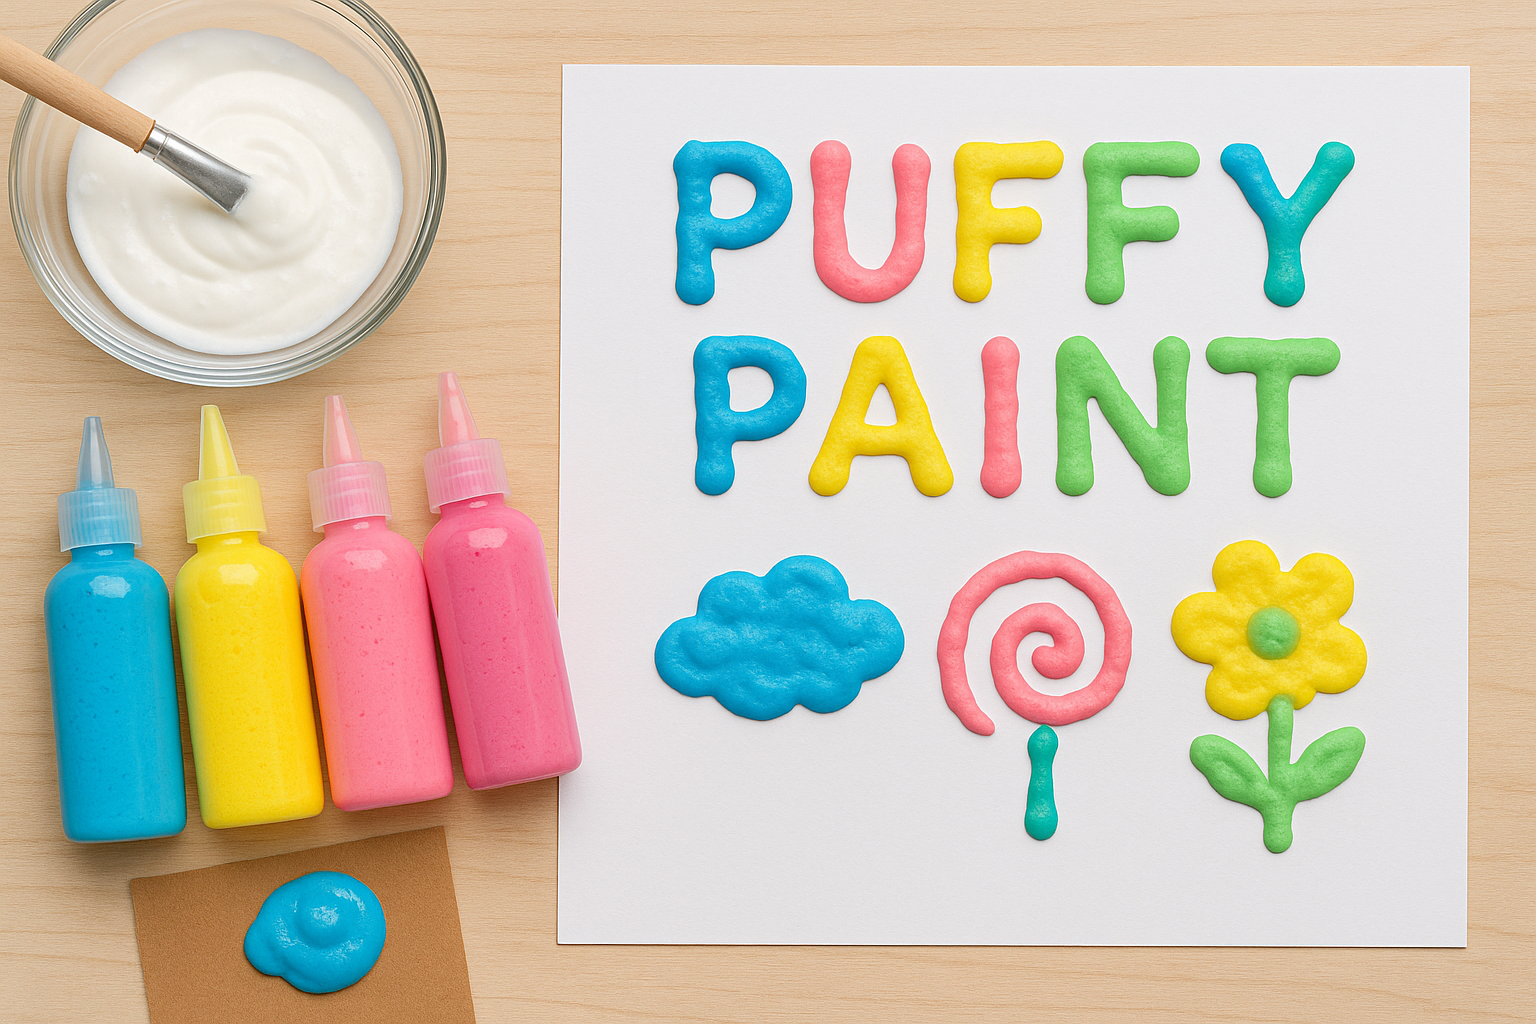
Materials Needed
• Shaving cream (foam, not gel)
• White school glue
• Food coloring
• Bowls or cups for mixing
• Spoons or craft sticks for stirring
• Cardboard or thick paper
Tools Needed
• Paintbrushes or cotton swabs
• Optional: squeeze bottles for easier application
Steps
1. Mix the Paint: In a bowl, combine equal parts shaving cream and white glue. Add a few drops of food coloring and stir gently until fluffy and fully colored.
2. Prep Your Canvas: Lay out cardboard or thick paper as the painting surface.
3. Start Painting: Use brushes, cotton swabs, or fingers to paint designs. The mixture will hold its shape for 3D texture.
4. Let It Dry: Set the artwork aside to dry completely—this may take several hours but leaves a soft, puffy finish.
Variations
• Squeeze It: Put the paint into squeeze bottles for more controlled, fun designs (great for outlining shapes).
• Add Glitter: Mix glitter into the paint for a sparkly twist.
• Scented Puffy Paint: Add a drop of vanilla or peppermint extract for sensory fun.
• Theme Ideas: Try making snowmen, clouds, ice cream cones, or monsters using the puffy texture.
Leave a Reply