Parental Involvement: Low

  • Join a Youth Club

    Join a Youth Club

    Youth clubs provide a fun, welcoming environment where children and young people can be themselves.

    These sessions often include a mix of free play, group games, crafts, sports, and occasional outings — all supported by friendly youth workers who help guide activities and encourage positive social interaction.

    Youth clubs are especially valuable for pre-teens seeking independence, friendship and support in a safe and relaxed setting. They also build life skills like teamwork, decision-making and responsibility — all through play and connection.


    Why It’s Great

    • Friendship & Belonging – Offers a supportive space outside of school where children can connect with peers.
    • Life Skills – Encourages confidence, communication and decision-making through informal learning.
    • Positive Role Models – Youth workers provide encouragement and support without judgement.
    • Free Time with Structure – Combines choice-led fun with optional group activities.

    How to Get Started

    • Search online or ask your local council, school or library about nearby youth clubs.
    • Most clubs are open to children aged 8+ and run once or twice per week.
    • Sessions are often low-cost or donation-based — and may include snacks or themed evenings.
    • Drop-off is common, but some younger children may benefit from a parent or carer staying initially.

    Variations

    • Faith-Based Youth Groups: Many churches or mosques host inclusive community youth sessions.
    • SEN-Focused Clubs: Some offer adapted spaces for children with additional needs.
    • Themed Nights: Clubs often run nights based on music, film, cooking or crafts.

    Safety Tips

    • Check the club is led by DBS-checked youth workers and follows safeguarding procedures.
    • Children should know who the adults in charge are and how to ask for help if needed.
    • Encourage open conversation with your child about what they enjoy (or don’t) about their time there.
  • Window Bingo

    Window Bingo

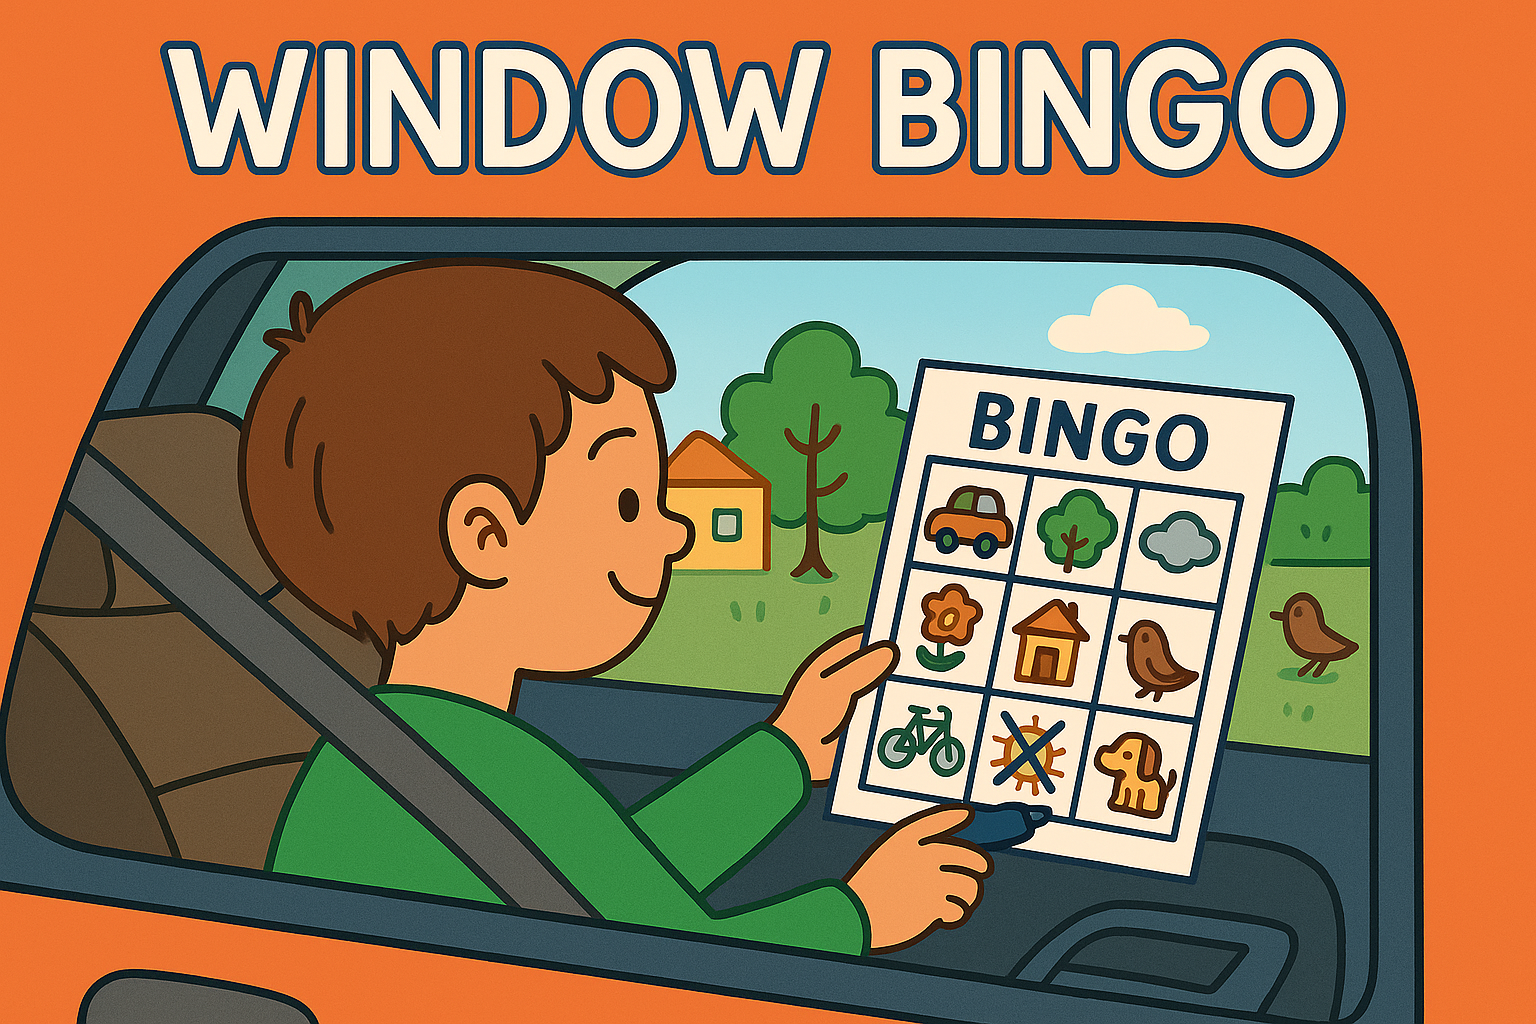
    Window Bingo is a low-effort, high-fun game that’s perfect for long journeys, train rides or simply sitting by the window on a rainy day.

    Make a bingo-style grid with items children might spot outside — like sheep, trees, roundabouts, buses, bridges, birds or wind turbines. As they see something on their sheet, they cross it off.

    It’s a great way to develop observation and focus, and gives young children a fun way to stay engaged with the world outside. You can draw simple pictures for younger kids, or write words for confident readers.


    Materials

    • Paper or card
    • Pen or pencil
    • Clipboard or something firm to lean on (optional)

    Tools

    • None

    Steps

    1. Draw a simple grid on a piece of paper (e.g. 3×3 or 4×4).
    2. Fill each square with something the child might spot out the window. Keep it age-appropriate — you might include cows, bicycles, stop signs, or clouds.
    3. Hand it to the child with a pencil or pen, and challenge them to spot as many items as they can.
    4. Celebrate when they get a line or full house — or keep it relaxed with no scoring at all.

    Variations

    • Theme Bingo: Try versions based on a theme — e.g. colours, nature, transport.
    • Sticker Version: Let children place a sticker over each spotted item instead of ticking.
    • Collaborative Play: Use the same sheet as a family and work together to complete the grid.

    Why It’s Great

    • Encourages Focus – Helps children stay alert and mindful of their surroundings.
    • Flexible & Portable – Can be played anywhere, with minimal prep.
    • Customisable for Any Age – Easily adapted to reading level and environment.
  • Tag

    Tag is a classic game that never gets old. With no setup and no special equipment needed, it’s an instant go-to for outdoor fun. One player is “it” and tries to tag the others—once someone’s tagged, they become “it,” and the chase continues!

    There are countless variations too—like freeze tag, shadow tag, or tunnel tag—that keep things fresh and fun. Whether in the backyard, park, or schoolyard, tag gets kids moving, thinking fast, and working on coordination and social play. Plus, it’s fantastic exercise disguised as a game.


    Materials Needed

    • None


    Tools Needed

    • None


    Steps

    1. Choose a Play Area: Pick a safe, open space with plenty of room to run.

    2. Select Who’s “It”: Choose one child to start as the tagger.

    3. Start the Chase: The tagger tries to touch another player, who then becomes the new tagger.

    4. Add Variations (Optional): Try freeze tag (players freeze when tagged) or shadow tag (tag by stepping on someone’s shadow).

    5. Keep It Moving: Play as long as the energy lasts!


    Variations

    Check out this list of fun variations on the classic tag game

  • Animal Impressions


    Bring the wild kingdom indoors (or out!) with this energetic and imaginative game. Animal Impressions encourages children to pick or be assigned an animal, then act out how it moves and sounds. They can take turns guessing each other’s animals, race across the room, or even interact in character—just imagine a gorilla meeting a flamingo!

    This game promotes physical play, creativity, and social interaction while also burning off extra energy. For extra fun, kids can create simple animal face masks beforehand using paper plates or cardboard.

    Whether you’re looking for a quick burst of silliness or a full-on pretend play session, this one’s guaranteed to get laughs.

  • Balloon Keepy-ups

    Looking for a super simple, high-energy activity that’s perfect for indoors? Balloon Keepy-ups is a fun twist on classic ball games—just replace the ball with a balloon and let kids bounce, tap, and dive to keep it off the ground.

    This game is perfect for burning off energy in small spaces. It improves coordination, balance, and reaction time, all while being gentler on furniture and walls than a regular ball. That said, we do recommend securing lamps and breakables—because things can get just a little wild when the giggles kick in!

    You can also add variations, like counting how many hits before it drops, playing “don’t touch the floor,” or using paper plate paddles.

    Materials Needed

    • 1–2 balloons

    • Optional: paper plates + sticks/tape to make paddles

    Tools Needed

    • None

    Steps

    1. Blow Up a Balloon: Inflate a balloon and tie it off.

    2. Start the Game: Challenge kids to keep the balloon in the air using hands, elbows, or paddles.

    3. Add a Challenge (optional):

    • Count how many hits they get.

    • Set a timer to see how long they can keep it up.

    • Add rules like “no feet” or “alternate hands.”

    4. Play Solo or in Teams: Great for one child or as a group game.

  • Paper Airplane Challenge

    Paper Airplane Challenge

    Materials Needed:

    • Paper (regular printer paper works best)
    • Measuring tape
    • Markers for decoration

    Instructions:

    1. Start with a sheet of paper and fold it in half lengthwise, then unfold.
    2. Fold the top corners down to the center crease.
    3. Fold the new top edges to the center line.
    4. Fold the entire plane in half.
    5. Create wing flaps by folding down the edges.
    6. Test your plane and measure how far it flies!

    Check out the amazing https://www.foldnfly.com/ for loads of paper airplane ideas!

    Learning Outcomes:

    • Understanding of basic aerodynamics
    • Fine motor skills development
    • Scientific method practice through testing different designs
  • Sand Target Toss

    Sand Target Toss

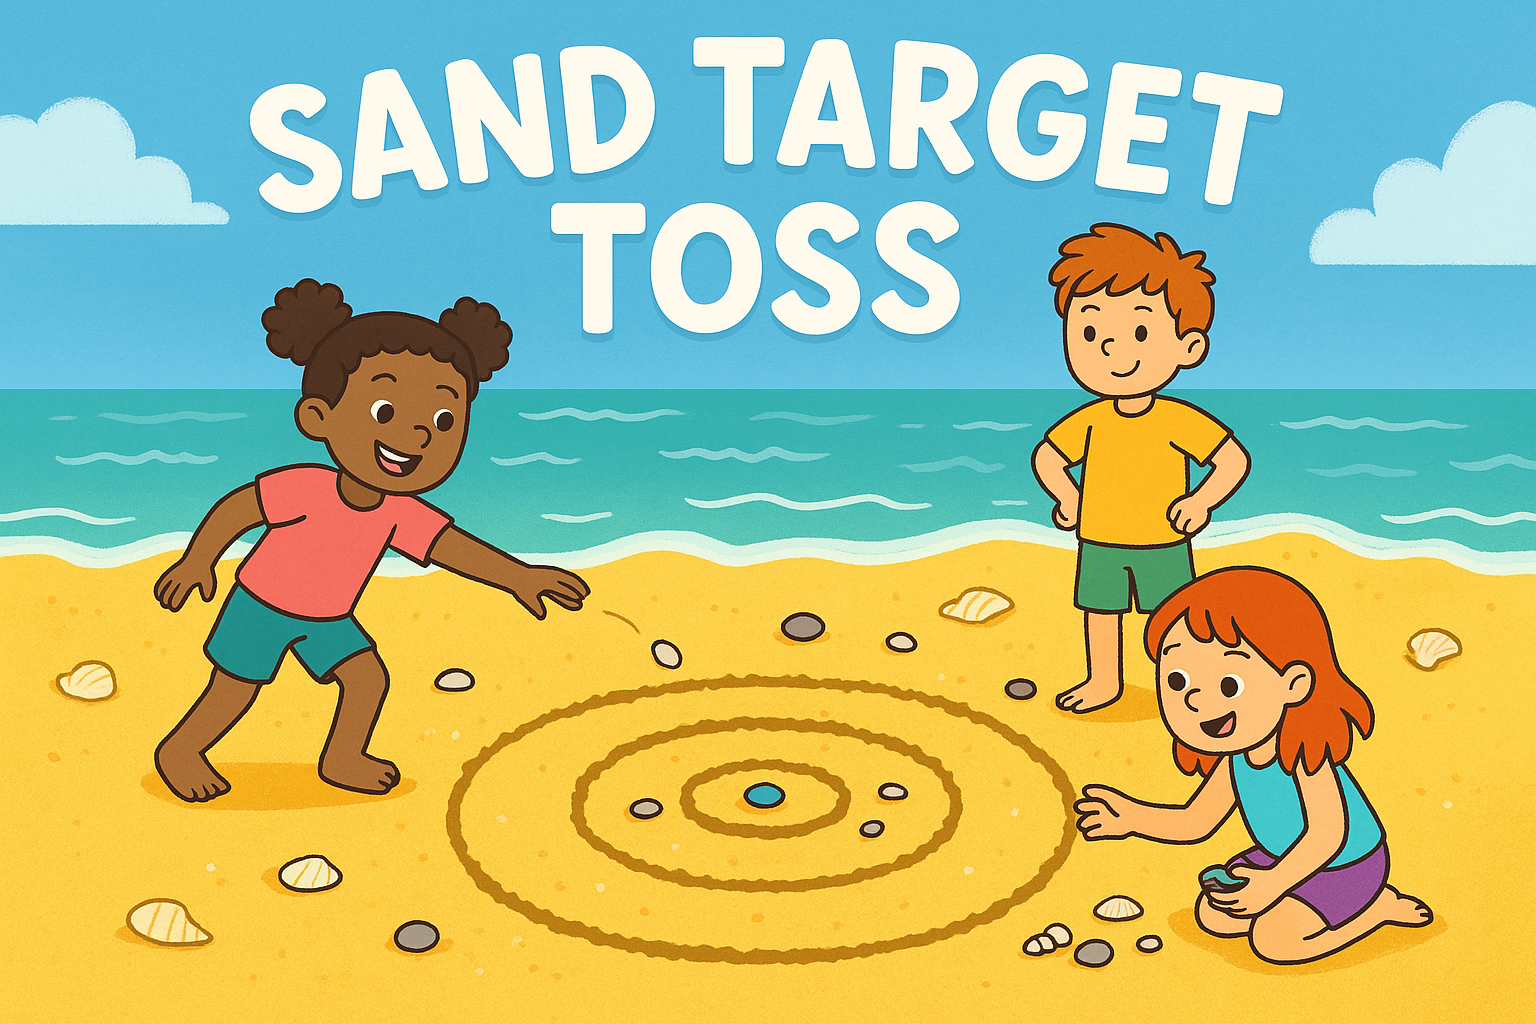
    Sand Target Toss is a super simple, beach-friendly game that blends hand-eye coordination, turn-taking and a touch of friendly competition. All you need is some open sand, a few pebbles or shells, and a stick to draw with.

    Children take turns tossing their objects at a target drawn in the sand — the closer to the centre, the better the score. It’s adaptable for different ages and can be played one-on-one or in teams.


    Materials

    • Pebbles or small shells for tossing (a few per player)
    • Stick or finger for drawing the target in the sand

    Tools

    • None

    Steps

    1. Use a stick to draw a series of circles in the sand, like a dartboard or archery target.
    2. Decide on a throwing line — adjust the distance depending on the age of players.
    3. Each player takes turns tossing a pebble or shell, aiming for the centre of the target.
    4. You can assign points to each ring or just play for fun.
    5. Play multiple rounds or challenge others to beat your best throw!

    Variations

    • Point Rings: Write numbers in each ring and keep score to add maths practise.
    • Team Play: Work in pairs or teams and total scores together.
    • Obstacle Toss: Add small sand “walls” or bumps for extra challenge.

    Why It’s Great

    • Develops Coordination – Encourages accuracy and motor control through throwing.
    • Easy to Set Up – No prep required beyond a stick and a few pebbles.
    • Encourages Friendly Play – Great for siblings or groups to take turns and cheer each other on.

    Safety Tips

    • Ensure children throw away from others and take turns safely.
    • Choose smooth, lightweight pebbles to avoid injury.
    • Play away from walkways or other beach users.
  • Play Doctor

    Play Doctor

    Playing doctor is a nurturing and imaginative activity that helps children explore ideas of care, health, and empathy.

    With a few basic props or a toy medical kit, they can create their own clinic to examine and treat patients—real or pretend!

    This kind of role-play builds confidence, communication skills, and emotional awareness, especially helpful for children who may feel anxious about real doctor visits. It’s also a great way to introduce vocabulary around the body, feelings, and kindness.


    Materials Needed

    • Soft toys or dolls (as patients)
    • Blankets or towels (for “hospital beds”)
    • Plasters, bandages, or tissue
    • Paper and pens for writing notes or prescriptions

    Tools Needed

    • Toy medical kit (or improvised tools like spoon as thermometer, string as stethoscope)

    Steps

    1. Set Up the Surgery
      Use a table, bed, or floor area to create your play clinic or hospital ward.
    2. Assign Roles
      One child can be the doctor or nurse, and others can be patients or assistants. Adults can play too, I recommend being the patient and having a nice lie down!
    3. Check the Patients
      Use pretend tools to examine heartbeats, temperatures, sore tummies, or broken arms.
    4. Write Prescriptions
      Make notes or draw pictures of medicine and care instructions.
    5. Swap Roles
      Let everyone have a go being both the carer and the cared-for!

    Variations

    • Animal Vet: Turn the clinic into a vet surgery and care for stuffed animals.
    • Health Check Station: Create separate check-up zones for eyesight, height, or reflexes.
    • Make ID Badges: Design doctor/nurse name tags with drawings and titles.
    • Waiting Room: Set up books and chairs for patients waiting to be seen.