This website is in Beta. Contact us if you have feedback.

Collection: May Bank Holiday

  • Foil Art Embossing

    Foil Art Embossing

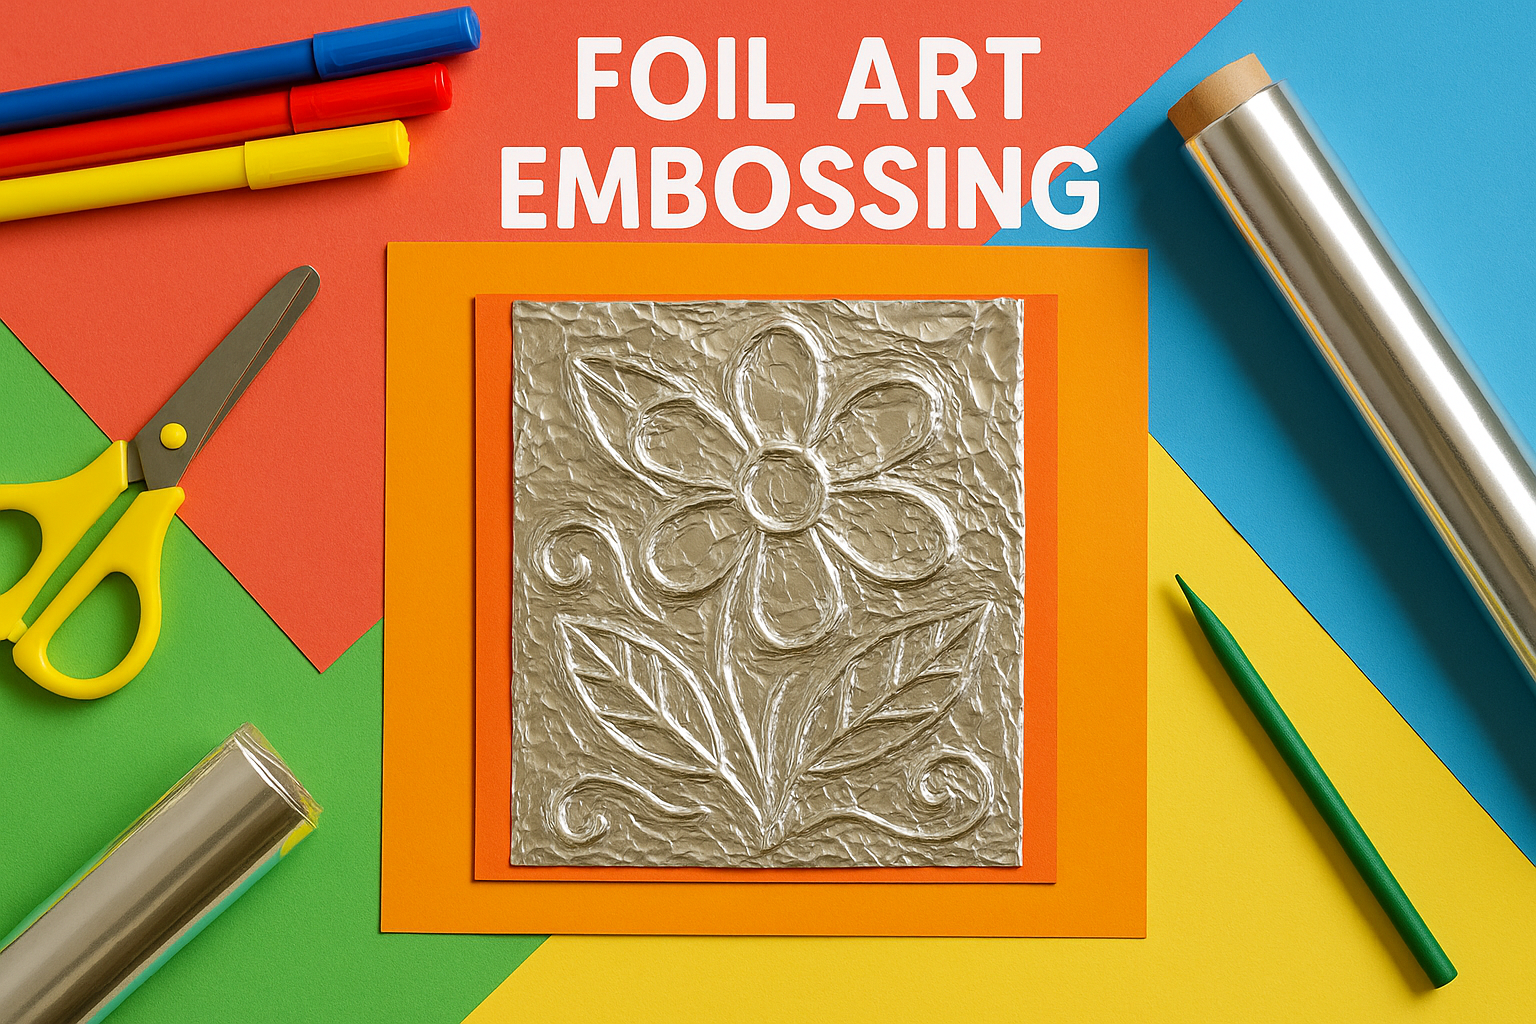
    Foil Art Embossing is a striking and satisfying craft that uses simple materials to create high-impact results. By drawing raised designs with glue on cardboard and covering them with aluminum foil, kids can produce shiny, embossed-style art they can color with permanent markers.

    This tactile activity encourages creativity, fine motor skills, and color exploration. Plus, the shiny foil base makes even simple designs feel magical. It’s perfect for making decorative panels, signs, or abstract patterns—and feels just a little bit like metalworking for kids!


    Materials Needed

    • Thin cardboard (from cereal boxes, etc.)

    • Aluminum foil

    • White glue

    • Sharpies or other permanent markers

    • Optional: string or ribbon to hang finished art


    Tools Needed

    • Scissors

    • Paintbrush (optional, for spreading glue)


    Steps

    1. Draw with Glue: On your cardboard, use glue to draw a simple design (lines, swirls, shapes, names). Let it dry completely—this will create the raised effect.

    2. Cover with Foil: Once dry, carefully wrap the cardboard in aluminum foil and gently press it down so the design shows through. Smooth it out with fingers or a soft cloth.

    3. Color It In: Use Sharpies to color over the foil, adding vibrant details and depth to your embossed lines.

    4. Display: Let the artwork dry fully and hang or display proudly.


    Variations

    Use Yarn or String: Instead of glue, create raised designs with glued-on yarn or string before covering with foil.

    Scratch Designs: Skip the glue and gently draw into the foil with a blunt pencil or craft stick to create etch-like line work.

    Foil Frames: Use extra foil art as borders or frames for photos or other artwork.

    Geometric Patterns: Try using rulers and repeated shapes for a modern, abstract look.

  • Egg Carton Flowers

    Egg Carton Flowers

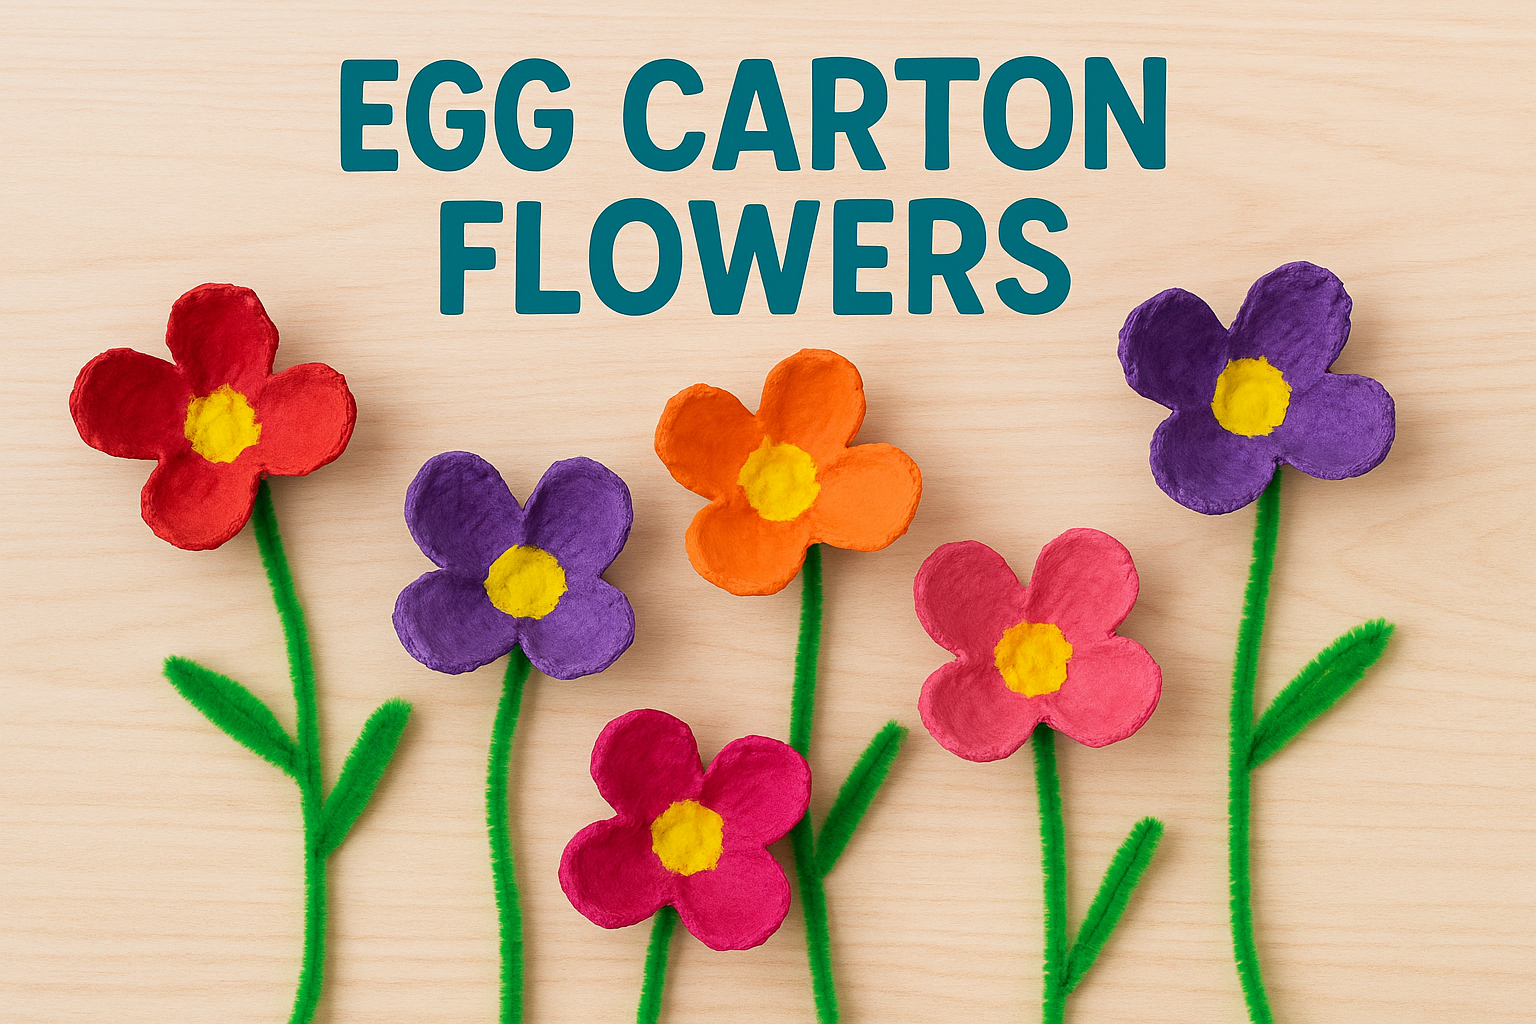
    Egg Carton Flowers are a charming and eco-friendly craft that turns everyday packaging into a vibrant bouquet. By cutting and painting the individual cups from an egg carton, kids can design unique blossoms and attach them to pipe cleaners for stems.

    This activity encourages creativity, color exploration, and fine motor skills—all while teaching the value of reusing materials. These paper blooms make lovely decorations, gifts, or even table centerpieces that never wilt.


    Materials Needed

    • Cardboard egg cartons

    • Acrylic or poster paint

    • Pipe cleaners (for stems)

    • Optional: buttons, pom-poms, glitter, or beads for flower centers


    Tools Needed

    • Scissors

    • Paintbrushes

    • Glue or hot glue (with adult supervision)


    Steps

    1. Cut the Carton: Separate the individual cups from the egg carton. Trim edges into petal shapes if desired.

    2. Paint the Flowers: Let kids paint each cup in bright, floral colors. Add glitter or decorate the center if you like.

    3. Attach Stems: Poke a small hole in the bottom of each cup and insert a pipe cleaner. Twist it to secure or glue it in place.

    4. Let Them Dry: Allow paint and glue to dry completely before displaying.

    5. Create a Bouquet: Arrange finished flowers in a cup, vase, or wrap them with ribbon.


    Variations

    Different Flowers: Cut petals in different shapes to make tulips, daisies, or fantasy blooms.

    Add Leaves: Use green construction paper or twist extra pipe cleaner to create leaves.

    Wall Art: Glue flowers to a canvas or cardboard to make a 3D floral artwork.

    Seasonal Themes: Use pastel colors for spring, warm tones for autumn, or red and white for Valentine’s Day flowers.

  • Nature Collage

    Nature Collage

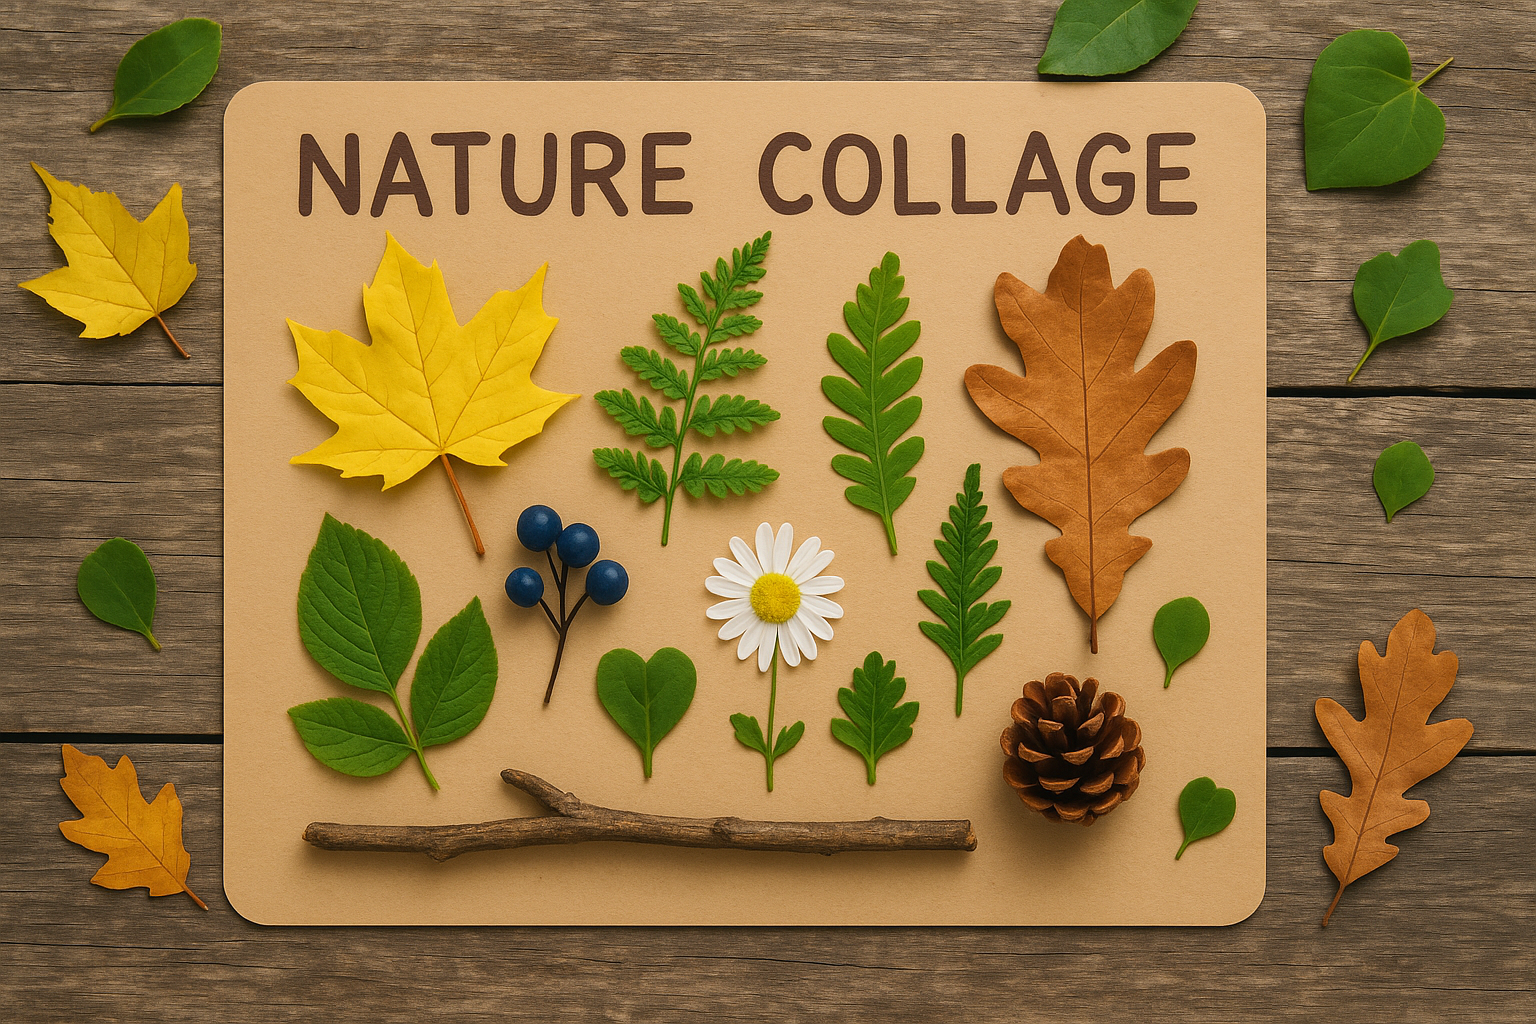
    Nature Collage is a lovely, hands-on activity that blends outdoor adventure with artistic creativity. As you walk through the garden, park, or woods, encourage your child to collect interesting natural treasures—leaves, flowers, twigs, seeds, and bark. Then, use these found materials to craft imaginative scenes or abstract designs back at home.

    It’s a great way for kids to slow down and observe nature, while developing fine motor skills and artistic confidence. Whether they create a leafy forest, a flower-filled landscape, or a creature made entirely from twigs, the possibilities are endless!


    Materials Needed

    • Leaves, flowers, twigs, seeds, etc. (collected during a nature walk)

    • Paper or cardboard for the base

    • White glue or glue stick


    Tools Needed

    • Optional: child-safe scissors

    • Optional: magnifying glass (for examining textures)


    Steps

    1. Go on a Nature Walk: Collect a variety of natural materials—look for different colors, shapes, and textures.

    2. Sort and Arrange: Lay everything out and let your child explore different ways to arrange the pieces on paper.

    3. Glue It Down: Once happy with the design, glue each piece down carefully.

    4. Let It Dry: Allow time for the collage to fully dry before displaying or moving it.


    Variations

    Themed Collage: Create scenes like “A Day in the Forest” or “My Garden.”

    Add Drawing: Mix natural items with drawn or painted elements for a mixed-media look.

    3D Effect: Use thicker twigs and bark to create depth and structure.

    Collage Frames: Cut a window out of cardboard to make a nature collage “frame.”

  • Puffy Paint

    Puffy Paint

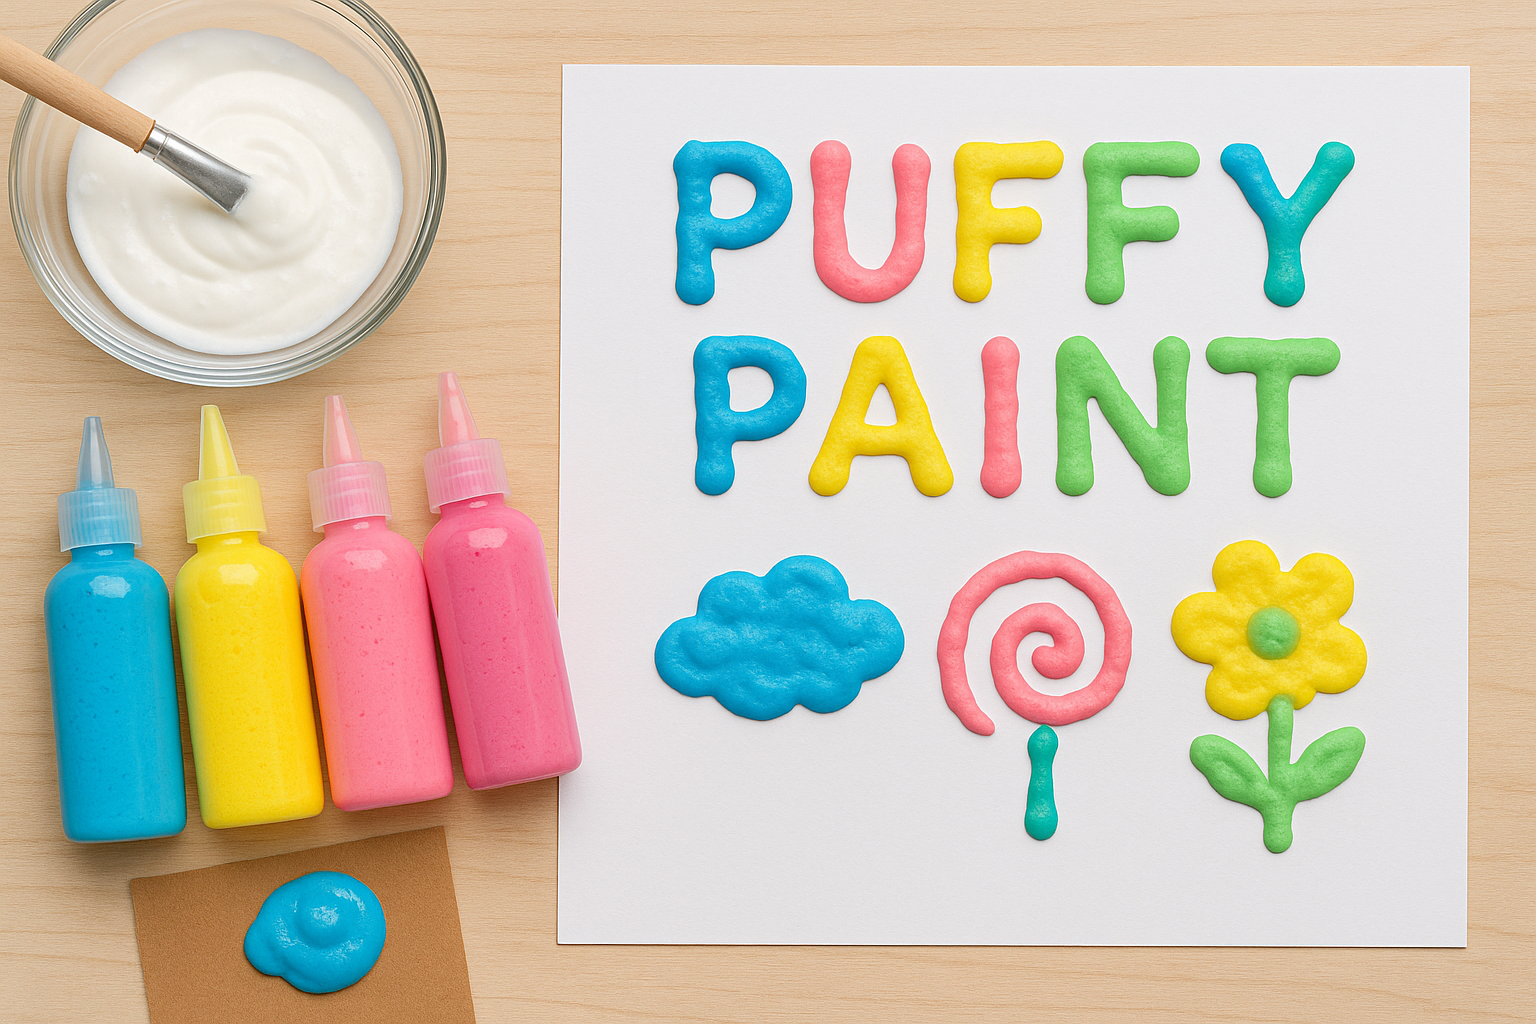
    DIY Puffy Paint is a fun and tactile craft activity that turns ordinary art time into something extra exciting. Using just shaving cream, white glue, and food coloring, kids can whip up their own puffy paint and use it to create colorful, textured pictures that dry into soft, raised art.

    Perfect for preschoolers and primary-aged kids, this activity supports sensory exploration, creativity, and fine motor development. It’s great for themed projects (like clouds, ice cream, animals) or just free-painting for fun!


    Materials Needed

    • Shaving cream (foam, not gel)

    • White school glue

    • Food coloring

    • Bowls or cups for mixing

    • Spoons or craft sticks for stirring

    • Cardboard or thick paper


    Tools Needed

    • Paintbrushes or cotton swabs

    • Optional: squeeze bottles for easier application


    Steps

    1. Mix the Paint: In a bowl, combine equal parts shaving cream and white glue. Add a few drops of food coloring and stir gently until fluffy and fully colored.

    2. Prep Your Canvas: Lay out cardboard or thick paper as the painting surface.

    3. Start Painting: Use brushes, cotton swabs, or fingers to paint designs. The mixture will hold its shape for 3D texture.

    4. Let It Dry: Set the artwork aside to dry completely—this may take several hours but leaves a soft, puffy finish.


    Variations

    Squeeze It: Put the paint into squeeze bottles for more controlled, fun designs (great for outlining shapes).

    Add Glitter: Mix glitter into the paint for a sparkly twist.

    Scented Puffy Paint: Add a drop of vanilla or peppermint extract for sensory fun.

    Theme Ideas: Try making snowmen, clouds, ice cream cones, or monsters using the puffy texture.

  • Paper Plate Animals

    Paper Plate Animals


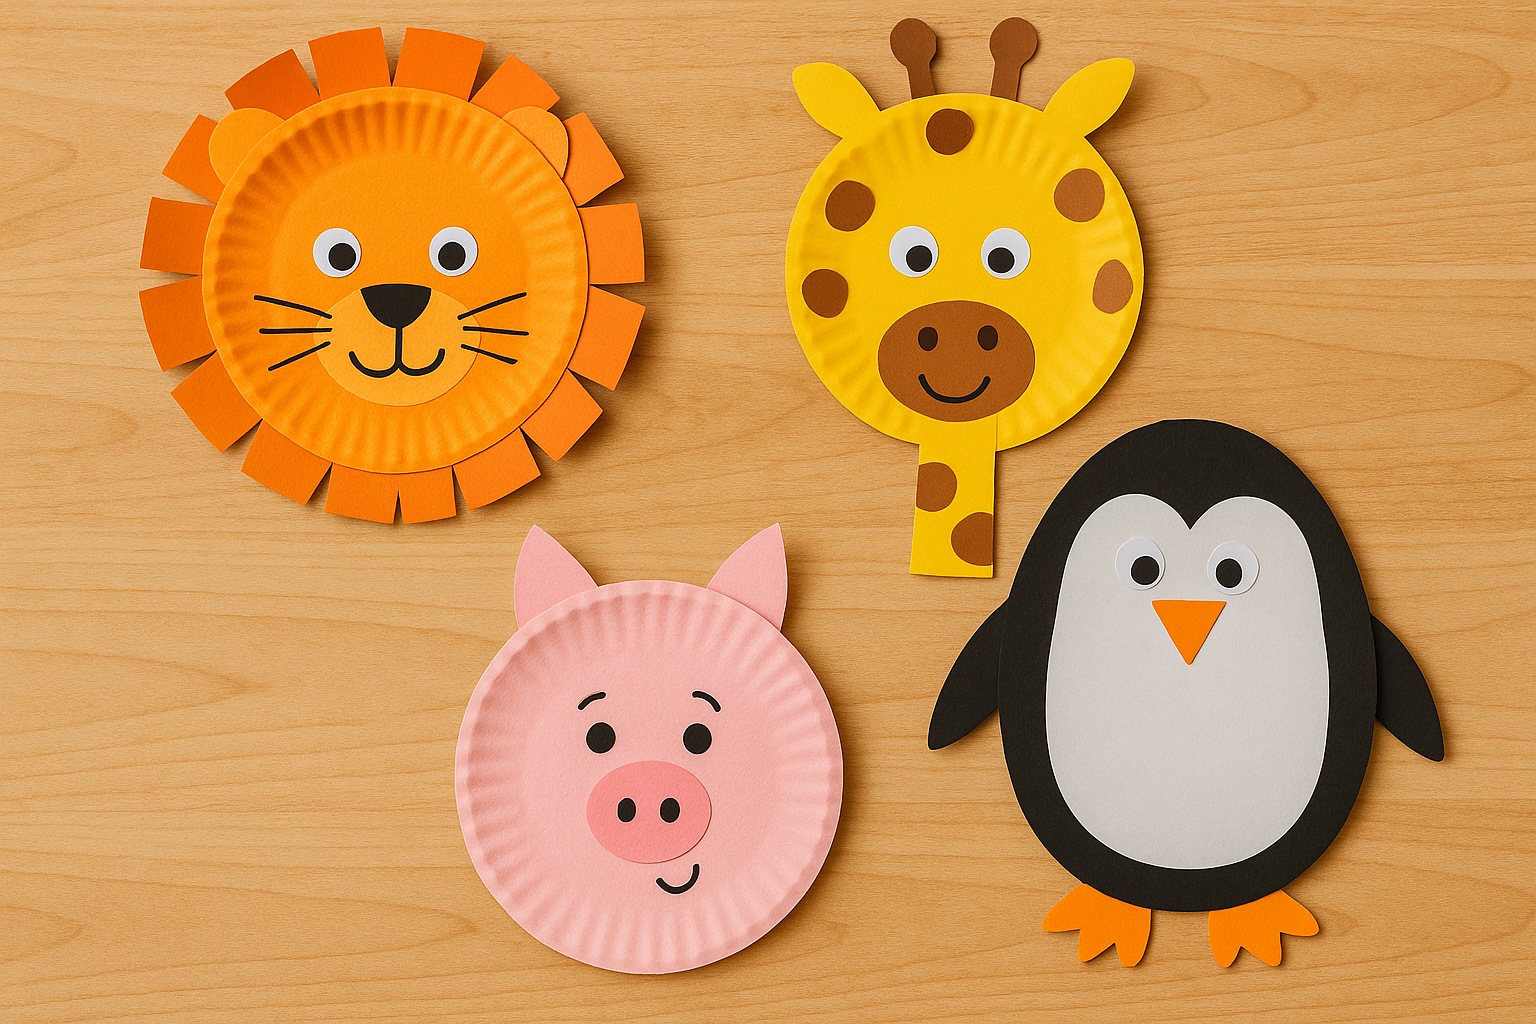
    Paper Plate Animals is a fantastic craft for young kids to explore animals, colors, shapes, and creativity—all while developing fine motor skills. With just a few basic craft supplies, children can make lions, pigs, elephants, frogs, or even made-up creatures!

    This activity is especially great for preschoolers learning about animals and their features (ears, noses, whiskers, etc.). It’s also easy to adapt for different themes, story tie-ins, or seasonal fun. Whether you’re crafting a jungle full of paper animals or just one favorite pet, it’s a mess-friendly and engaging project.


    Materials Needed

    • Paper plates

    • Paint or markers

    • Googly eyes

    • Construction paper (for ears, noses, tongues, etc.)

    • Glue

    • Scissors (adult supervision if needed)


    Tools Needed

    • Paintbrushes (if using paint)

    • Child-safe scissors

    • Glue stick or white glue


    Steps

    1. Pick an Animal: Choose which animal to make (e.g., cat, frog, pig).

    2. Paint the Plate: Use paint or markers to color the paper plate the base color of your animal.

    3. Cut and Attach Features: Cut out ears, whiskers, noses, or horns from construction paper and glue them on.

    4. Add Googly Eyes: Stick on googly eyes to bring your animal to life.

    5. Let It Dry: Set aside to dry fully, then show off your paper plate pet!


    Variations

    Mask Version: Cut eye holes and attach a stick or string to turn it into a wearable animal mask.

    3D Add-ons: Use cotton balls (for sheep), yarn (for manes), or pipe cleaners (for whiskers).

    Story Time Tie-In: Make animals from a favorite book and act it out afterward.

    Group Display: Make a zoo wall or animal parade by hanging everyone’s creations together.

    Fantasy Animals: Create dragons, unicorns, or imaginary creatures with extra sparkle and flair.

  • Go for a hike

    Go for a hike

    Going for a hike is a wonderful way to combine exercise, exploration, and quality family time. Whether it’s a gentle walk through the woods or a more adventurous climb, hiking encourages kids to engage with the natural world—spotting wildlife, listening to birds, and observing plants along the way.

    You can make hikes even more exciting with mini scavenger hunts, nature checklists, or storytelling games as you walk. It’s a fantastic way to build stamina, boost mood, and create lasting outdoor memories. Start small with local trails and work your way up to bigger adventures!


    Materials Needed

    • Comfortable clothes and shoes

    • Water bottles

    • Snacks (often the only thing that gets my daughter to come along!)

    • Optional: small backpack, binoculars, nature guide, or magnifying glass


    Tools Needed

    • None


    Steps

    1. Pick a Trail: Choose a hike appropriate for your child’s age and stamina (flat trails for beginners, more varied terrain for older kids).

    2. Prepare Together: Pack essentials like water, snacks, sunscreen, and hats.

    3. Set Goals: Look for fun trail markers, spot certain animals, or see who can find the coolest tree.

    4. Take Your Time: Encourage kids to stop, look around, and enjoy the journey—not just the destination.

    5. Celebrate the Adventure: Finish with a mini picnic, a nature journal entry, or a photo to remember the day.

  • Beach cricket

    Beach cricket

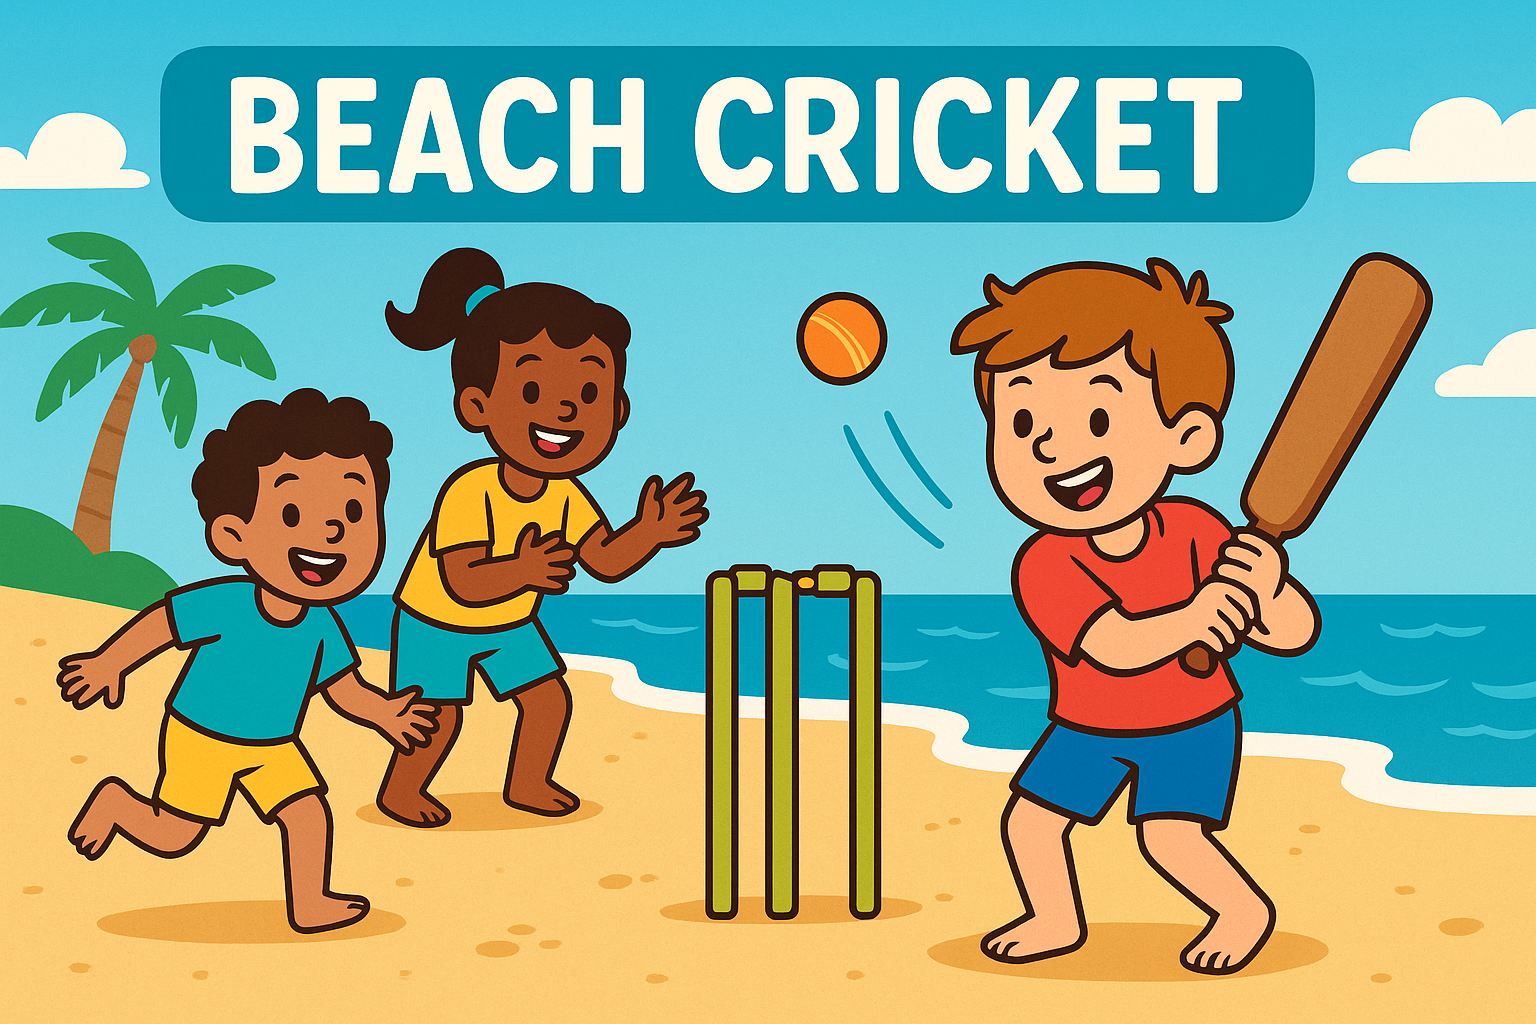
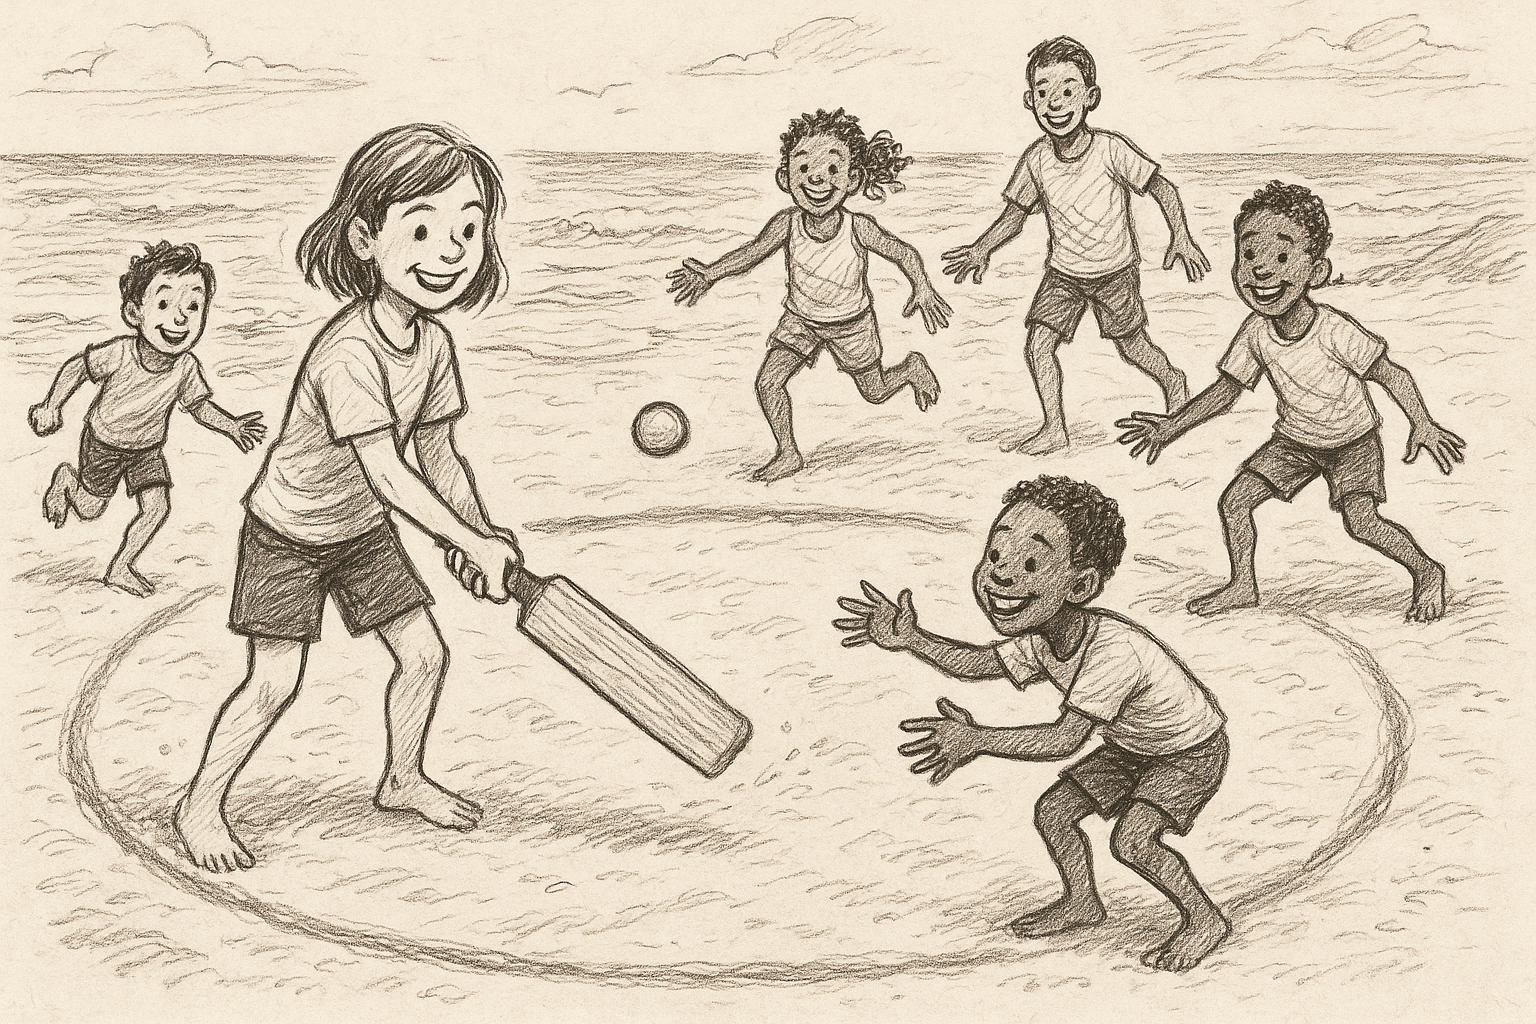
    Beach Cricket is a brilliant twist on traditional cricket that’s easy to set up and perfect for beach play. Instead of wickets, you simply draw a large circle in the sand. Players take turns batting while others field. If the ball is hit outside the circle without bouncing inside first, the batter is out. If the ball bounces inside the circle before rolling out, the batter scores a point. Getting caught by a fielder also means you’re out!

    It’s a fantastic way to practice hand-eye coordination, teamwork, and strategy while keeping the rules simple enough for all ages. Plus, playing on soft sand makes everything just a little sillier—and a lot safer!


    Materials Needed

    • Lightweight cricket bat or paddle bat

    • Soft ball (e.g., tennis ball or foam ball)

    • Stumps and bails (optional)


    Tools Needed

    • None (just a stick, foot, or hand to draw in the sand)


    Steps

    1. Draw the Circle: Create a large circle in the sand with a stick or by dragging your foot.

    2. Explain the Rules:

    • If the ball is hit outside the circle without bouncing inside, the batter is out.

    • If the ball bounces inside the circle first, the batter scores.

    • If a fielder catches the ball before it hits the ground, the batter is out.

    • If you’re paying with stumps, the batter is out if the stumps are hit with the ball or bat.

    3. Take Turns: One batter at a time, everyone else fields. Rotate after getting out.

    4. Keep Score (optional): Award points for successful bounces and see who scores the most before getting out!

  • Beach scavenger hunt

    Beach scavenger hunt

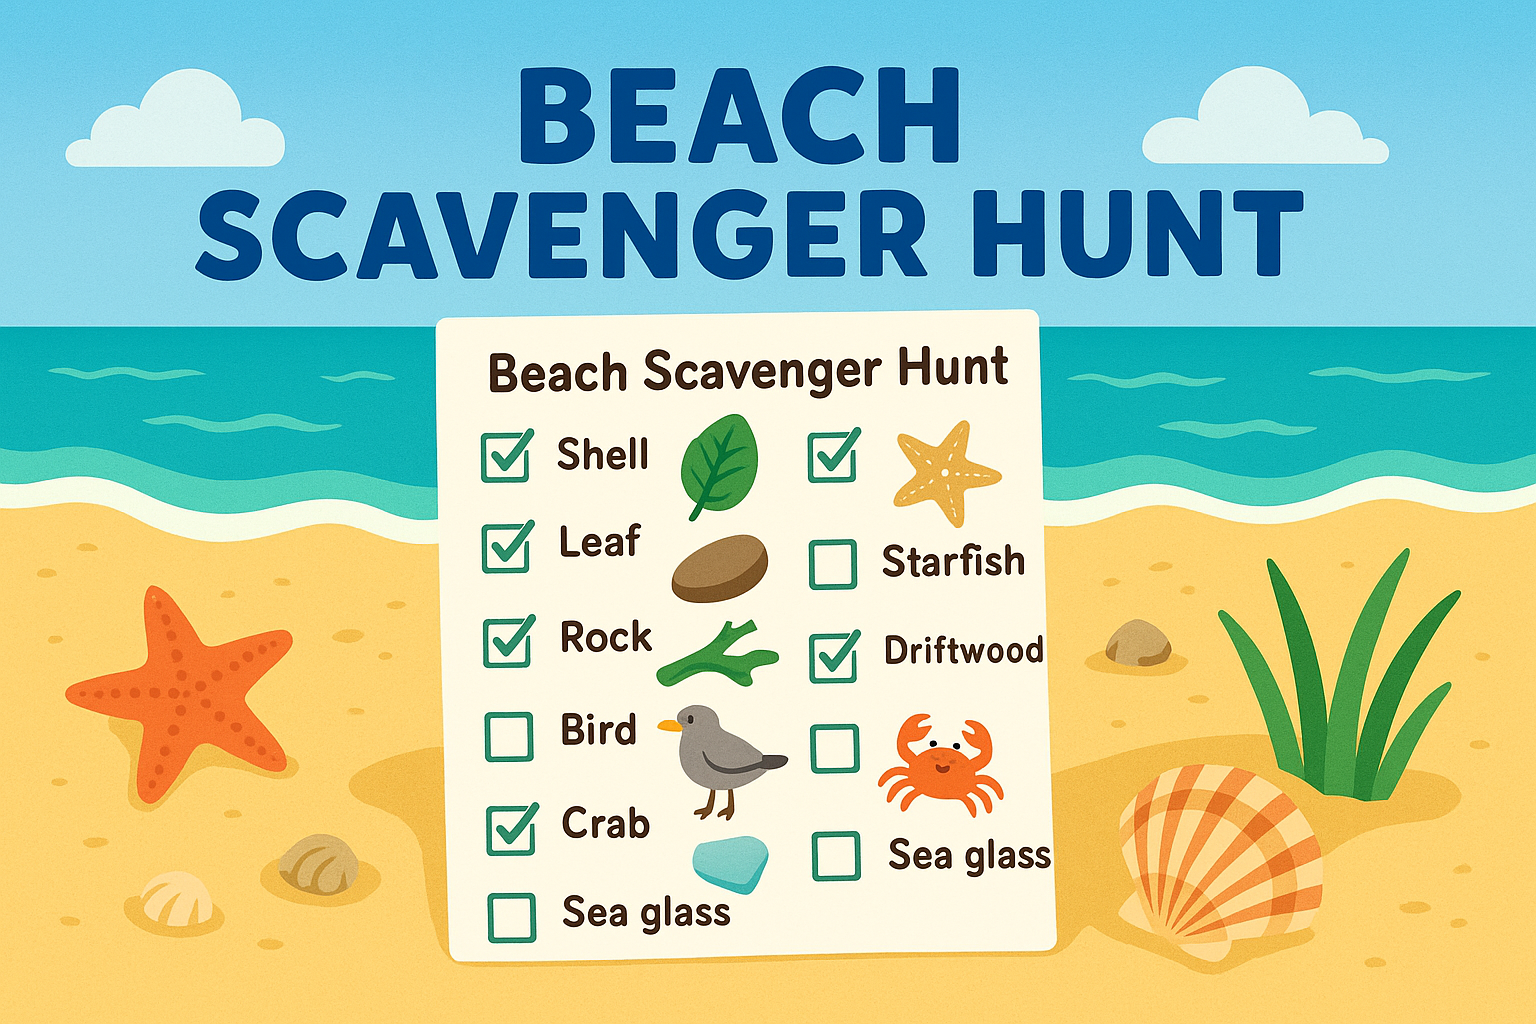
    A Beach Scavenger Hunt is a brilliant way to add a little adventure to your seaside day. Give kids a list of natural items, sights, or sounds to find, and let them explore the beach with fresh eyes and endless curiosity.

    Not only does it keep kids active and engaged, but it also teaches them to observe details in nature, appreciate their surroundings, and even learn a little about marine life. You can keep it simple with a quick list or make it competitive with timed challenges!


    Materials Needed

    • Printed or handwritten scavenger hunt list

    • Pencil, pen, or crayon

    • Optional: small bag or bucket for collecting items (where appropriate)


    Tools Needed

    • None


    Steps

    1. Prepare a List: Make a list of beachy things to find (e.g., a white shell, smooth pebble, feather, crab footprints, seaweed).

    2. Set the Rules: Decide if kids need to collect items, take photos, or simply point them out.

    3. Start Hunting: Let kids explore and check off as many items as they can find.

    4. Optional Challenge: Add a timer for an exciting race or offer a small prize for completing the list!

  • Build a sandcastle

    Build a sandcastle

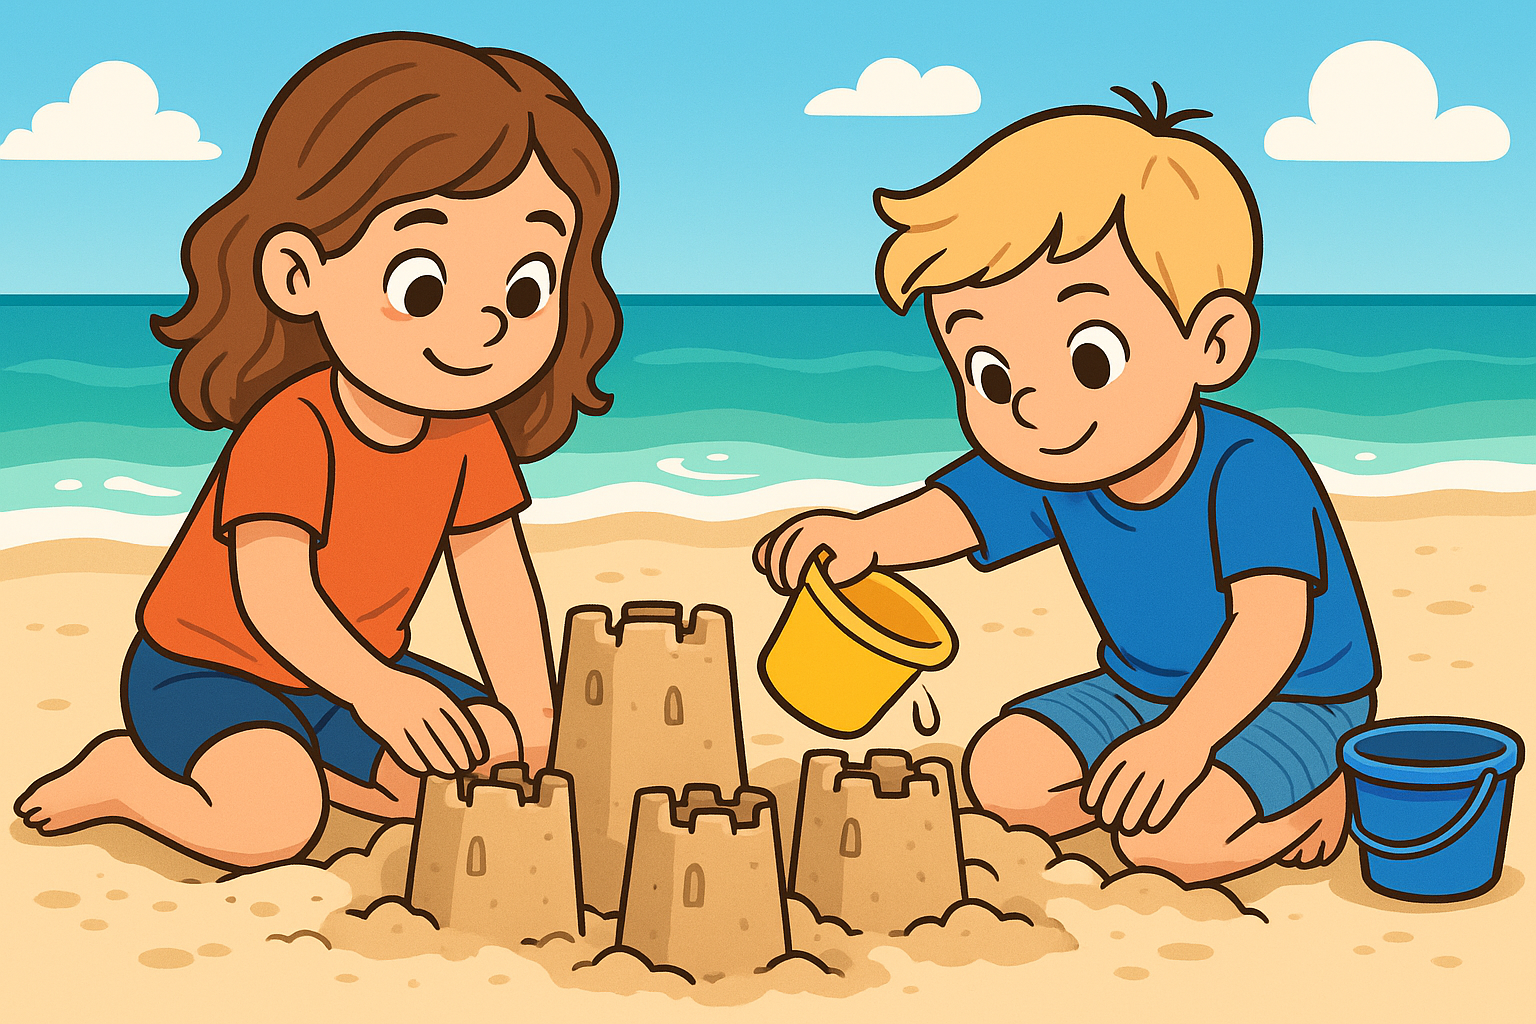
    Few things capture the magic of a beach day quite like building a sandcastle. This timeless activity encourages creativity, teamwork, and fine motor skills as kids dig, mold, and decorate their sandy creations.

    Start simple with a bucket-and-shovel castle, or go big with moats, bridges, and multi-towered forts!

    Variation

    For extra excitement, you can add a Sandcastle Challenge—set a timer, build the tallest tower, the most detailed design, or even create themed castles (like pirate forts or mermaid palaces).

    No two sandcastles are ever the same, making each creation a fun, fleeting work of art.


    Materials Needed

    • Sand

    • Water

    • Optional: shells, sticks, seaweed, small pebbles for decoration


    Tools Needed

    • Buckets

    • Shovels

    • Small spades, cups, molds (optional)


    Steps

    1. Pick a Spot: Find a place near the water but not too close to the incoming tide.

    2. Gather Materials: Fill buckets with damp sand (not too dry, not too wet) for better building.

    3. Start Building: Flip filled buckets for towers, mold shapes by hand, or carve details with small tools.

    4. Decorate: Use shells, sticks, and other beach finds to add flair.

    5. Add a Challenge (optional): Set goals—tallest tower, most creative design, or fastest build in 10 minutes!

  • DIY Top Trumps: Create Your Own Ultimate Card Battle

    DIY Top Trumps: Create Your Own Ultimate Card Battle

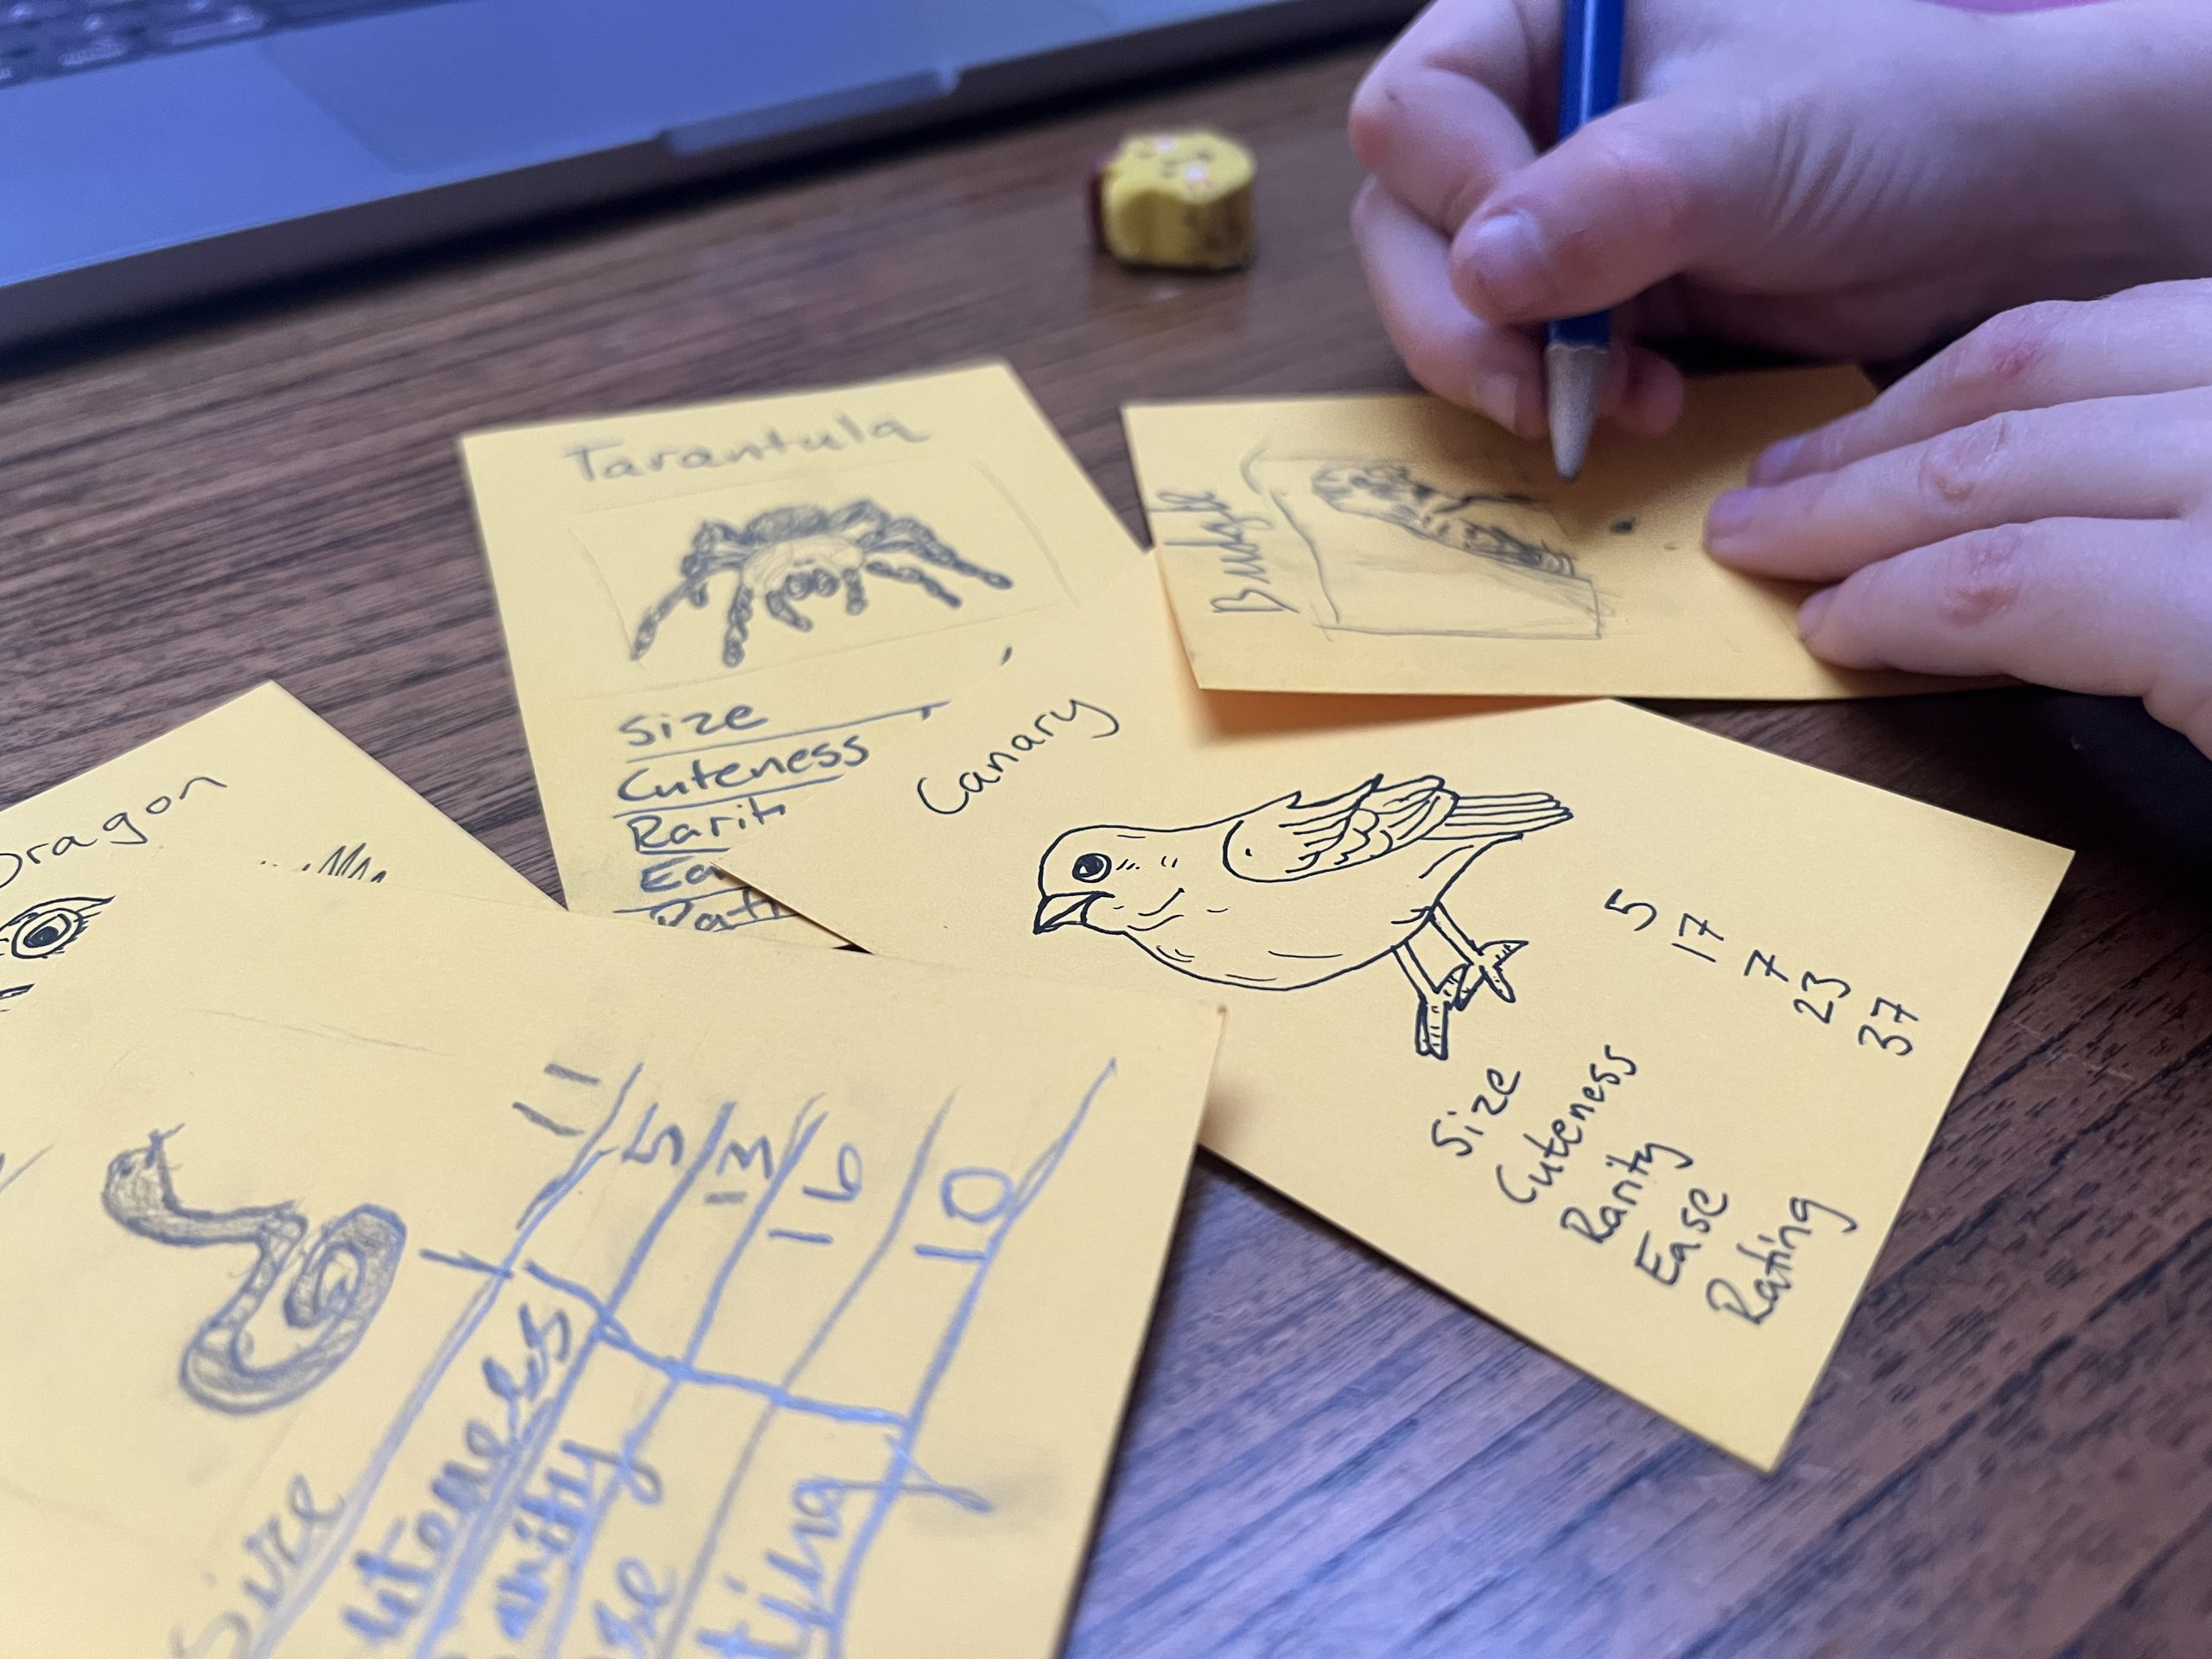
    Top Trumps is a classic card game where players compare stats to win cards—but when kids make their own version, it becomes even more fun and imaginative. Whether they’re into dinosaurs, superheroes, pets, vehicles, or even family members, kids can create and design their own themed decks from scratch.

    This activity combines drawing, writing, and number skills with competitive gameplay. It’s a great blend of creativity and logic—and once the cards are made, the game can be played again and again. Plus, it’s easily adaptable for different ages and interests!

    Materials Needed

    • Blank paper or index cards (or print a simple template)

    • Pens, pencils, markers

    • Ruler (optional for neat lines)

    • Scissors (if using sheets of paper)

    Tools Needed

    • None required (laminator optional for durability)

    Steps

    1. Choose a Theme: Let your child pick a topic they love—e.g. mythical creatures, space, sports, jungle animals.

    2. Decide the Categories: Choose 3–5 stats per card (e.g. Speed, Strength, Magic, Cuteness).

    3. Create the Cards: Draw one character/item per card, give it a name, and assign numbers (1–100) for each stat.

    4. Make a Full Deck: Aim for 10–30 cards depending on how long you want the game to last.

    5. Play!: Shuffle and deal the cards. Each player compares the top card’s chosen stat—the higher value wins both cards.