
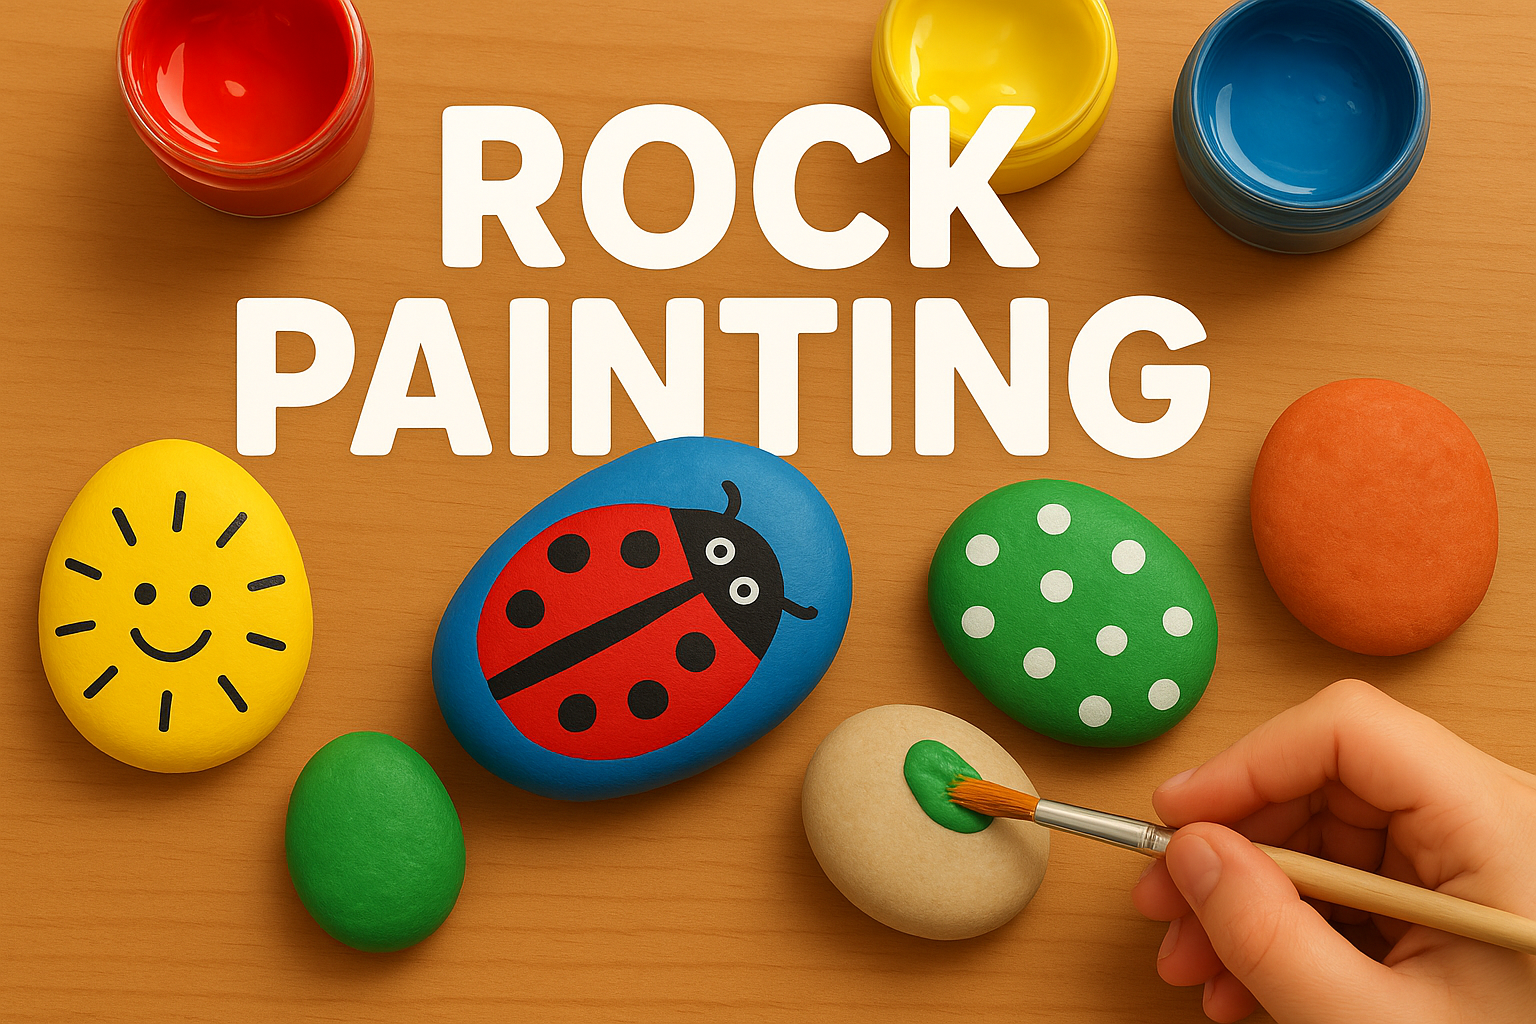

Rock painting is a simple but endlessly creative craft that kids (and grown-ups) love.
Smooth stones become tiny canvases for colourful designs, animals, patterns, or messages. You can display them at home, gift them to friends, or even hide them in the park for others to find—a lovely way to spread a little happiness.
It’s also a great activity to dip in and out of, making it perfect for a relaxed afternoon at home or a calm creative project during school holidays.
Materials Needed
- Smooth, clean rocks (collected or bought)
- Acrylic paints or paint pens
- Paintbrushes (small ones for details)
- Water pot and kitchen roll for cleaning brushes
- Optional: sealer or varnish to protect finished designs
Tools Needed
- Old newspaper or a wipe-clean mat to protect surfaces
- Aprons or old clothes for messier artists
Steps
- Prepare the Rocks
Wash and dry the stones to remove dirt and dust before painting. - Get Creative
Paint your designs—animals, patterns, letters, or anything your child imagines. Let each layer dry before adding details. - Let Dry Fully
Leave the rocks to dry completely before handling. - Seal (Optional)
Apply a clear sealer to protect the artwork, especially if the rocks will go outside. - Display or Hide
Decorate the garden, keep them as keepsakes, gift to friends, or hide for others to find.
Variations
- Kindness Rocks: Paint positive words or messages to brighten someone’s day.
- Story Stones: Paint pictures and use them as prompts for storytelling together.
- Glow-in-the-Dark: Use glow-in-the-dark paints for a magical night-time garden display.
- Nature Patterns: Try leaves, flowers, or bug designs inspired by your outdoor walks.
Safety Tips
- Always supervise young children when using paints and small items.
- Use child-safe, non-toxic paints suitable for age and environment.
- Make sure rocks are smooth—avoid sharp edges that could cause scratches or cuts.
- Ensure good ventilation if using sealant or varnish, and follow product instructions carefully.
Leave a Reply