Occasion: Father’s Day

  • Breakfast in Bed

    Breakfast in Bed

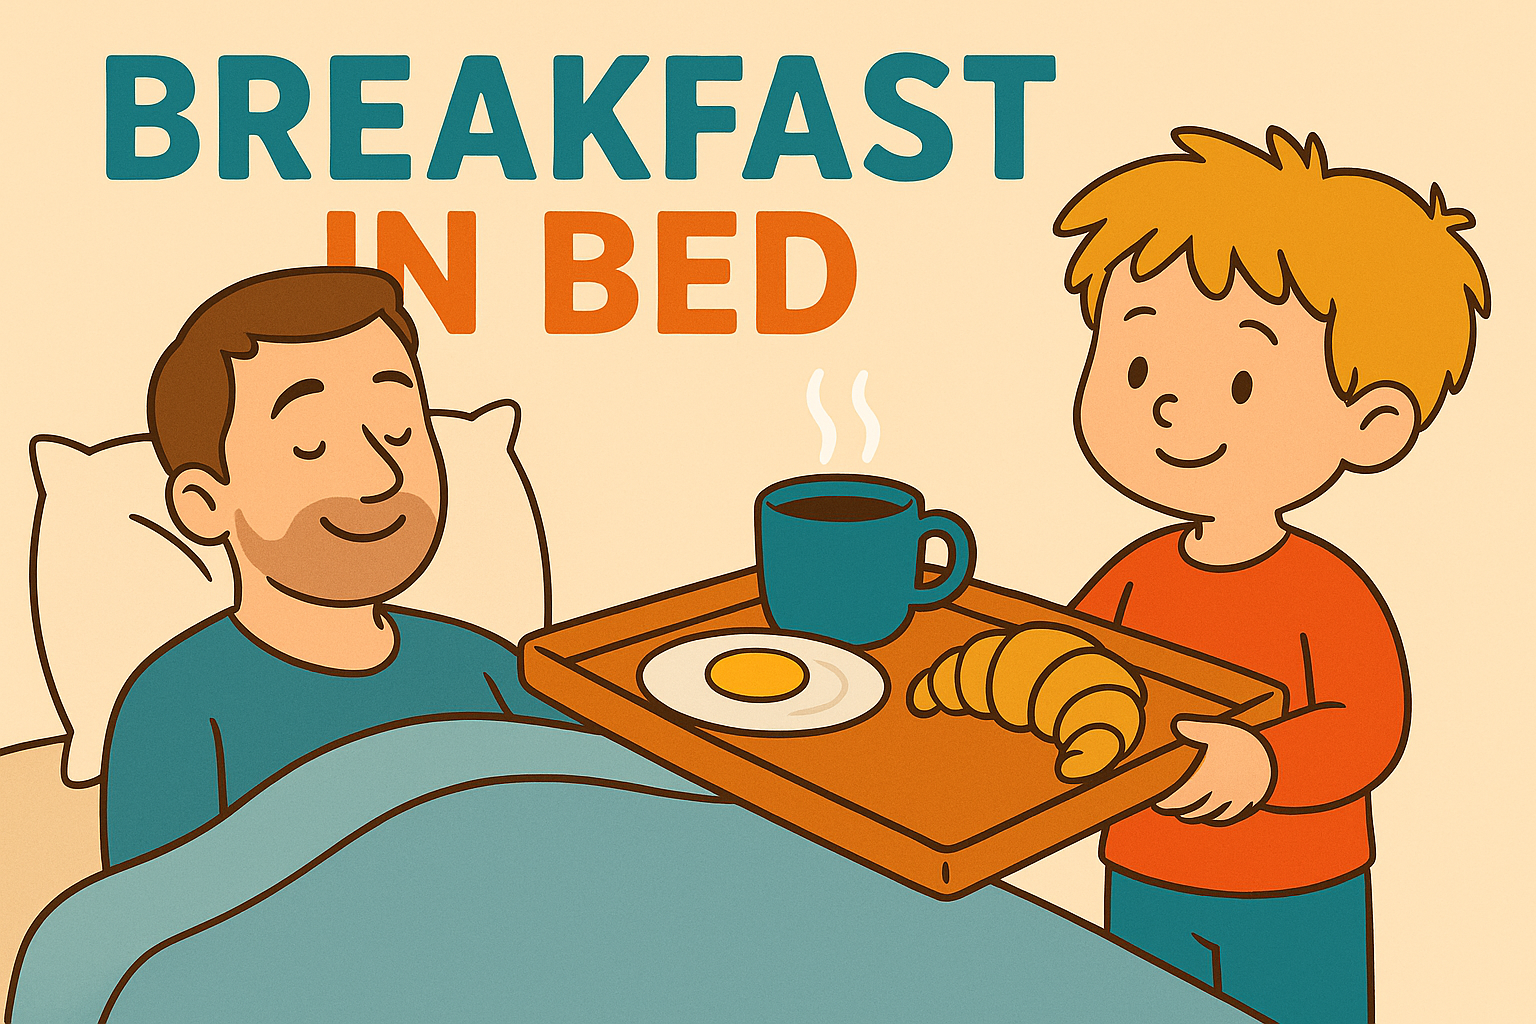
    Making and serving breakfast in bed is a lovely way for children to practise kindness and learn some basic kitchen independence.

    Whether it’s a surprise for a parent, sibling, or even a cuddly toy, the joy is in the giving—and the giggles along the way!

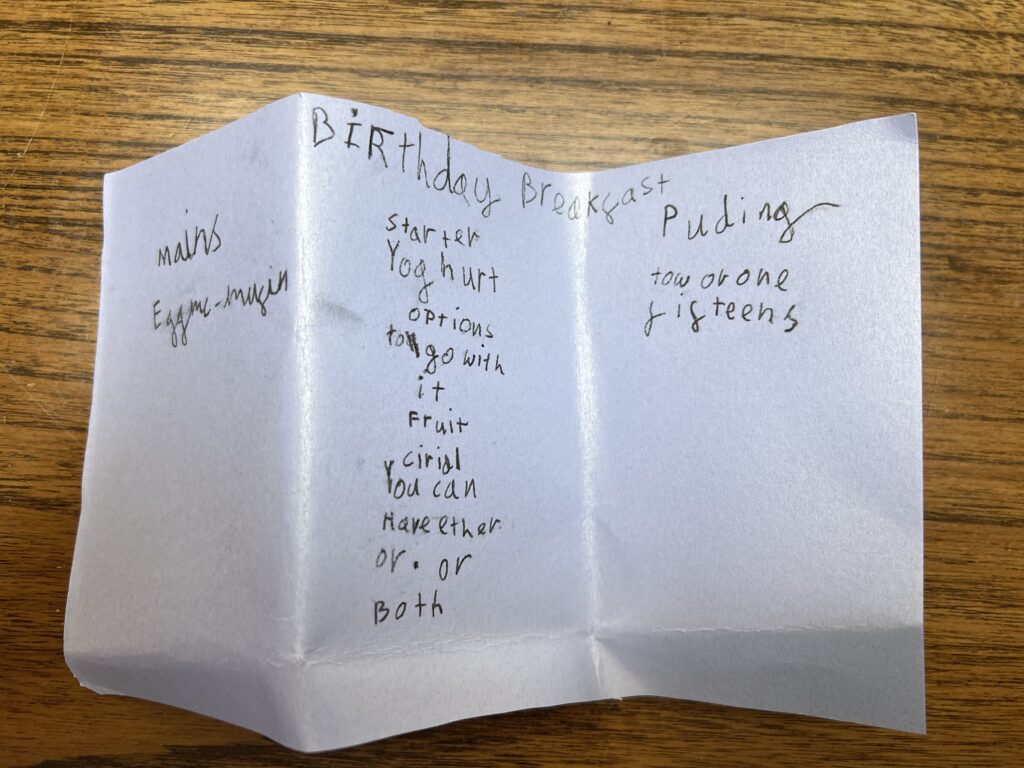
    Kids can help plan the menu, prepare simple foods, and set everything up on a tray with little extras like a flower in a jar or a handmade note.

    It’s a brilliant mix of creativity, responsibility, and fun—and a memory that will last long after the crumbs are gone.


    Materials Needed

    • Breakfast foods (e.g. toast, cereal, fruit, yoghurt, or croissants)
    • Tray or large plate
    • Napkin or small cloth
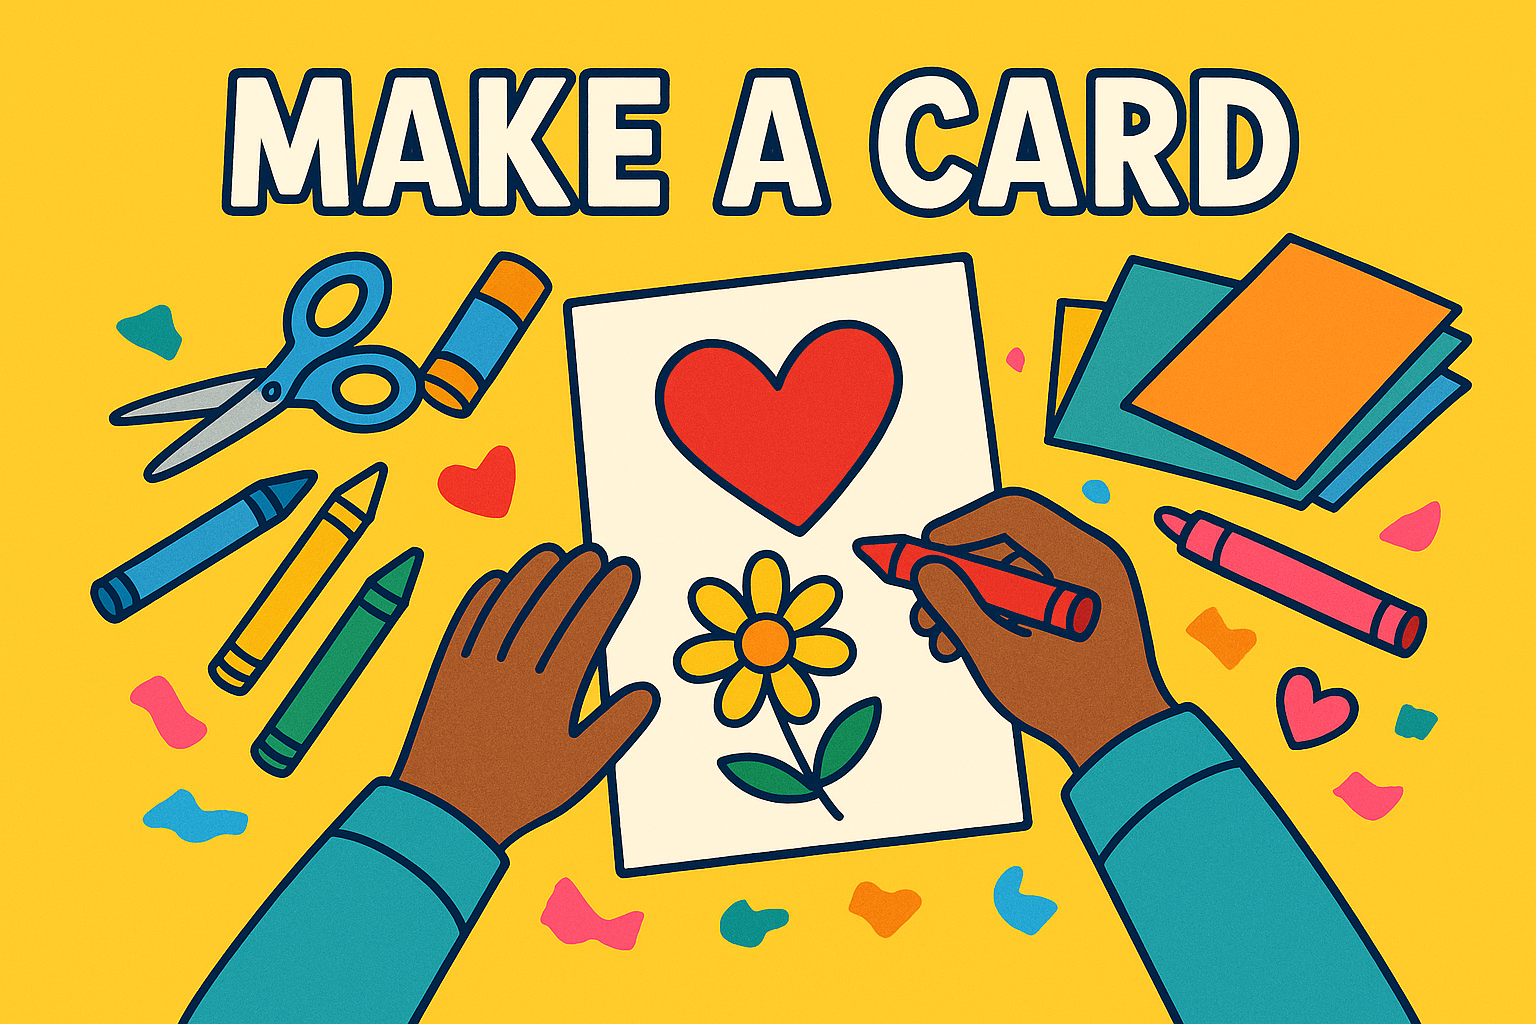
    • Optional: flowers, handmade card, or small decoration

    Tools Needed

    • Butter knife, spoon, bowls or cups
    • Toaster or kettle (with adult supervision)

    Steps

    1. Plan the Menu
      Keep it simple and safe—things like fruit, toast, or cereal are perfect for kids to prepare.
    2. Prepare the Tray
      Lay out a tray or large plate and add a napkin to keep things tidy.
    3. Add Personal Touches
      Include a flower in a cup, a sweet note, or a little drawing.
    4. Deliver with a Smile
      Carefully carry the tray and present breakfast in bed like a true room service star!
    5. Help Clean Up
      Finish the activity by tidying up together—just as important as the serving.

    Variations

    • Play Café: Turn the kitchen into a café with a menu and a pretend till.
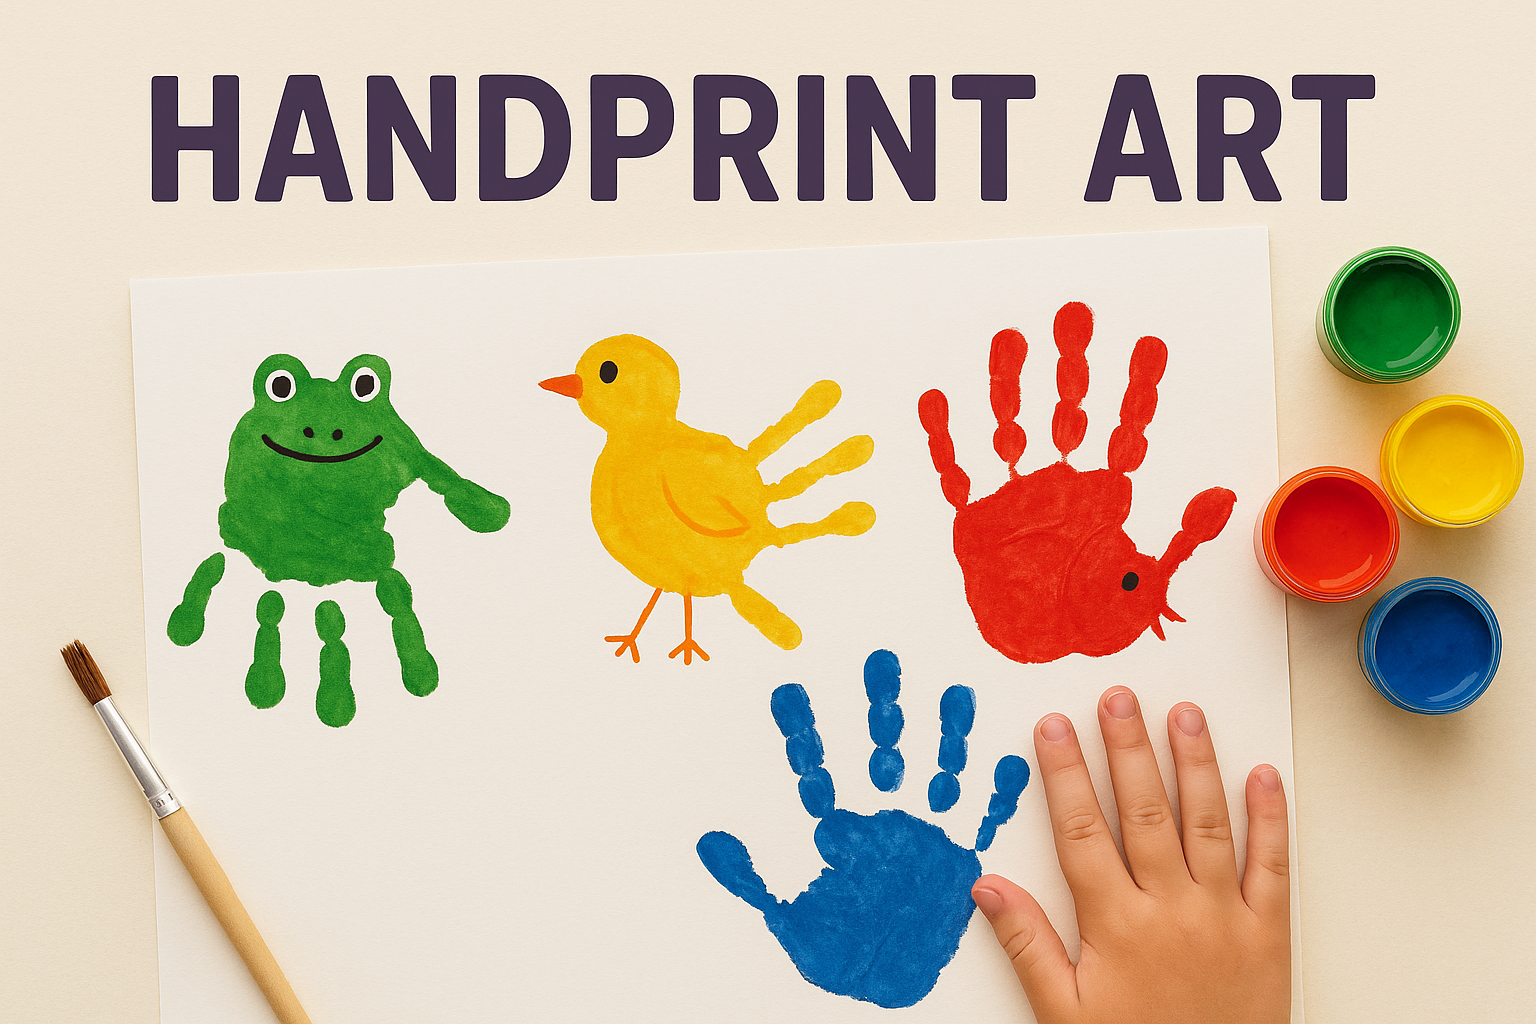
    • Teddy Breakfast: Serve breakfast in bed to a teddy or doll for younger children.
    • Make a Menu: Let kids design and decorate a breakfast menu ahead of time.
    • Holiday Twist: Try themed breakfasts (e.g. heart-shaped toast on Valentine’s Day).
    Birthday breakfast in bed menu
    My daughter made a menu for my birthday breakfast in bed. 🥰
  • Make a Card

    Make a Card

    Making a handmade card is a thoughtful and creative activity that children can enjoy year-round.

    Whether it’s for a birthday, celebration, holiday, or just to say hello, handmade cards are a lovely way to practise writing, drawing, and design skills while brightening someone’s day.

    With just some paper, crayons, and imagination, kids can create heartfelt messages and original artwork. Add stickers, stamps, collage bits, or even a handprint to make it extra personal!


    Materials Needed

    • Cardstock, folded paper, or pre-cut blank cards
    • Crayons, pencils, markers, or paints
    • Stickers, washi tape, glitter, sequins (optional)
    • Glue or glue stick

    Tools Needed

    • Scissors
    • Ruler (optional, for neat borders or lines)

    Steps

    1. Choose Your Occasion
      Decide what the card is for—a birthday, thank you, or “just because” note.
    2. Fold the Card
      Use a blank card or fold a piece of paper in half to make the base.
    3. Decorate the Front
      Draw a picture, add stickers, create a pattern, or glue on collage elements.
    4. Add a Message
      Write a kind note or message inside. Younger children can dictate and have an adult write it.
    5. Personalise It
      Include a handprint, signature, or something the recipient will recognise.

    Variations

    • Pop-Up Card: Cut and fold a simple pop-up shape on the inside for a surprise.
    • Theme Challenge: Try cards based on animals, rainbows, or favourite stories.
    • Stamped Designs: Use stamps or cut potatoes to make your own stamp shapes.
    • Recycled Craft: Use scrap paper, wrapping paper, or old cards to decorate your new creation.
  •  Handprint Art

     Handprint Art

    Handprint Art is a fun, tactile way for kids to express themselves while creating colourful keepsakes. Using their painted hands, children press prints onto canvas or paper and transform them into animals, flowers, trees, or festive scenes.

    This activity is especially great for seasonal crafts (like turkeys for Thanksgiving or reindeer at Christmas) or for simply celebrating your child’s creativity—and growth! Handprint art makes for wonderful wall displays, cards, or gifts for family and friends.


    Materials Needed

    • Canvas, cardstock, or heavy paper

    • Washable paint (various colors)

    • Paper plate or paint tray

    • Optional: googly eyes, glitter, pom-poms, or stickers for decoration


    Tools Needed

    • Paintbrushes or sponge (for applying paint to hands)

    • Damp cloth or wipes for cleanup


    Steps

    1. Prepare the Canvas: Lay out your canvas or paper and protect the surface underneath.

    2. Paint the Hand: Use a brush or sponge to apply paint to your child’s hand.

    3. Make the Print: Press the painted hand firmly onto the canvas, then lift straight off.

    4. Let It Dry: Allow the handprint to dry fully.

    5. Add Details: Turn the handprint into a picture—add eyes, stems, feet, or decorations using paint, markers, or craft supplies.


    Variations

    Animal Handprints: Turn prints into peacocks, elephants, fish, or dinosaurs.

    Seasonal Scenes: Make turkeys for Thanksgiving, Christmas trees, or summer suns.

    Family Hands: Layer handprints of different family members in different colors for a sweet keepsake.

    Card or Gift: Use small canvases or foldable cardstock to create handprint greeting cards.