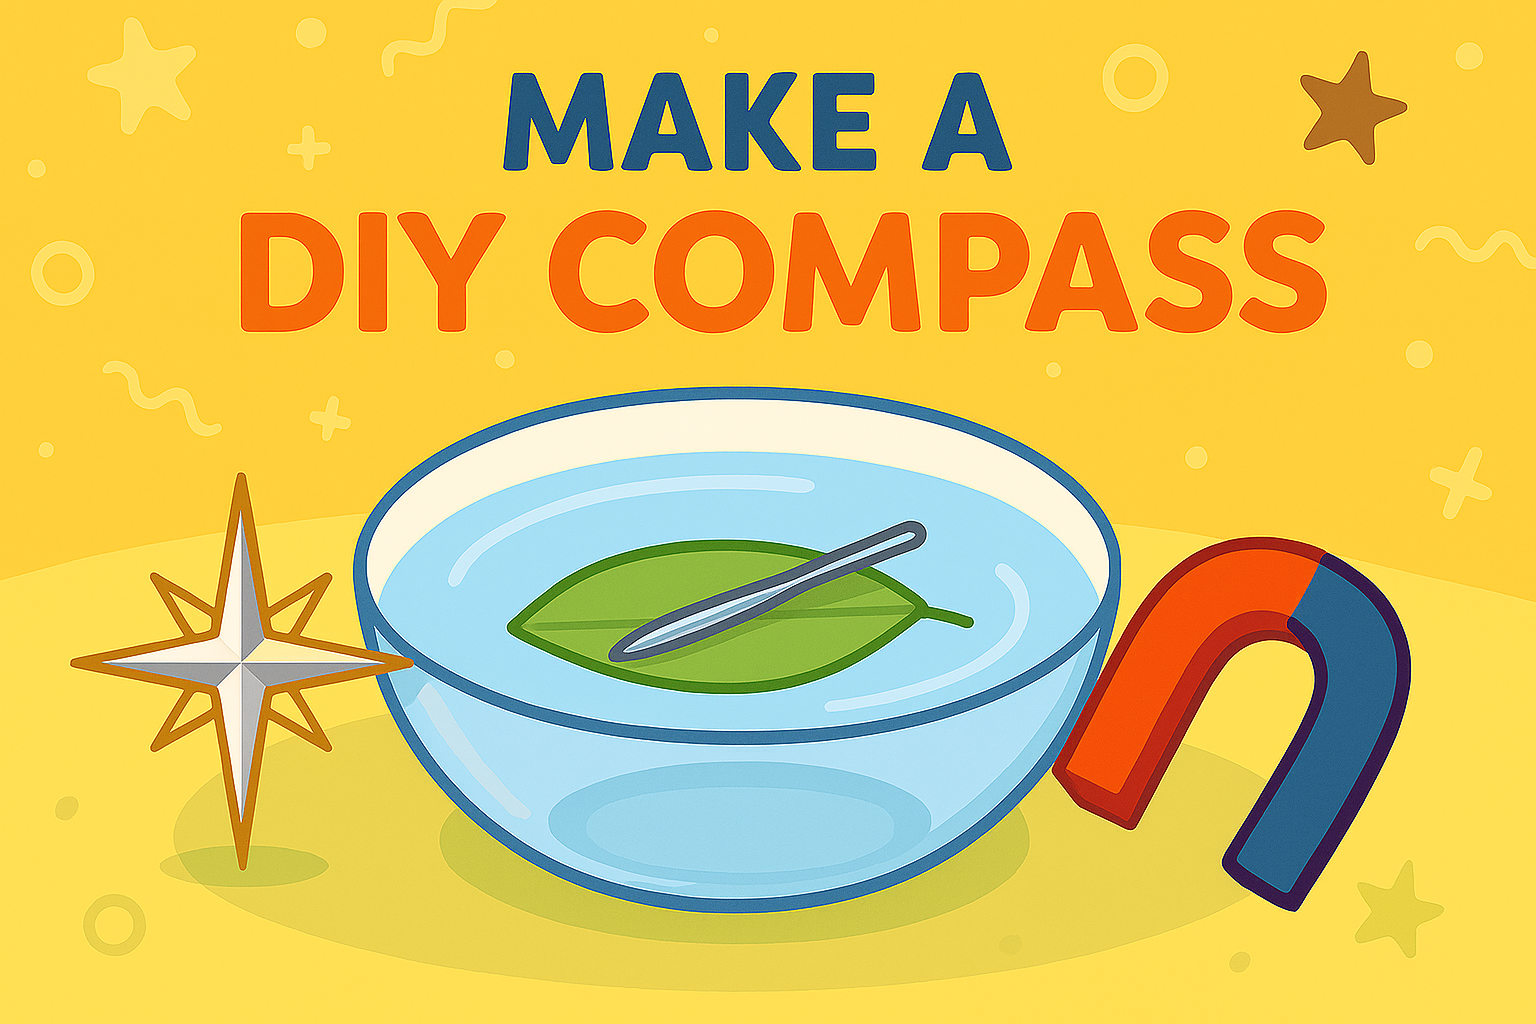
Making a DIY compass is a fun and simple way for children to learn about magnetism, Earth’s magnetic field, and basic navigation.
With just a few household items, children can build their own working compass and watch how a magnetised needle naturally aligns to point north.
This activity combines science, curiosity and problem-solving — perfect for little explorers or anyone interested in how things work. It’s also a great hands-on project to pair with map reading, treasure hunts or nature walks.
Materials
- A sewing needle or straight pin
- A magnet (a fridge magnet will work)
- A small bowl of water
- A leaf or small piece of foam or cork
- Tissue or kitchen paper (optional)
Tools
- No tools required — just a steady hand and some adult supervision
Steps
- Stroke the magnet along the needle 10–20 times in the same direction. This magnetises the needle.
- Place the needle on top of a leaf or a small piece of foam/cork so it will float.
- Gently place it in the bowl of water. The needle will slowly turn and point north-south.
- Use a map or phone compass to verify which end is pointing north.
Variations
- Try Different Materials: Test whether other objects (e.g. paper clips) work when magnetised.
- Pair With a Map Activity: Use your compass to navigate a simple indoor or outdoor route.
- Learn About the Poles: Research why Earth has magnetic poles and how this affects animals like birds and turtles.
Why It’s Great
- Hands-On Science – A memorable way to explore physics and geography in action.
- Problem Solving – Encourages questioning and testing how the natural world works.
- Practical Skills – Introduces navigation and orientation in a fun, DIY format.
Safety Tips
- Supervise closely when using sharp needles or pins — consider using a blunt-ended alternative for younger children.
- Keep magnets and sharp objects away from very young children and babies.
- Use caution around water — small bowls only and stay close during the activity.


Leave a Reply