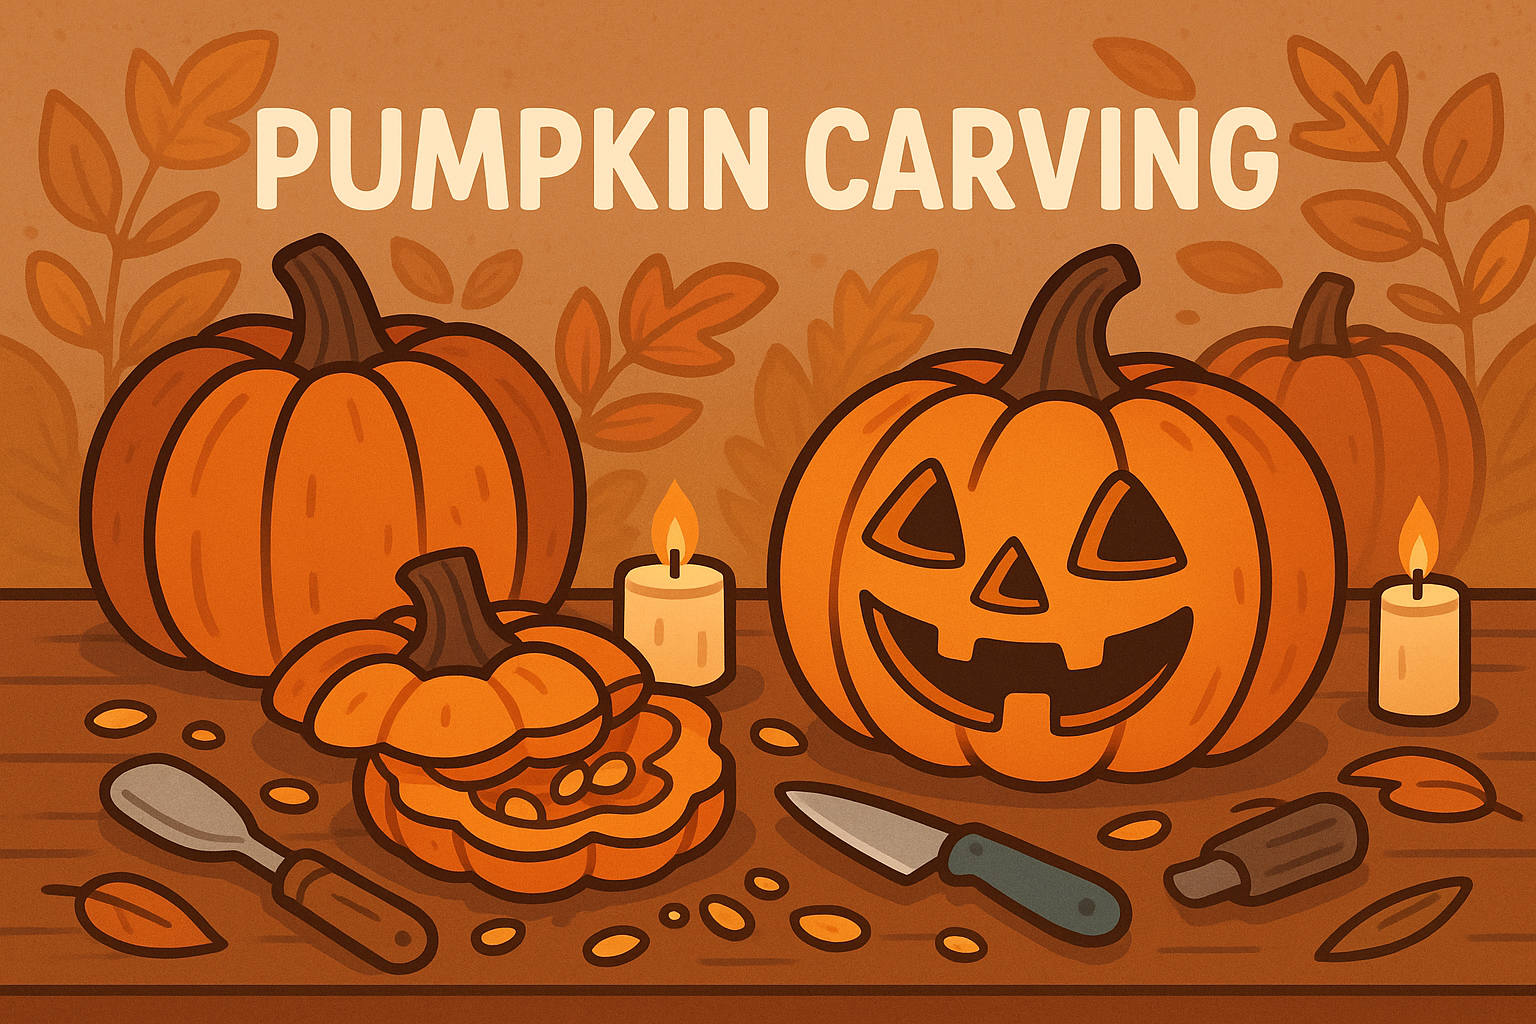
Pumpkin carving is a timeless autumn tradition that combines creativity, sensory fun, and a little bit of mess. It’s a lovely way for families to celebrate the season together, creating glowing designs that can light up windows or doorsteps.
Materials
- Medium or large pumpkins
- Newspaper, plastic sheet, or tray (for mess)
- Spoons or scoops
- Carving tools or small kitchen knives (adult use only)
- Tealights or battery candles
- Marker pen (optional, for sketching designs)
Tools
- Carving kit or small kitchen knife
- Metal spoon or scoop
- Marker pen
- Cloth or paper towels
Steps
- Spread out newspaper or a tray to catch the pumpkin pulp and seeds.
- Cut a lid around the pumpkin’s stem, making a small notch so you can easily replace it later.
- Scoop out all the seeds and stringy bits inside until the pumpkin is clean.
- Draw a simple face or design on the pumpkin using a marker pen.
- Carefully carve along the lines—adults should handle any sharp tools.
- Place a tealight or battery candle inside and pop the lid back on.
- Display your glowing pumpkin proudly indoors or on the doorstep.
Variations
- Painted Pumpkins: Skip the carving and use paints or stickers to decorate instead—great for younger children.
- Nature Faces: Use leaves, twigs, and seeds for natural decorations glued onto the pumpkin.
- Mini Pumpkins: Try decorating small pumpkins for a quicker, less messy version.
Why It’s Great
- Creative Expression – Encourages imagination and design skills through drawing and sculpting.
- Sensory Fun – The textures and smells of pumpkin carving are a seasonal delight.
- Family Bonding – Offers a calm, hands-on way to spend time together during autumn.
Safety Tips
- Adults should handle all sharp tools and cutting.
- Use battery candles instead of real flames for a safer glow.
- Keep small pumpkin pieces away from very young children who might put them in their mouths.


Leave a Reply